Top-Down Fire Lighting – The Best Way to Light a Wood Burner
There are a few different methods to succcessfully lighting your wood burning stove, and like everything, everyone has their preferred approach. Most swear by the traditional bottom-up method, creating a grid formation, where the user stacks a few layers of kindling in alternating directions, then adds several firelighers on top. Whilst you may think this is the obvious way to light a fire, it leaves you having to stay near the stove whilst you wait for it to establish itself enough to then add on some bigger logs or briquettes. We are here to enlighten you on why the top-down fire lighting method is THE BEST way to light your wood burning stove – and trust us when we say, if you give it a go, you will never go back to that age-old bottom-down method!
What Exactly is the Top-Down Fire Lighting Method?
Exactly what it says on the tin – you light the fire from the top! The method includes placing a few logs on the base of the firebox (these are the logs that, in the bottom-up method, are added after the fire has been lit for a while), then building your fire up from there using kindling and firelighters. You will then light the fire from the top, and allow it to naturally take care of itself – no tending to it 5/10 minutes after you have lit it!
What are the Benefits of the Top-Down Fire Lighting Method?
All pros, no cons, let us tell you why ~
Low maintenance fire lighting process
Unlike other fire lighting methods, the top-down approach is easy, low maintenance and pretty foolproof. As long as you follow the right steps, you can create a fire that you can leave to fend for itself for a good hour or so (depending on the size of your log burner).
A cleaner, more efficient burn and reduced smoke
One of the main benefits of the top-down method is that it creates a cleaner, more efficient fire. By placing larger logs at the bottom and kindling on top, the fire burns downward rather than upward. The kindling ignites first, gradually heating the larger logs beneath it and allowing the fire to develop into a strong, steady burn. This process reduces the amount of smoke produced during ignition, resulting in a cleaner burn and less creosote buildup in the chimney.
Very reliable method
Another benefit of the top-down fire lighting method is that it also improves airflow inside the wood burner, which is crucial for efficient combustion. As the fire burns downward, rising warm air naturally draws fresh oxygen up through the fuel, helping the fire stay well-fed and burn more evenly. This steady flow of air supports more complete combustion, keeps temperatures consistent, and reduces the risk of the fire dying out too soon.
In addition, this method helps prevent the problems that often occur when lighting a large fire in a cold stove, especially during winter. Starting with too much heat too quickly can cause temperature shock, leading to excessive smoke and soot buildup on the stove glass. By allowing the fire to build gradually, the top-down approach gently pre-heats the stove, avoiding sudden temperature changes and resulting in a cleaner, more efficient burn.
How to Build a Top-Down Fire
What you will need:
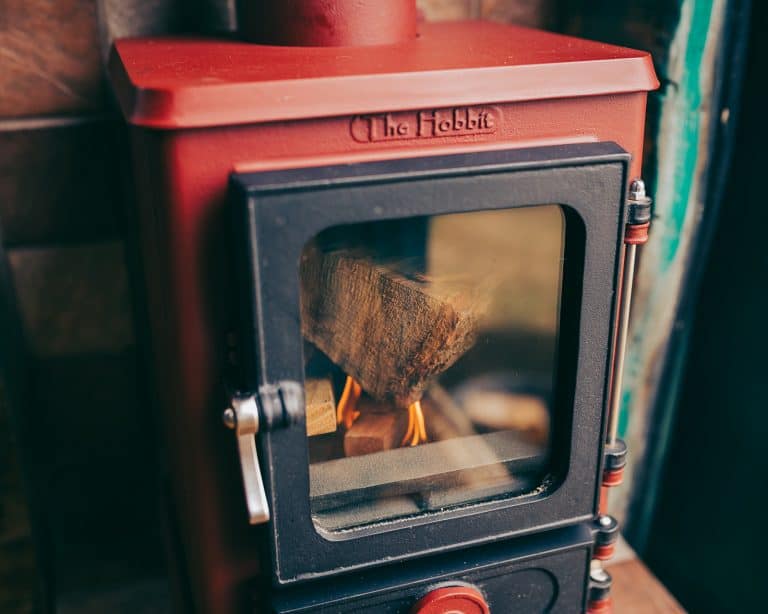
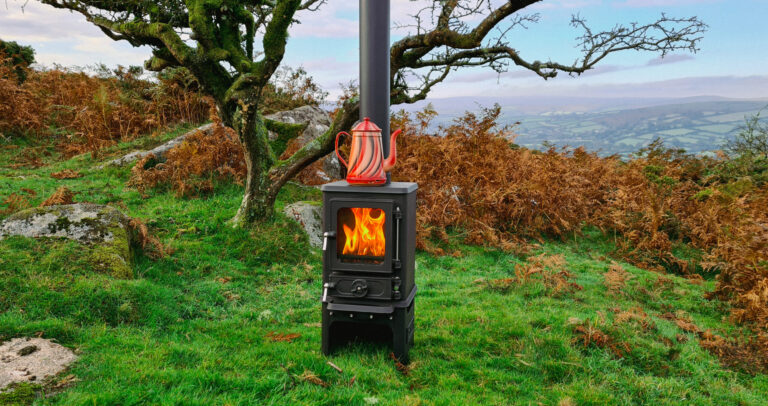
- Kiln-dried, ready to burn logs. We recommend love logs as these are the perfect size for The Hobbit Stove and Little Range Cookstove.
- Another alternative is eco briquettes, we recommend the Lekto Briquettes or Roastie Toasties. If you have one of our small wood burners, you will need to use logs no bigger than 8 inches. We would suggest using particularly small ones on the bottom if you are using the top-down method to ensure the fire has enough airflow.
- Kiln-dried high-quality kindling, such as Certainly Wood.
- Firelighters, we swear by natural wood wool firelighters.
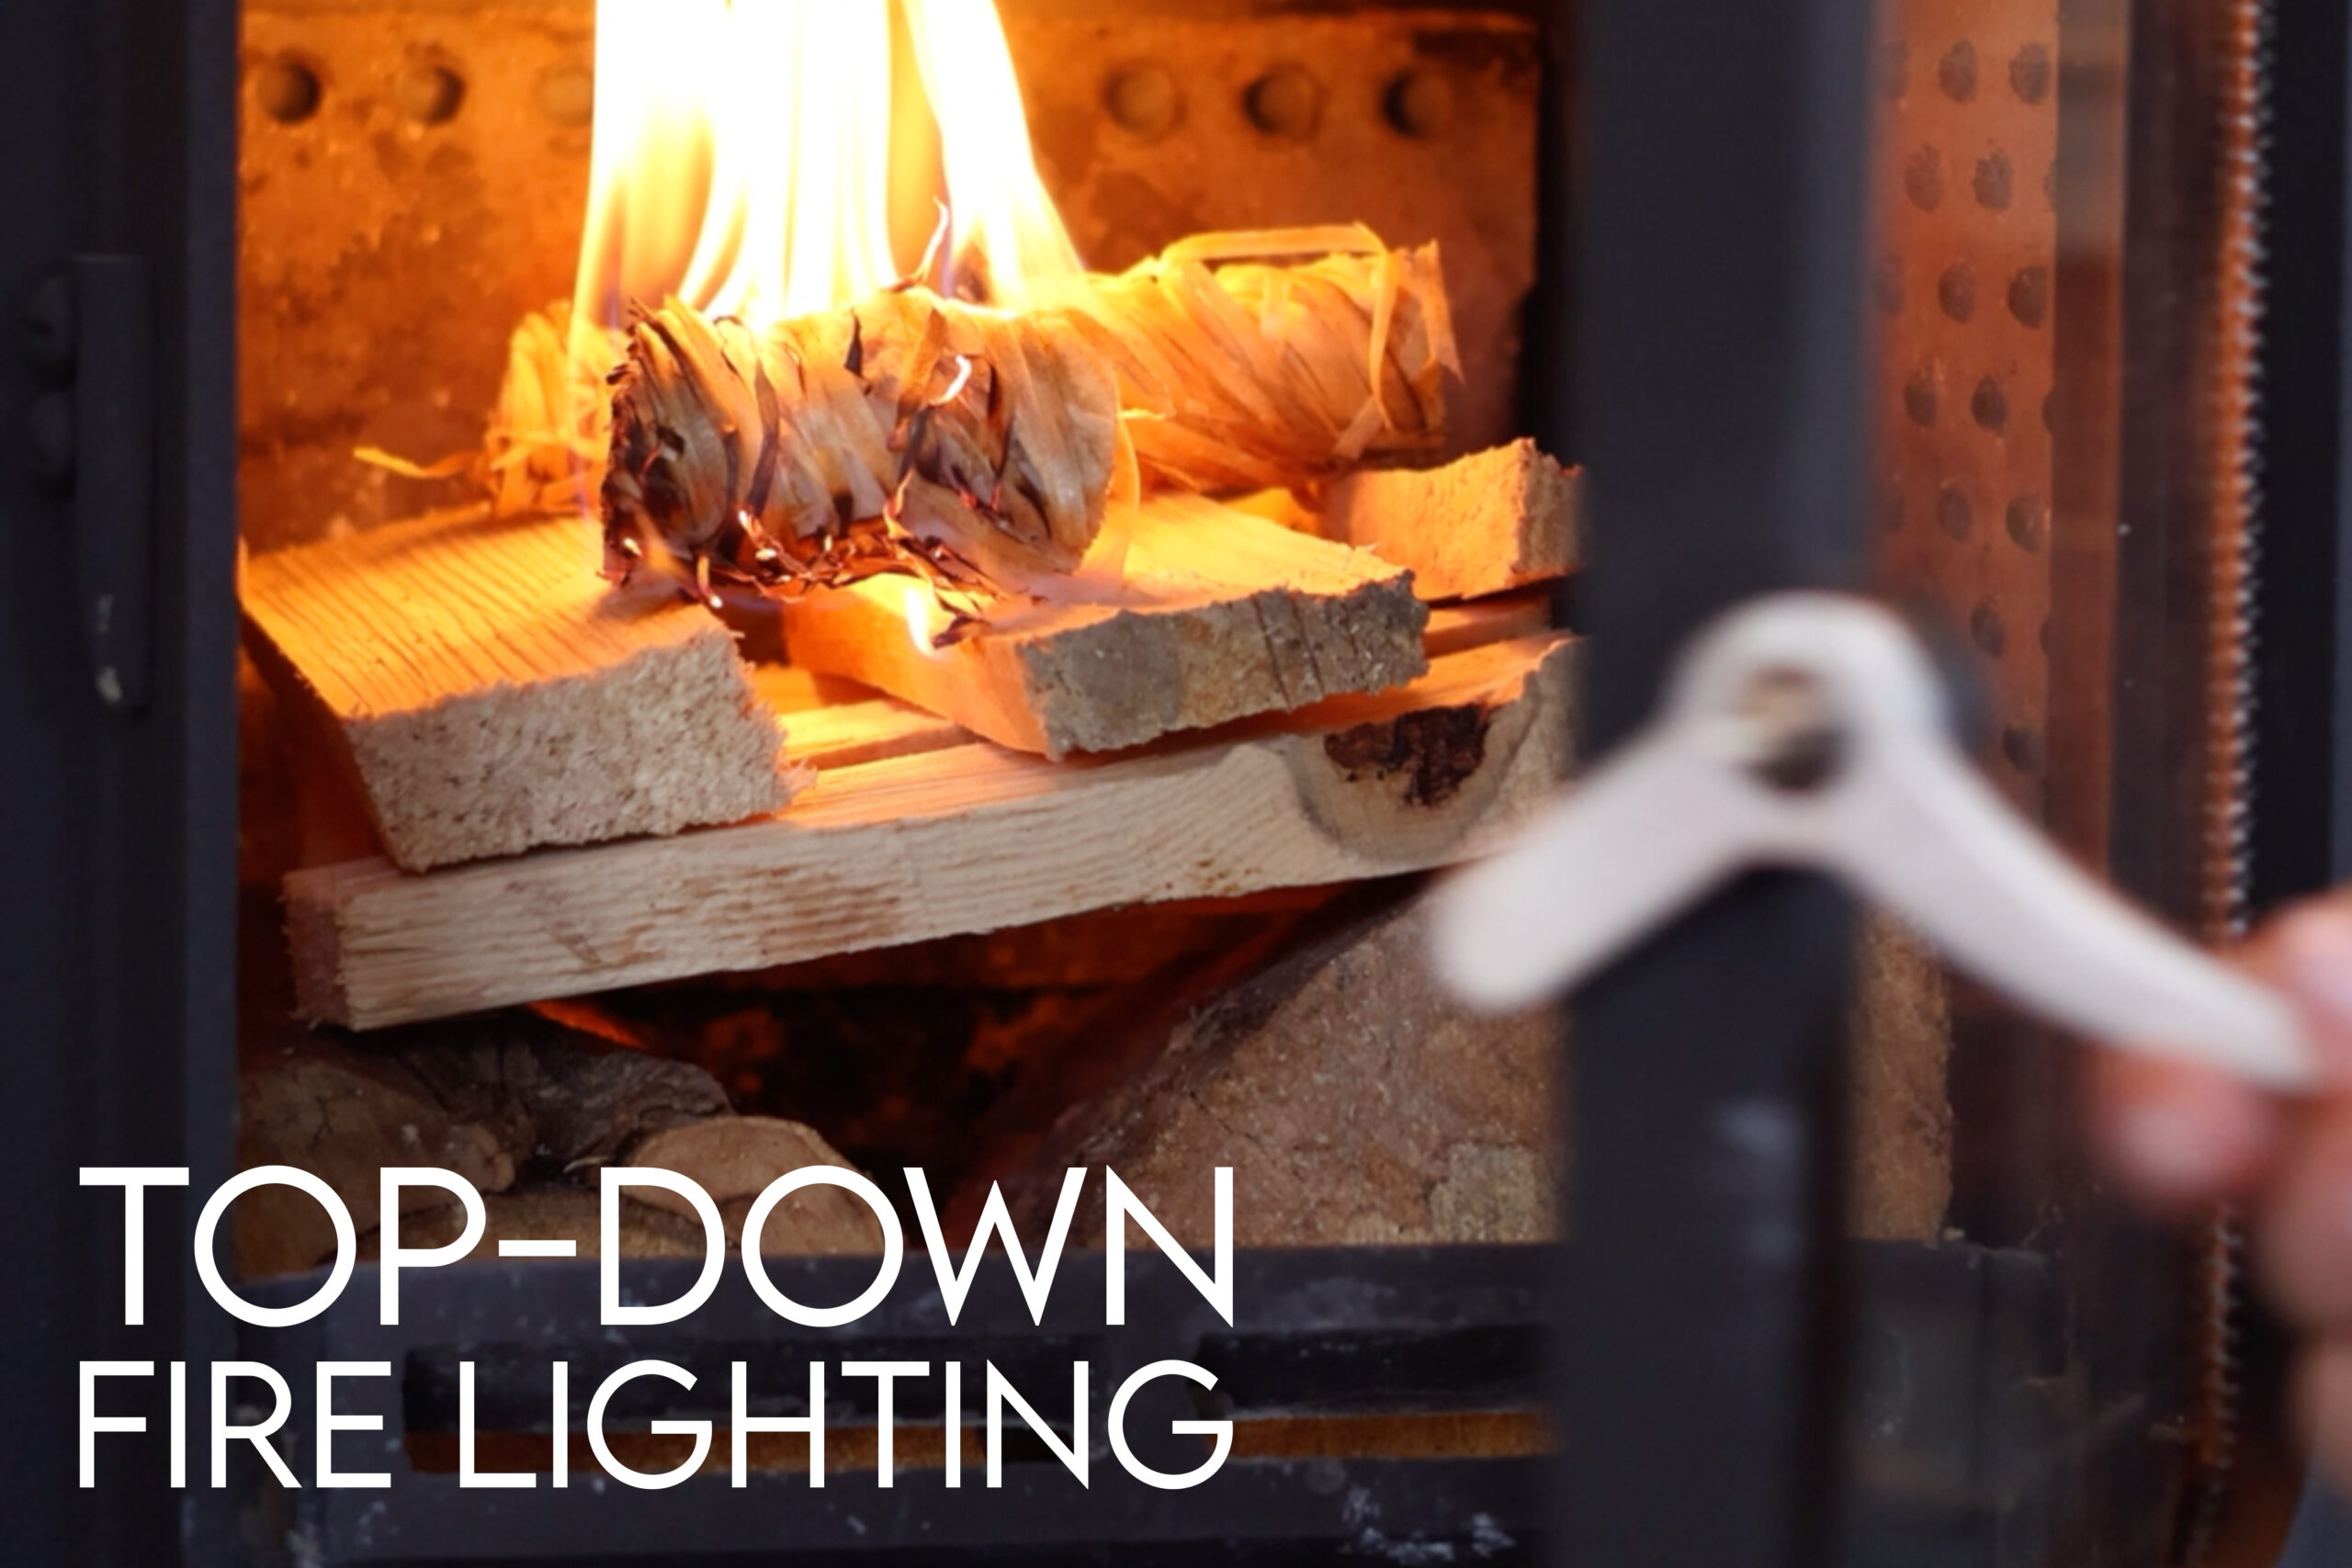
Step-by-step guide on top-down fire lighting:
- Start by placing two small kiln-dried logs or eco briquettes at the bottom of your wood burning stove. Make sure that there is about 1-2cm of space between them.
- In the opposite direction to the logs, add your kindling in a grid like formation. Doing 2 -3 layers works best. Make sure that there is a bit of space between the pieces of kindling to allow airflow around and through them
- Place 2 firelighters on top of your stack, and tuck them in between the kindling to make sure they don’t roll down to the bottom.
- Light the firelighters, close the door and open up the primary airflow. A top tip if you don’t have a great draw is to open up the bottom door (if you have one) to allow more airflow, but shut it after a few minutes.
- 10 minutes or so later once the fire has established more and the kindling has started to flame, you can start adjusted the air controls as less air is needed once your fire is blazing away!
Watch our video here on how to build a top-down fire