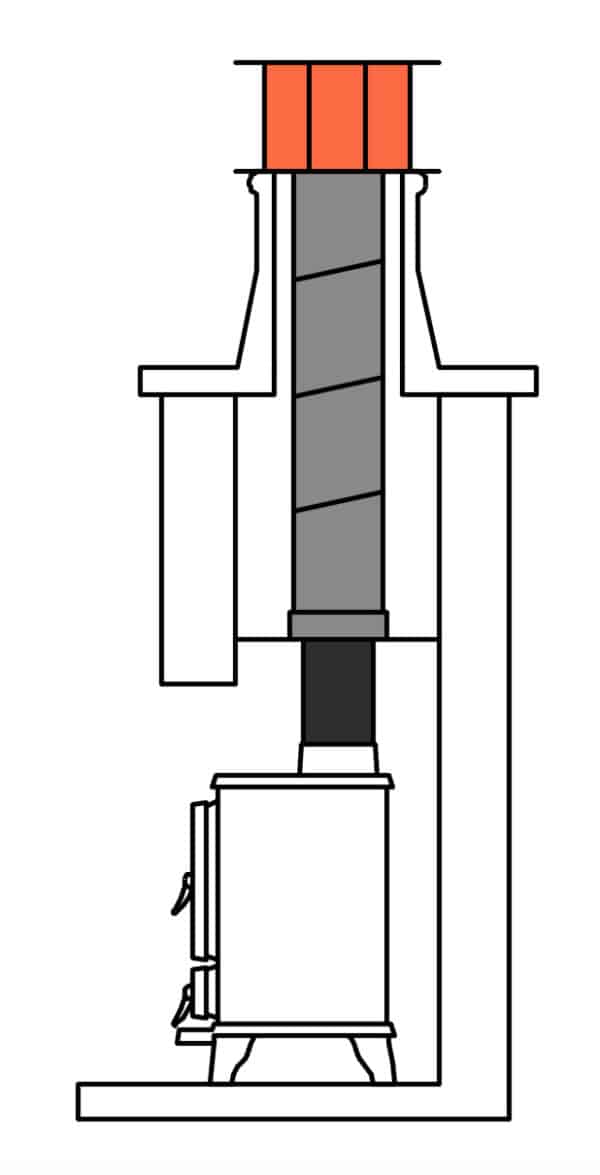
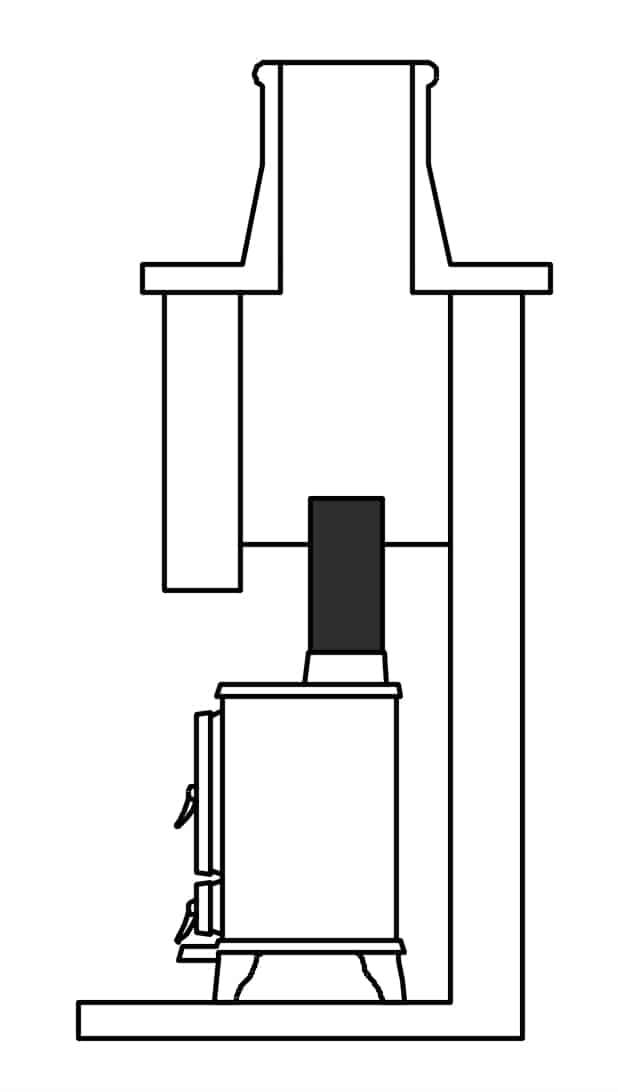
Our chimney lining kit contains all of the components that you will need to install your small stove into an existing masonry chimney including a cut length of either 316 grade stainless steel flexible liner or 904L flexible liner. Our chimney lining kit can be used to install your
Hobbit stove, the
Hobbit SE, the
Little Range Cook Stove or any other small stove that you might have!
Installing our chimney lining kit is normally a day’s work for two people, but the ease of the work is mostly dependent on two factors:
1. The ease of access to your roof, the chimney stack and pot.
One person will be at the top end, and will feed the flexible liner down the chimney. To assist this process, we have modified our flexible pipe adaptor, which is the component that attaches to the bottom end of the liner. A rope can be tied to the small bar that we have incorporated, which is a far superior system to the hopeless nose cone attachment which is often supplied in other chimney lining kits! Our system makes it much more straightforward for the people at the top and bottom of the chimney to coordinate any lowering, twisting and lifting of the chimney liner to pull it down the chimney. The cross bar which is fixed across the end of the adaptor can be easily removed after it has helped you to pull the chimney liner into position. The adaptor is then fire cemented inside the single wall flue pipe, which is fire cemented into the flue collar of the stove.
When you are using a flue connection at the top of your stove, it is easier to cement the male end of the pipe into the collar first, before attaching the pipe to the flexible pipe adaptor spigot. You can then attach the flue collar to the body of the stove with the two fixing bolts. When attaching to the rear of the stove, the flue can just be offered up to the collar if cut to the correct height and cemented in place with the collar already bolted to the body of the stove.
2. The ease of fixing a steel register plate in position.
The steel register plate is normally located behind the lintel or up inside a traditional cast iron fireplace. The old chimney will need to be sealed at the base of the plate, as this will prevent it from drawing air that will not pass through the stove. Air being drawn up the flue will then need to pass through the stove. This will create a healthy draw for your stove, as well as safe and efficient burning.
The plate supplied in our kit is 600mm x 300mm, but you can also cut it to a smaller size if needed. If a plate cannot be fixed, then either a vertical plate could be considered or you could seal the system at the top where the chimney pot makes contact with the suspending cowl. We would recommend both the chimney pot, cement flaunch and stack pointing, or lead work (as a minimum) should all be inspected and repaired where necessary and if applicable. It may also be the case that if the chimney stack is on the North facing gable end of the property that a suspending cowl system where insulating the liner is not possible would mean that this type of flexible flue arrangement was not suitable. In this set of circumstances, it would be better to remove the pot and back fill the liner with an insulating product. Re-flaunch the pot back on and attach a cowl for good measure.
With this kit you can successfully self install your stove and flexible flue lining for a fraction of the cost of employing a HETAS stove installer or competent builder. If you have a friend and one of you has a head for heights and if the chimney stack and pot are reasonably accessible, the job can be completed in a single day. Choose the length of single wall flue and the length of flue liner that you require, and with one easy click you are also including all of the other flue and lining parts that you will need to carry out a professional job. Please note that you will still need this to be signed off by either an installer or building control.


