Off-Grid Living – How to Make Homemade Charcoal
In this article we’ll show you how to make your very own homemade charcoal, and we’ve also put together a video which will demonstrate the process from start-to-finish! This is a brilliant way to generate your own resources and to save some money if you live off-grid!
Making your own charcoal is perfect for summer barbecues, as it provides a great source of heat without emitting very much smoke. However, charcoal is fantastic for a wide range of other uses, which certainly shouldn’t be overlooked!
We’ve listed a wealth of uses at the end of this article to showcase the incredible versatility that charcoal has to offer! You can use it to remove any excess moisture or odours from your closet, attic, basement or bathroom, just by placing a lump of charcoal on a tray! Alternatively, you can place some charcoal inside a tub with some holes in it. You can also use charcoal to extend the life of any flowers that you’ve put in a vase recently, or you can use it in your garden to keep your soil moist.
A Bit About Biochar
The method that we used to make our homemade charcoal is a chemical process known as destructive distillation, which is an application of pyrolysis. This just means that the unprocessed material (in this case wood), is decomposed by heating it to a very high temperature in the presence of a limited amount of oxygen – a process which breaks up large molecules.
This means that the charcoal that gets produced can be used as biochar! Biochar can be used to add carbon to your compost heap, and it has huge number of benefits if you add it to your soil, such as:
- Improving the fertility of your soil
- Increasing crop yields and agricultural productivity
- It provides better water retention and drainage
- Reduces soil acidity
- Absorbs soil pollutants
- Increases your plants’ resistance to disease
- Catches and stores carbon – biochar is being investigated as a means of carbon sequestration, and it could be used to mitigate climate change!
Due to the fact that biochar can endure within soil for thousands of years, you only need to add it once! In fact, it’s thought that the first people to use biochar were the ancient people of the Amazon basin, who used it to improve the quality of their soil over 2000 years ago!
How To Make Homemade Charcoal – Getting Started
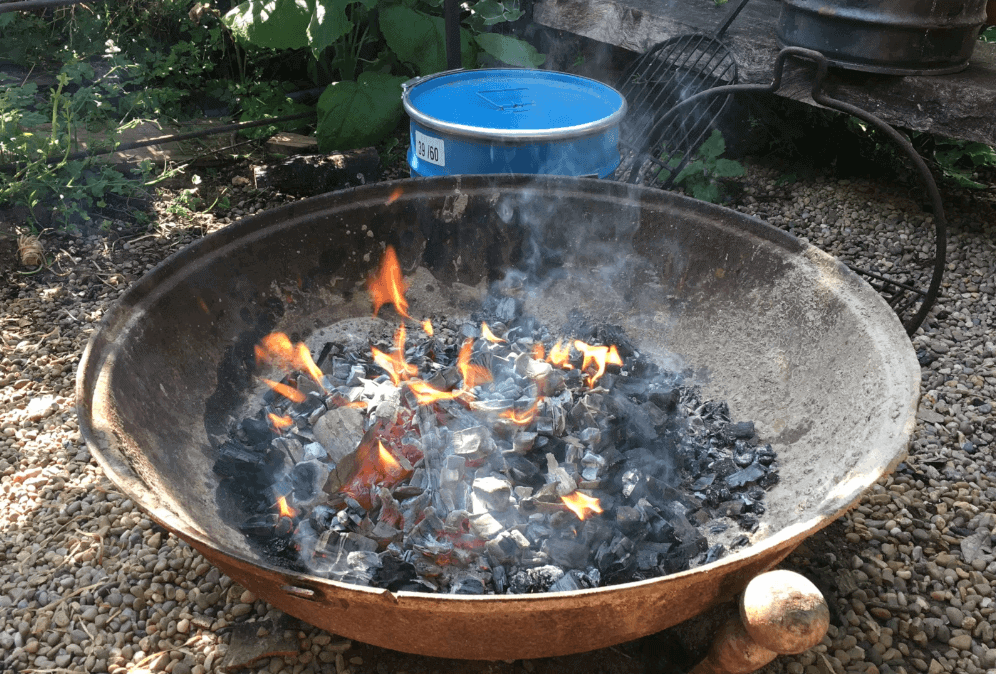
Sourcing some oil drums
To start with, you’ll need to get yourself some oil drums – one large one and one or two smaller ones. The smaller oil drums can be filled with logs and placed inside the larger oil drum after you’ve built up a fire. You can source second-hand oil drums quite cheaply from sites like eBay, Gumtree, or Facebook Marketplace, for example.
Cutting the oil drums and burning off the paint
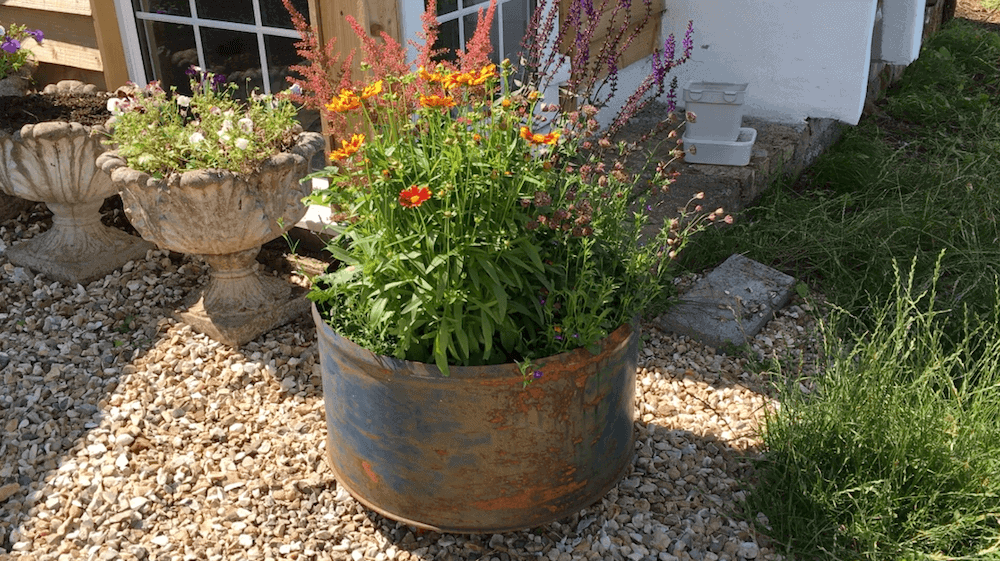
You can use a full-size oil drum to make your homemade charcoal, but in our video we’ve also shown you how to cut a third of the oil drum off, so that you can use the smaller section as a planter!
Next, you’ll also need to cut some holes around the base of the large oil drum to allow air to enter in through the bottom of the drum, as this will help your fire to keep burning nicely. However, you won’t have much control over the airflow and the burn-rate of your fire. To counteract this, we added a twin wall 90 T flue piece onto the oil drum, which has been cemented into place. This enabled us to exert some degree of control over the air intake of our charcoal maker. It’s also worth cutting a few holes around the top of the mini oil drum, so that any volatile gases can escape whilst your logs are being cooked in the fire.
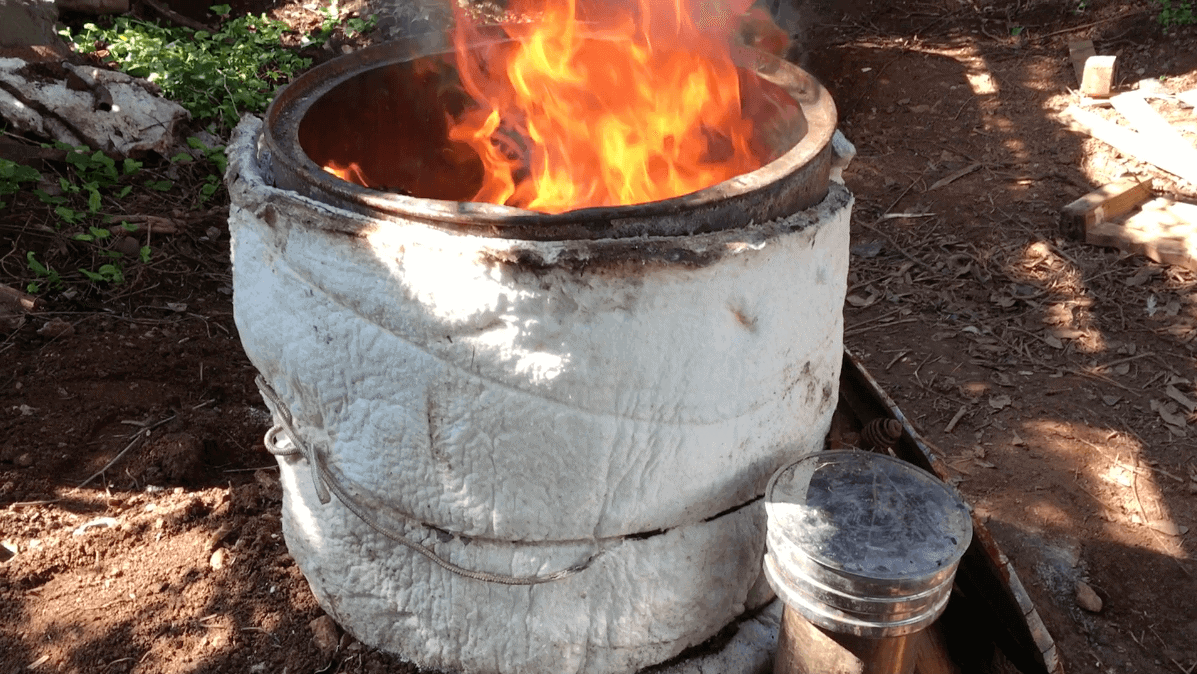
After you’ve cut the holes, you’ll also need to burn off all of the paint before you use your oil drums, so that there’s no harmful chemicals or gases left over. We’ve also insulated the larger oil drum with a big piece of fire blanket, which we’ve kept in place with some wire. This helps to keep the oil drum hotter, and makes it more of an oven.
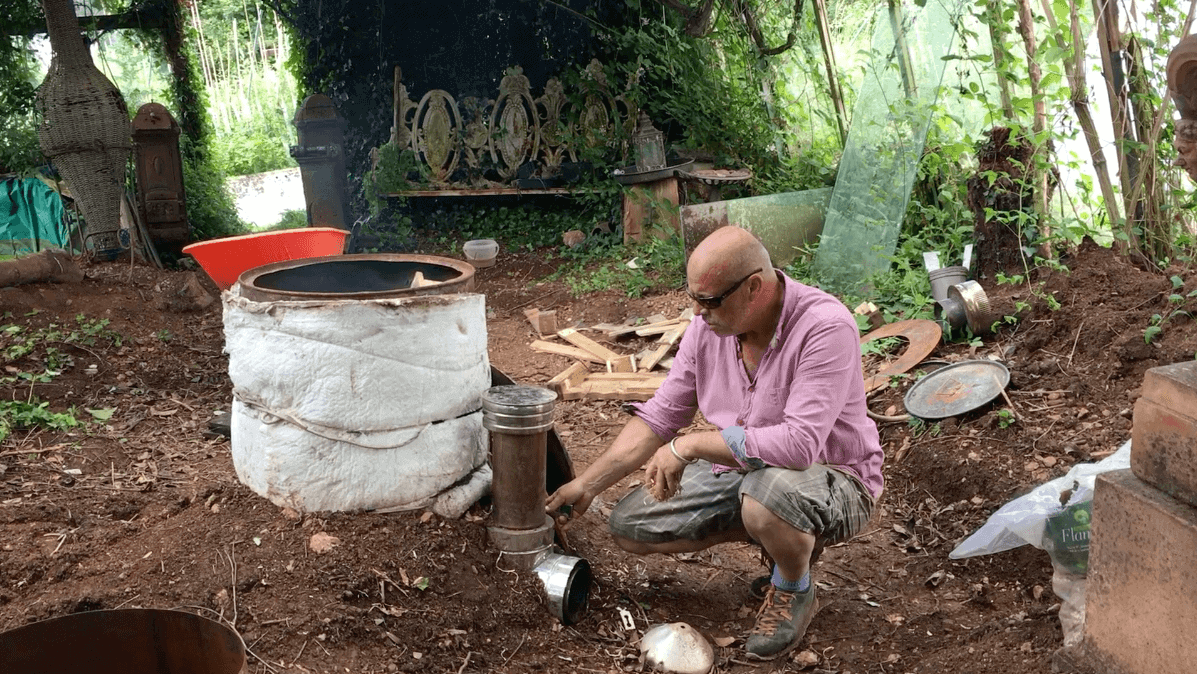
Loading up the oil drums and lighting a fire
Next, we filled one of the mini oil drums with some dry apple wood logs, which we split especially for the job. This oil drum will then be placed inside the larger one after you’ve got a fire going inside it, and this method will basically oven-bake the logs into charcoal!
After you’ve filled the mini oil drum, you can light a small fire inside the bottom of the large oil drum. This can be done with a handful of firelighters, a few pieces of kindling and some old pallet wood, for example. You’ll need to get the fire burning nicely, but keep in mind that you’ll need to add the smaller oil drum in before the fire gets too hot! To make our batch of homemade charcoal we only had to burn about half of an old pallet, along with a few firelighters and some bits of kindling.
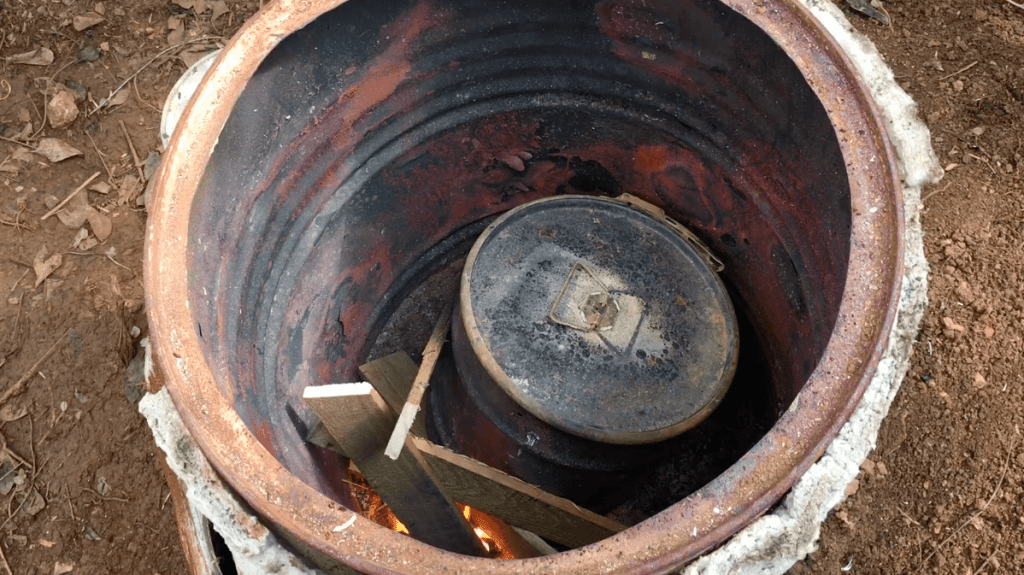
To improve the draw of our charcoal maker, we also added a few firelighters and some kindling inside the 90 T piece, and we pushed that up inside the flue piece to really get the fire going. We also made a lid for the charcoal maker to keep the heat in as much as possible, and we connected a length of flue pipe into the top of the lid to improve the draw. This made it function a bit like a small wood burning stove! You’ll see some fiery jets of air and hear some loud whooshing sounds when the volatile gases start escaping from the small oil drum, and this shows that the wood is beginning to turn into charcoal!
If you wanted to, you could fit two small oil drums inside the larger, full-size one, to make two mini oil drums worth of charcoal at the same time. In the video, we’ve also shown you how you could use two thirds of the oil drum to make charcoal, and you could turn the remaining third of the drum into a planter! Here’s one that we’ve made.
You should now have some homemade charcoal!
After the fire has gone out and the oil drums have cooled down, you can remove the smaller barrels and see how much charcoal has been made! This method of destructive distillation is a much more productive way to make charcoal, rather than the older method of building a pyramid of wood and then encapsulating it to stop the flow of air. If you also purchase an extra oil drum which you don’t burn the paint off, then you can use this as a nice little pot to store the homemade charcoal that you’ve just made!
Why not give this invention a go, and feel free to let us know how you get on! We strongly advise you to take a lot of care when it comes to the assembly and usage of the charcoal maker, and only attempt to build and use it at your own risk!
If you know of any other ways that charcoal can be used then feel free to let us know! We also thought it was worth mentioning a few other things that charcoal can be used for, such as:
- You can put a piece of charcoal in your tool box to help stop your tools from rusting
- You can use it for as a temporary quick-fix for any scratches or marks on dark wooden floors or furniture
- It can be used to stop your de-icing salt of sand from caking and clumping together
- Filtering drinking water (check out Binchotan charcoal)
- Entertainment! You can use a piece of charcoal to mark out hopscotch squares or other games on the floor, and the marks can be easily washed away
- You can use small pieces to nourish orchids

