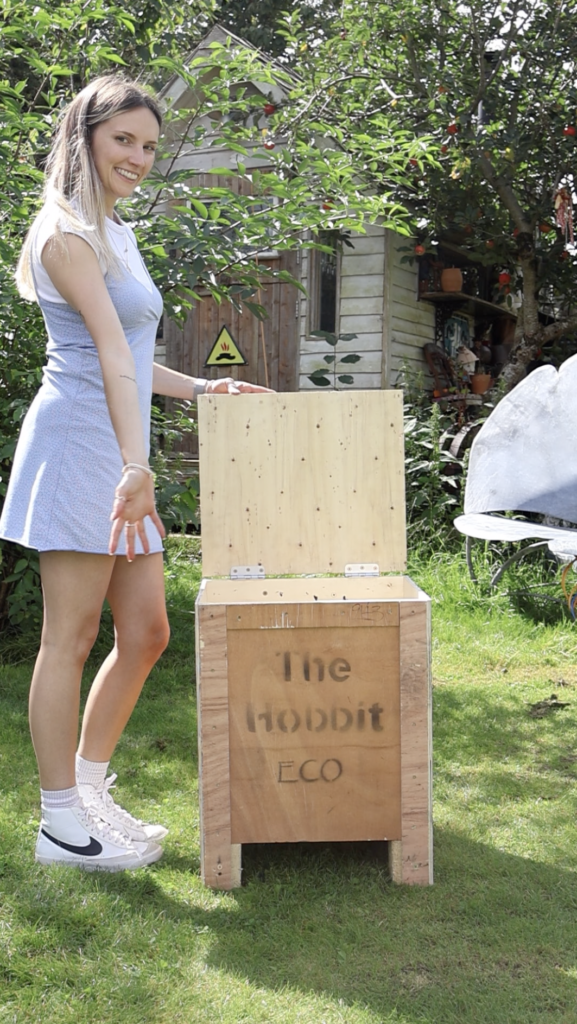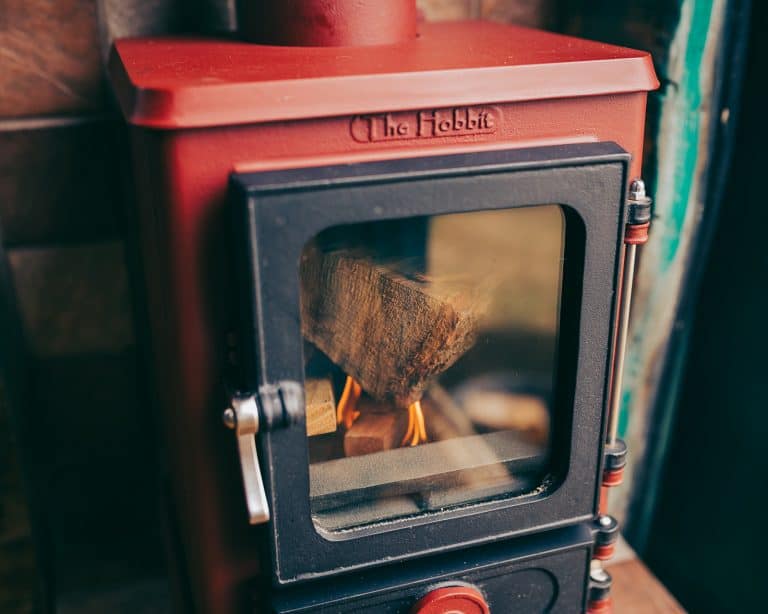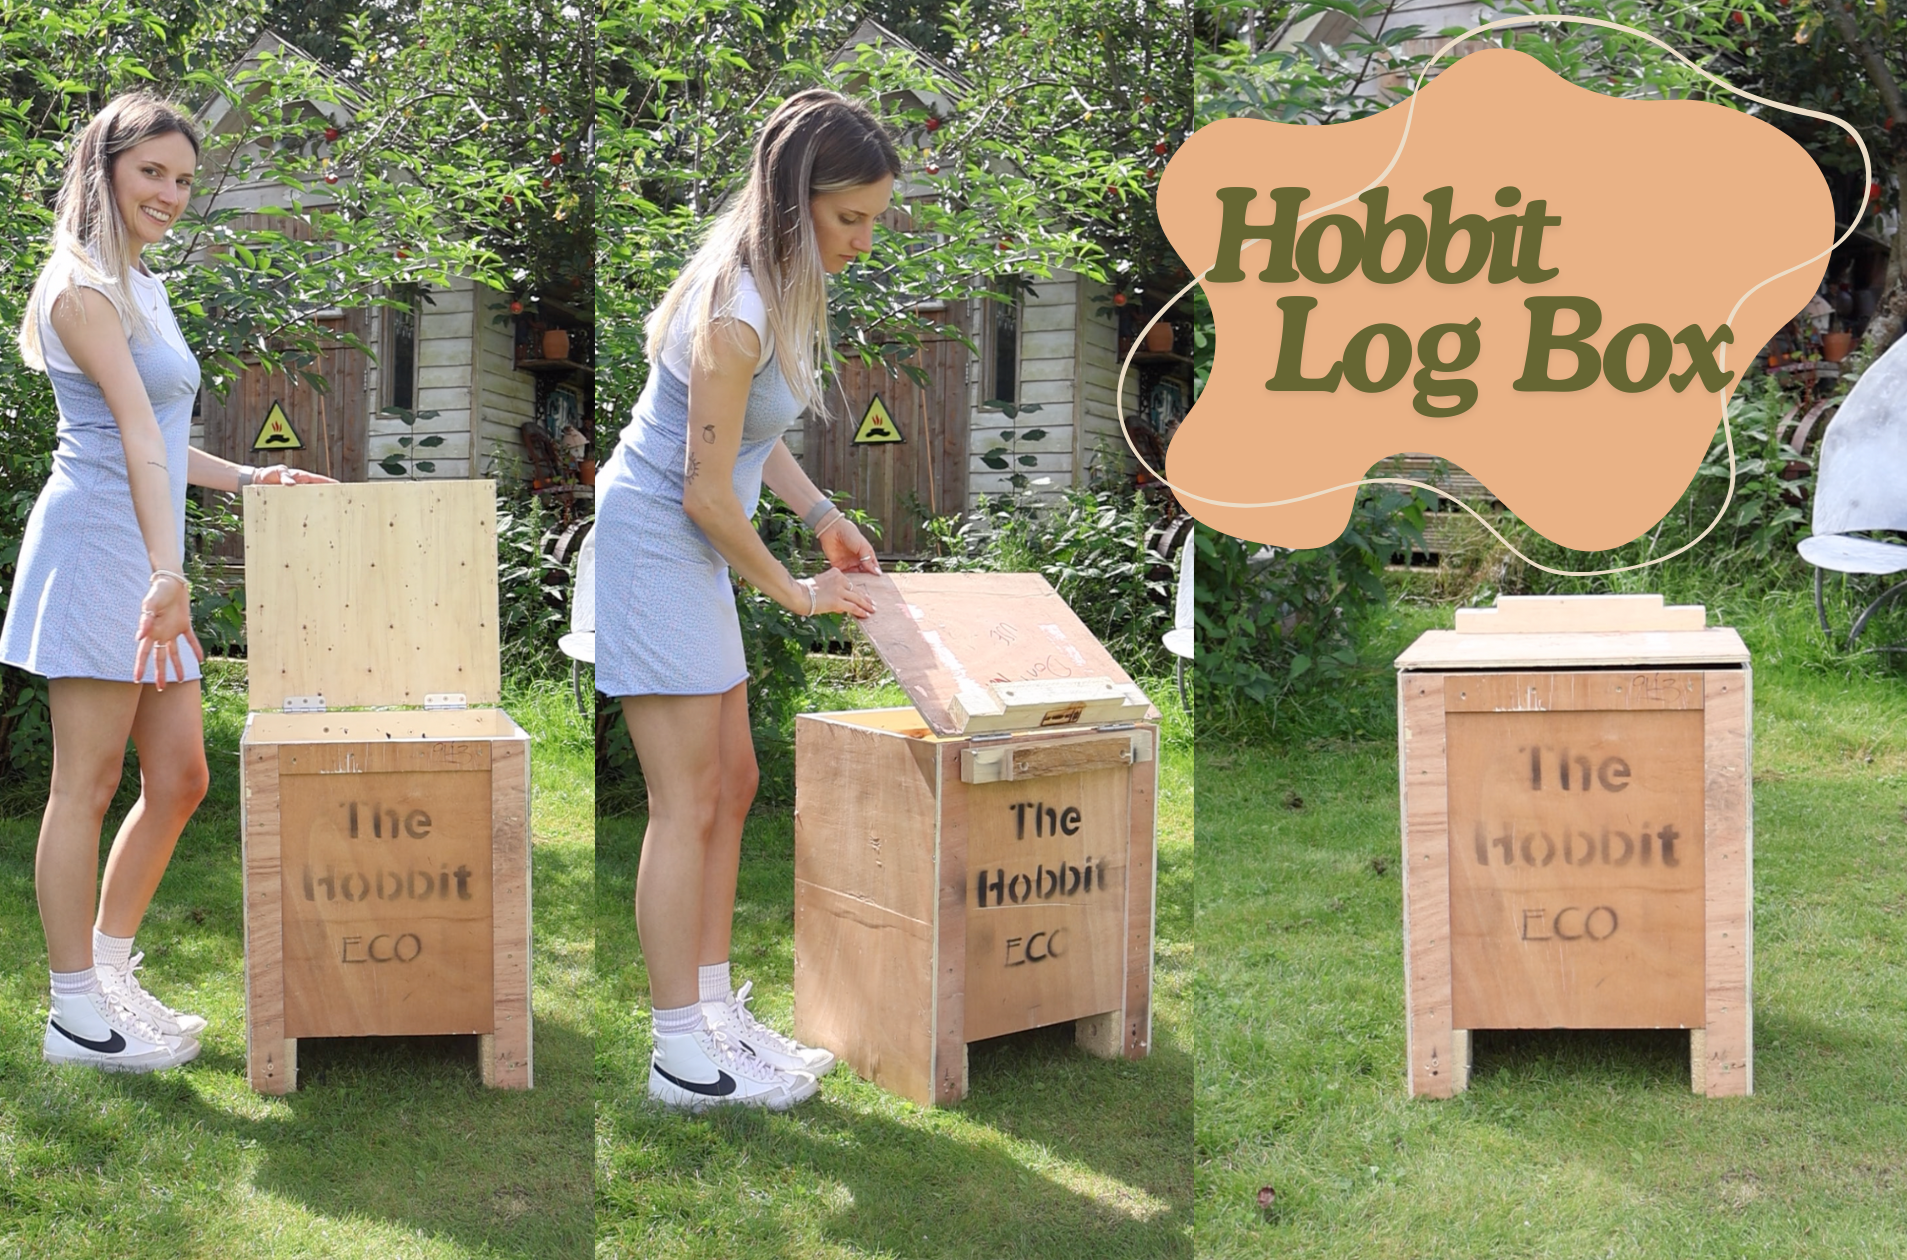
How to Make a Log Box With Your Hobbit Box
The week commencing 2nd September 2024 is Zero Waste Week, and we are so excited to take part in it! Zero Waste Week is an environmental campaign to reduce landfill waste, it is an award-winning, grassroots annual awareness campaign that takes place online and on-the-ground. It helps householders, businesses, organisations, schools, universities and community groups reduce landfill waste so you can save money, preserve resources and protect the environment.
Here at Salamander Stoves, 95% of our packaging is eco friendly and we do our best to reuse any plastic packaging that we may have accumulated such as bubble wrap – we will never go and purchase any plastic packaging!
For Zero Waste Week, we are going to show you how you can up-cycle your Hobbit Stove box and transform it onto a log box! For this we re-use multiple parts of the box, meaning less going to waste!
What you will need:
- Hobbit box
- The two batons that the Hobbit sits on
- The base of the stove and the feet and the screws that screw the feet in
- Two hinges – we used a 3 hole ball bearing butt hinge (what a name!)
- We used 20mm screws for the top but you could use 30mm, and 50mm screws for the bottom part of the hinge
- Drill with 3mm drill bit
- Hammer
- Chisel
- Screw driver
- Pliers
- Clamp
- Pen
Step 1:
Start off by removing the cardboard from the inside of the box, this may be glued on in spots so you could use a saw and carefully slot it between the cardboard and the side of the box to free the cardboard.
Step 2:
Now you need to carefully remove the top of the box. The easiest way to do this would be to use a chisel and a hammer, place the chisel between the side of the box and the top and make your way around the top, prying the nails out from the body of the box. Take your time with this! Once the top is off, you will then need to pry out the nails, you could use a flat head screwdriver to do this.
Step 3:
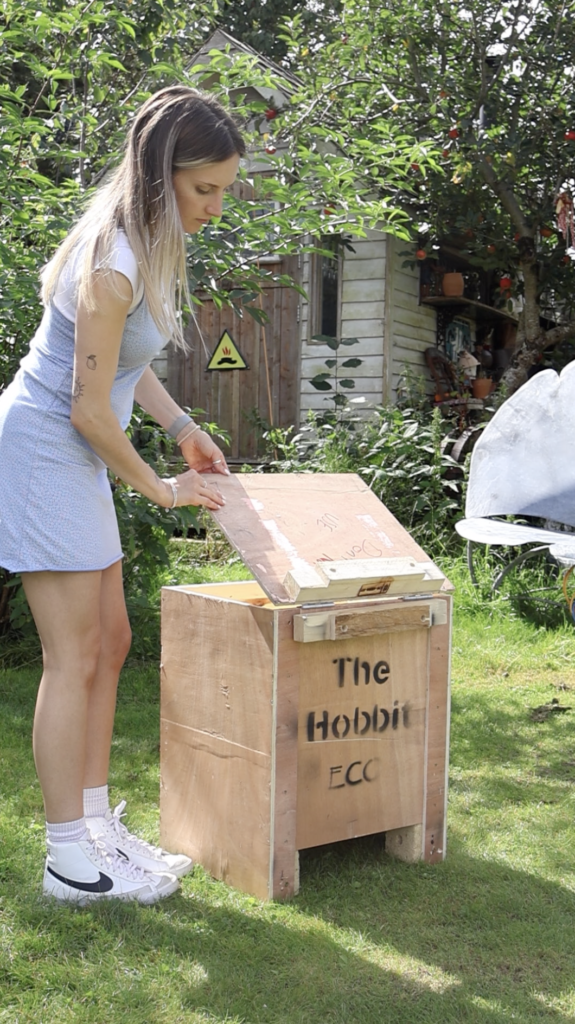
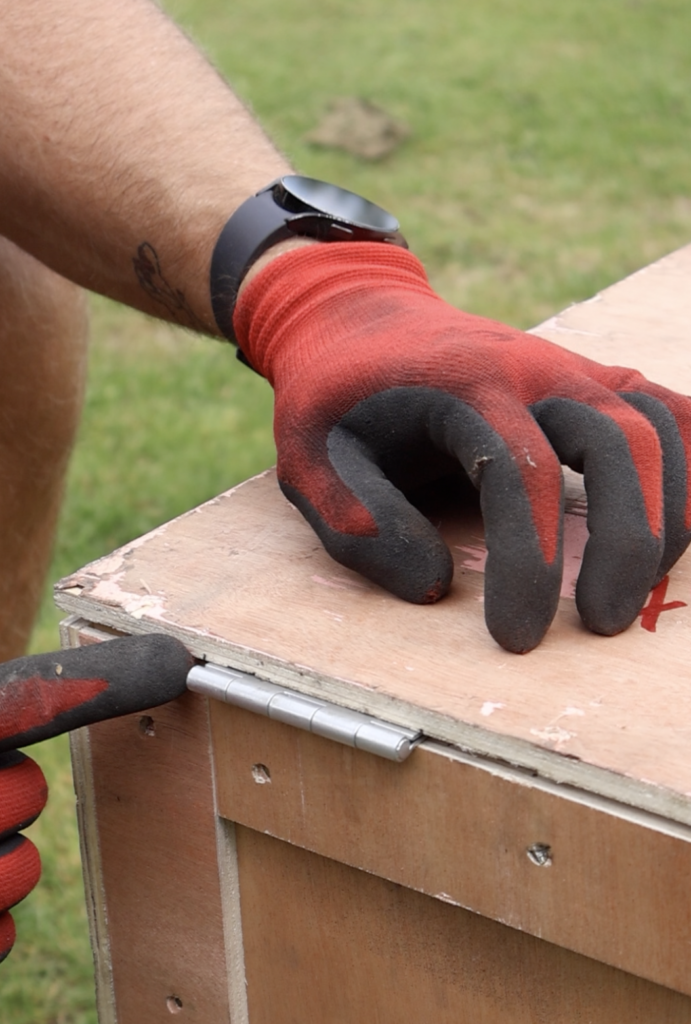
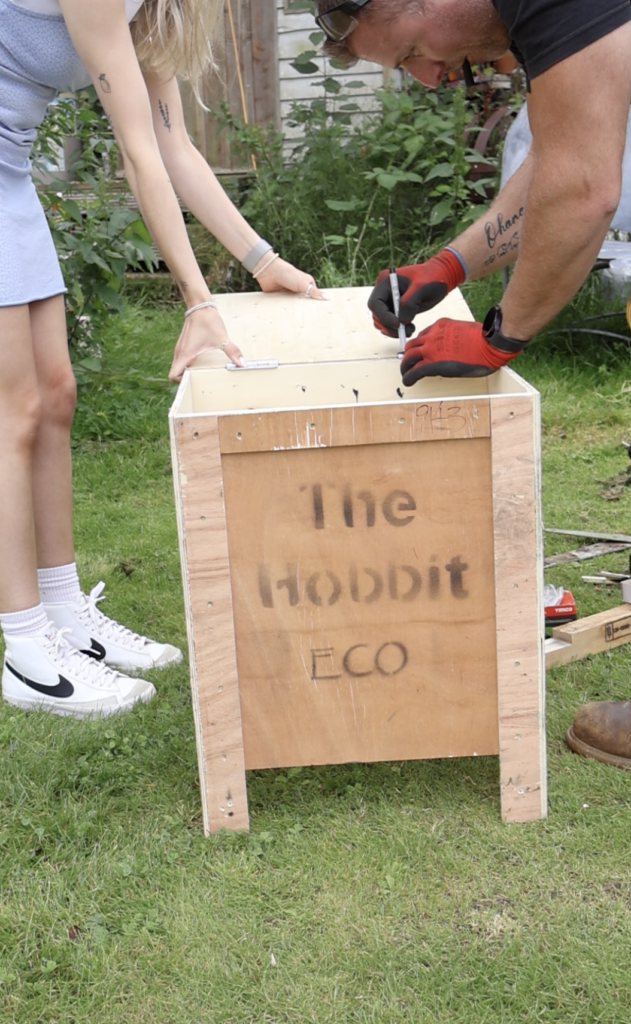
Now you have the lid off, get your hinges and have them in a closed position. Place facing the inside of the box as per the image and mark on the box and the lid each side of the hinge. Then flip the lid over, line up your hinge with the lines you have just drawn and mark the three holes with a pen
Step 4:
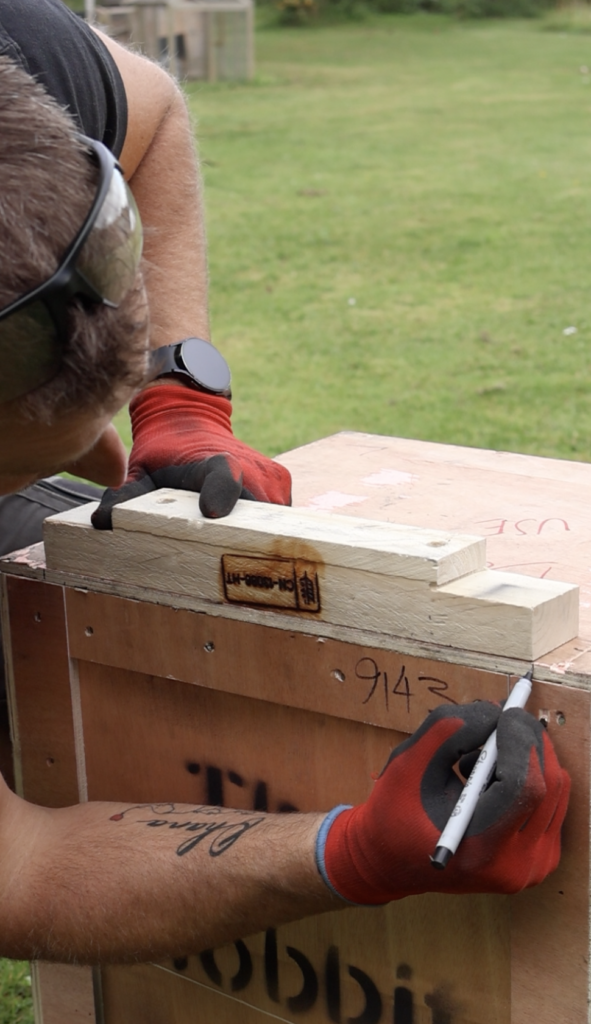
As extra support for the lid so when you open it it has a ledge to sit on rather than swinging back uncontrollably, we used the two batons of wood that the stove legs are screwed into – also less waste! For the baton that sits on the lid, start with the lid the right way up on top of the box. Place the baton on top of the box and mark where it was going to go as per the image, flip the lid over again and line up the baton to the lines that you just marked. Here it would be useful for you to use a clamp to secure the baton to the top of the lid to stop it from moving! Pre-drill your holes that you made for the hinges and make sure the drill goes through to the baton, we advise you pre-drill your holes to avoid the wood from possibly splitting.
Step 5:
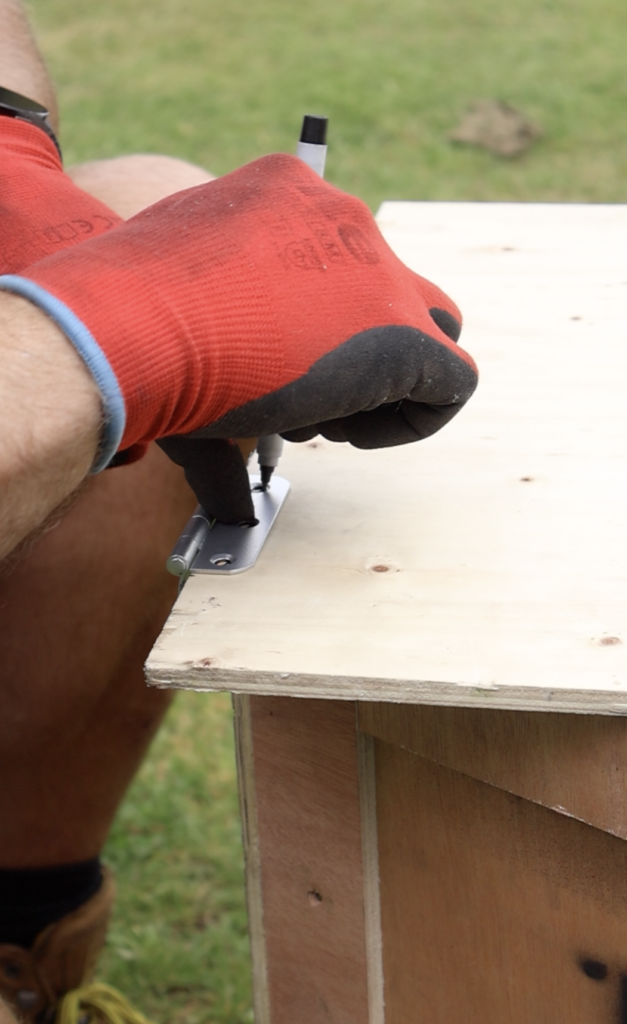
Now drill in the top part of your hinge to the underside of the lid through to the baton. We used 20mm screws, but you could use 30mm meaning that more of the screw goes into the baton. Then repeat exactly the same process on the other side.
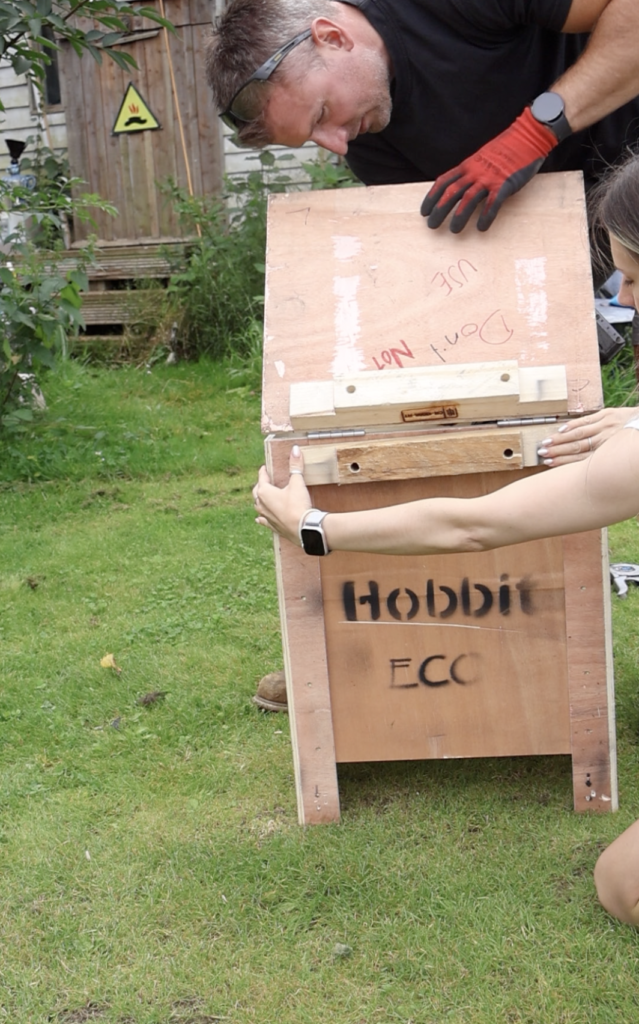
Step 6:
You should now have the lid with the baton attached to the top and the top of the hinge attached to the underside with screws holding them altogether! You can now move onto screwing in the bottom of the hinge. Flip the lid over and line up the lid with the bottom side of the hinges resting on the top of the back panel of wood of the box. Draw your circles where the screws are going to go then pre-drill your holes.
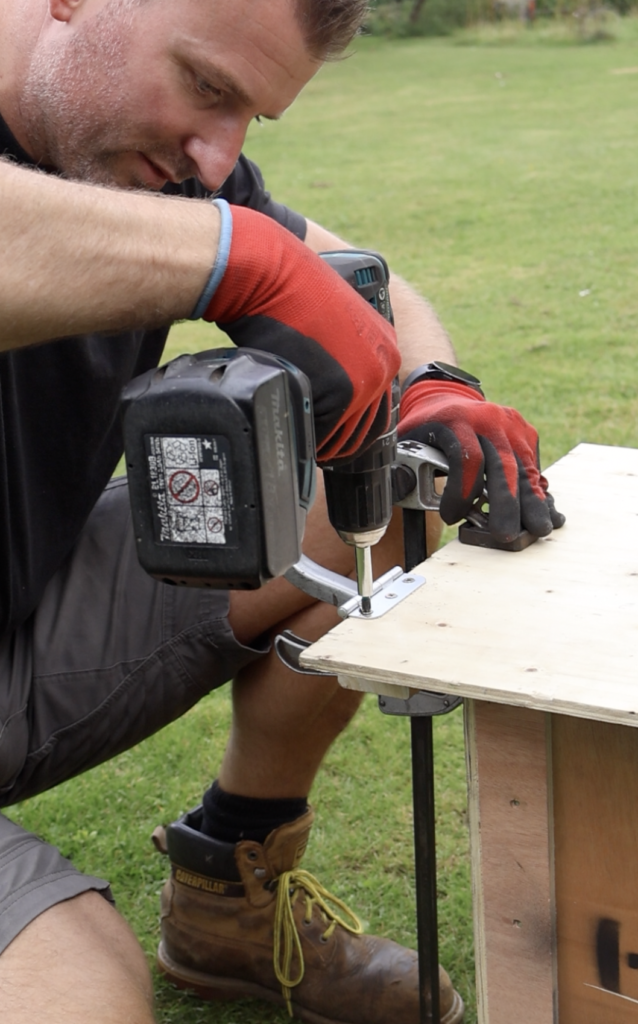
Step 7:
You can then attach the other piece of baton to the back of the box. You may need some assistance – someone can hold the baton in place and another person can drill in the screws, we used 50mm screws for this. Then slot the base with the feet back on and reuse the screws that were holding the feet in place.
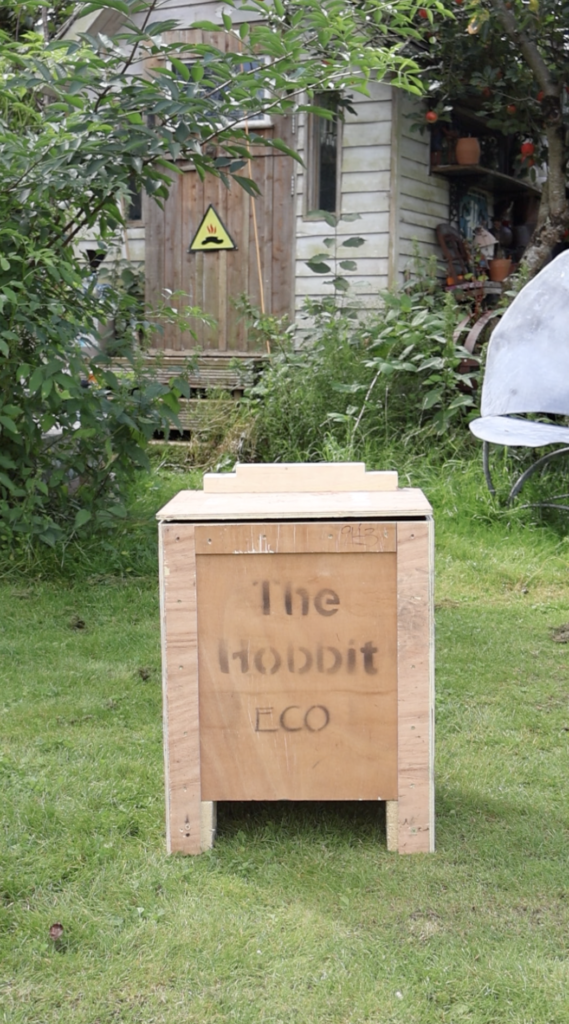
Voila!
You have your very own Hobbit log box! The Hobbit box is such a sturdy and useful box, and log stores tend to be quite expensive so have a go at up-cycling your Hobbit box. You could also try sanding it down to give it more of a lighter wood finished, varnishing it or even painting it, the options are endless! Have fun creating your new Hobbit log box!
Other ways to reuse your Hobbit Stove box:
- Use it as a toy box
- Storage for blankets or cushions – could be very handy in a shepherds hut, bell tent or tiny home where space is limited and storage is essential!
- Put your Christmas tree in it!
- Make a hedgehog house
- Use it as a planter for potatoes, other veg or flowers
- Make it into a coffee or side table
- Use it to build a cat tower
- Make a bee hive!