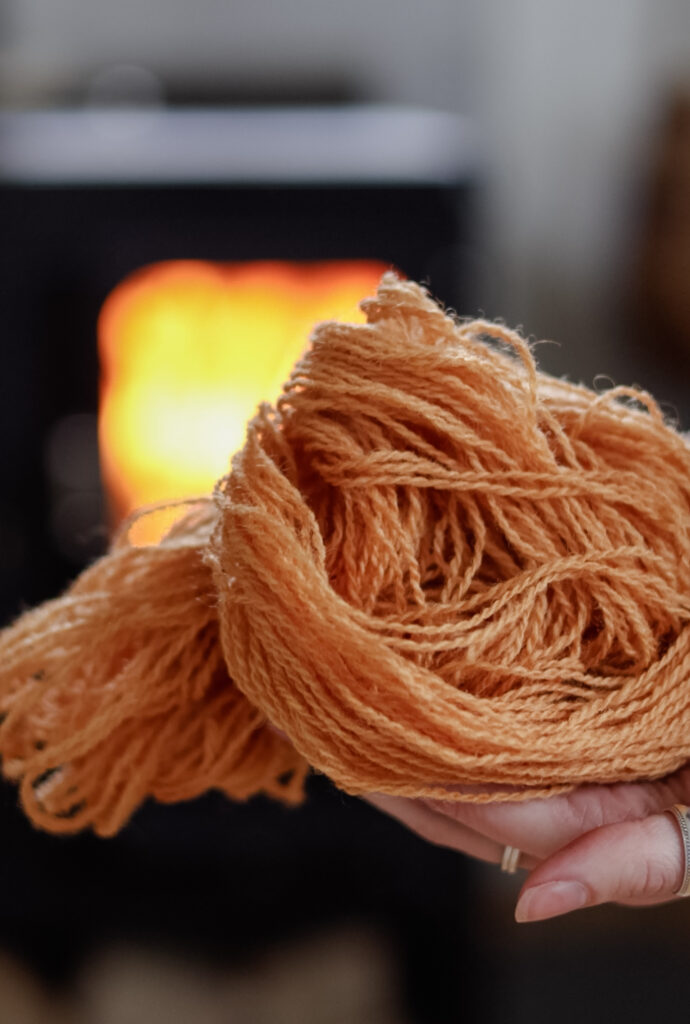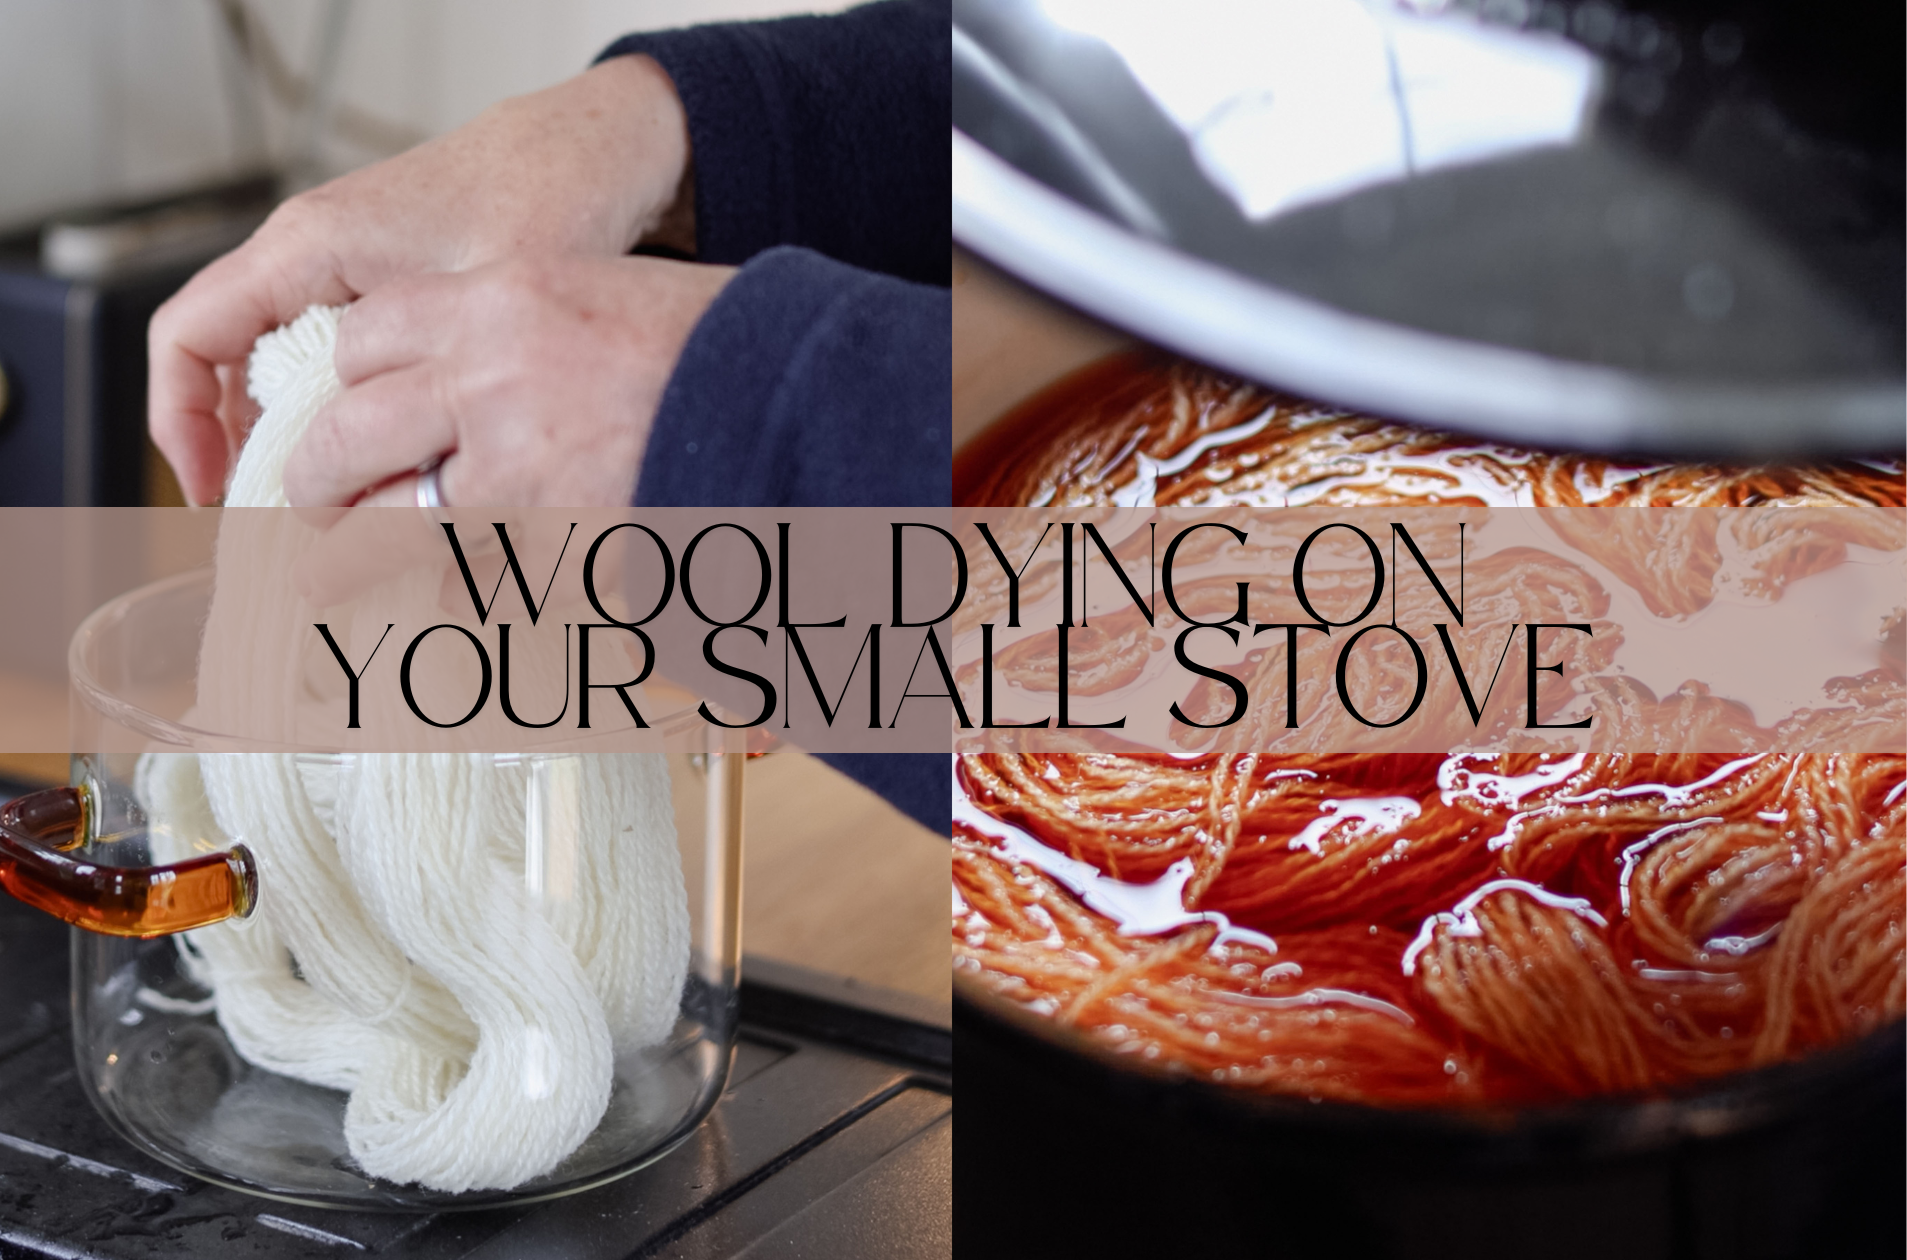
Wool dyeing on your small stove
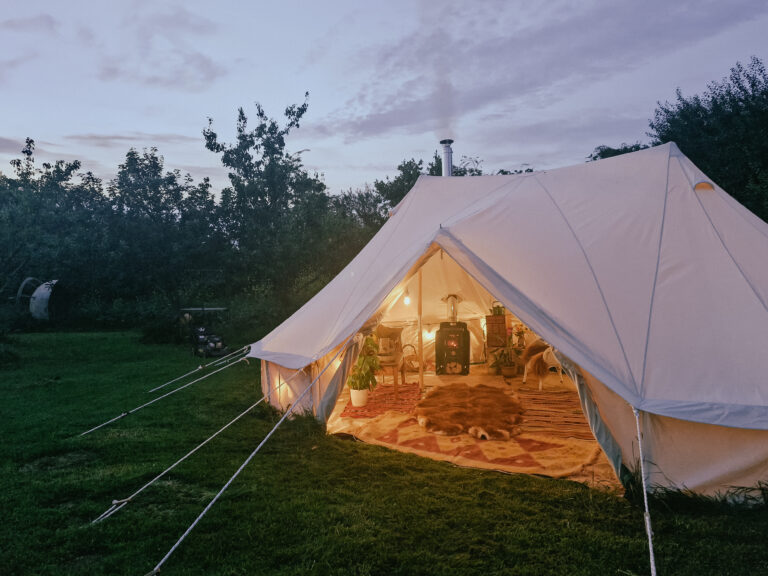
Having a wood-burning stove can bring a unique charm and warmth to your home. There’s something special about the crackling sound of the fire and the cozy ambiance it creates, especially on cold winter nights. But not only does a small stove fill your home with a warm hug and a place to cook your meals, you can also use a stove for crafting!
Natural dyeing is a craft that is not only a way to dye your wool/clothes without chemicals, you can create some amazing colours using different natural materials that you would usually just throw away! It is quite surprising how many food based materials you can use as a dye, such as onion skins, avocado skins, pomegranates skins and many more. For this dyeing session, we used onions skins, which creates a rusty orange colour. The colour you end up with will usually always be different as each dye batch will differ slightly depending on what you use, how much you use, how long you brew the dye for, what materials you are dyeing and even the material of the dye pot you are using to dye in such as steel, aluminium etc.
Materials
- Onion skins – the more the merrier!
- Mesh bag
- Pot to dye in
- White wool
- Bowl to soak wool in
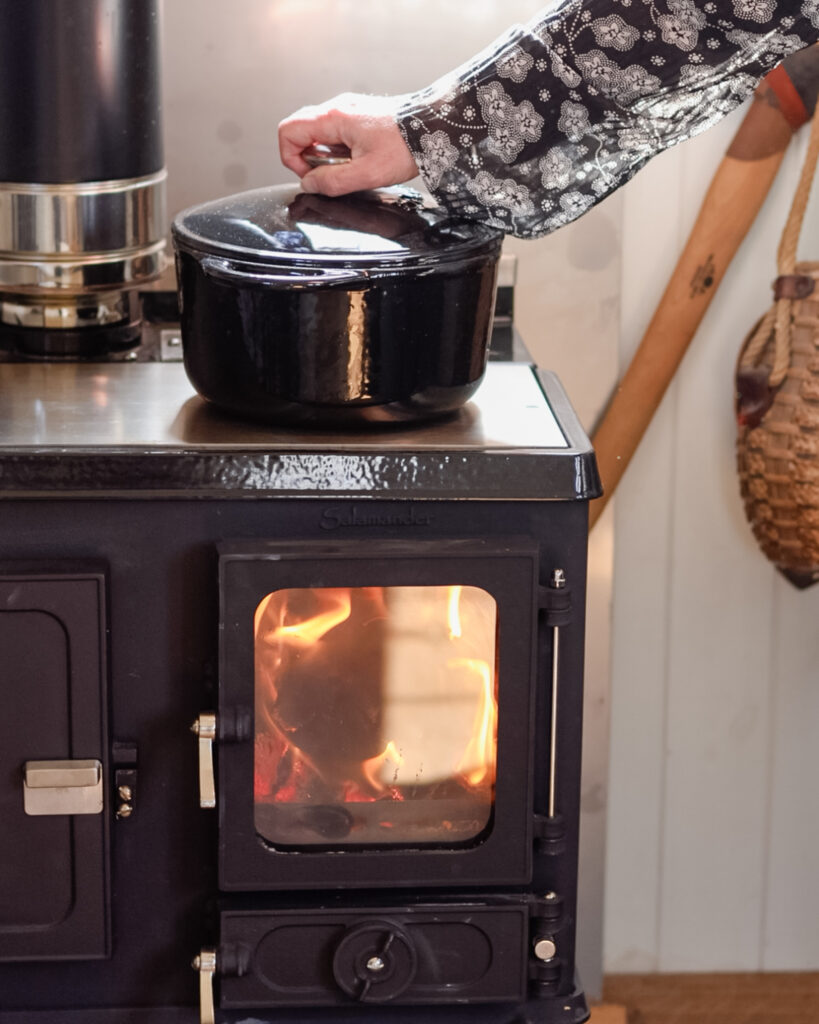
Day 1, step 1: Light The Range
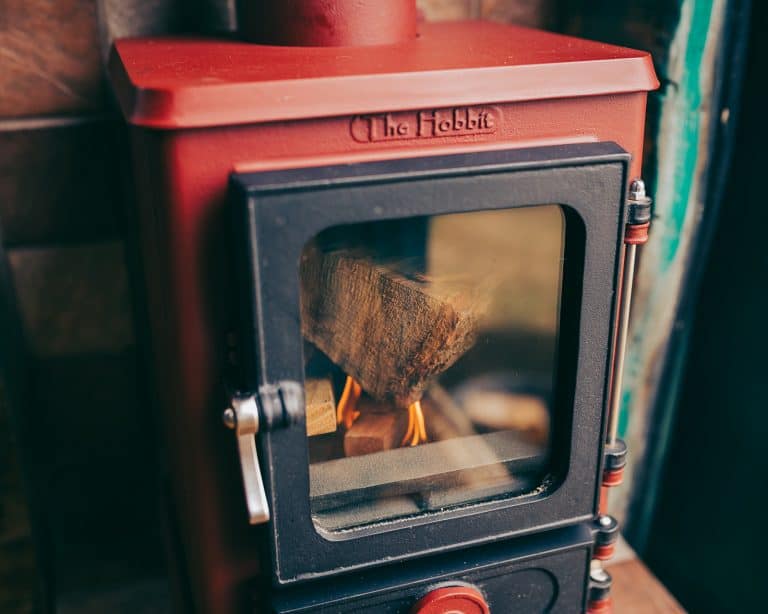
We used the Little Range to dye our wool, but if you have a Hobbit Stove with a rear exit then you can also use this! We started off by getting the Range lit, you will need your cook top to be nice and warm so give the fire about 30 minutes to get really hot.
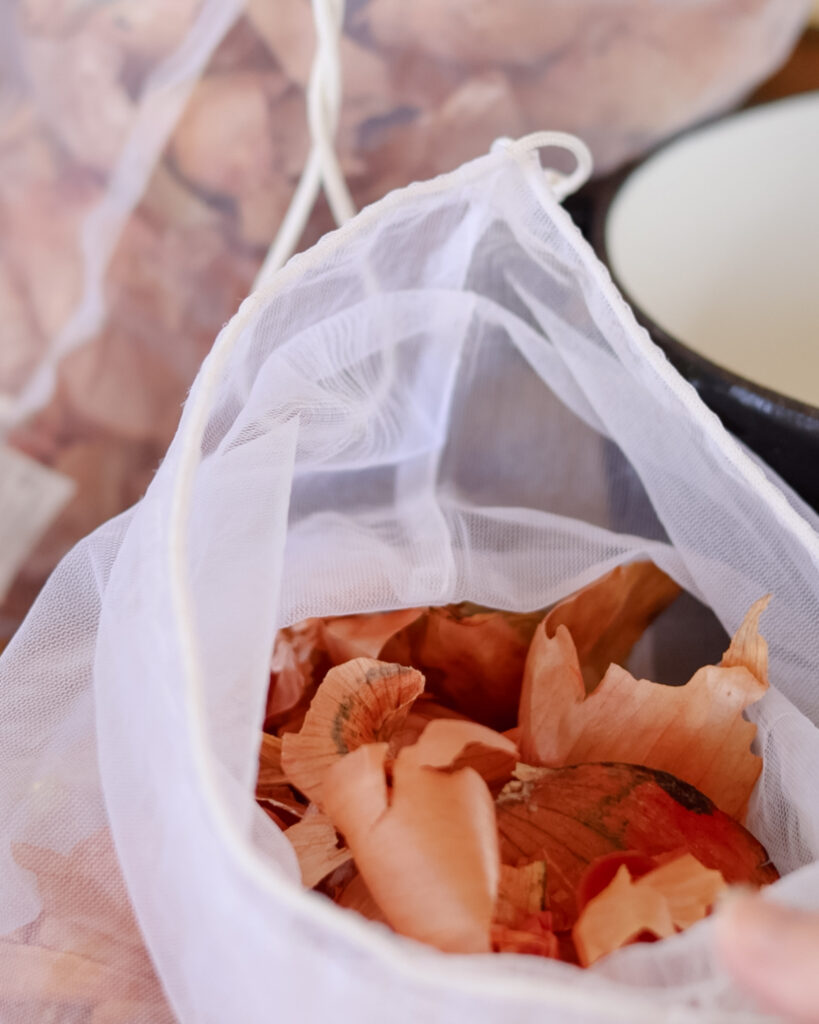
Step 2: Prepare your materials
Get your mesh bag and start filling it up with onion skins, keep placing the bag inside of your large pot to make sure you don’t overfill it, you want it just full enough so that the water can cover it and you can place the lid on top. Then tie up the mesh bag and place inside of the pot and fill with cold water.
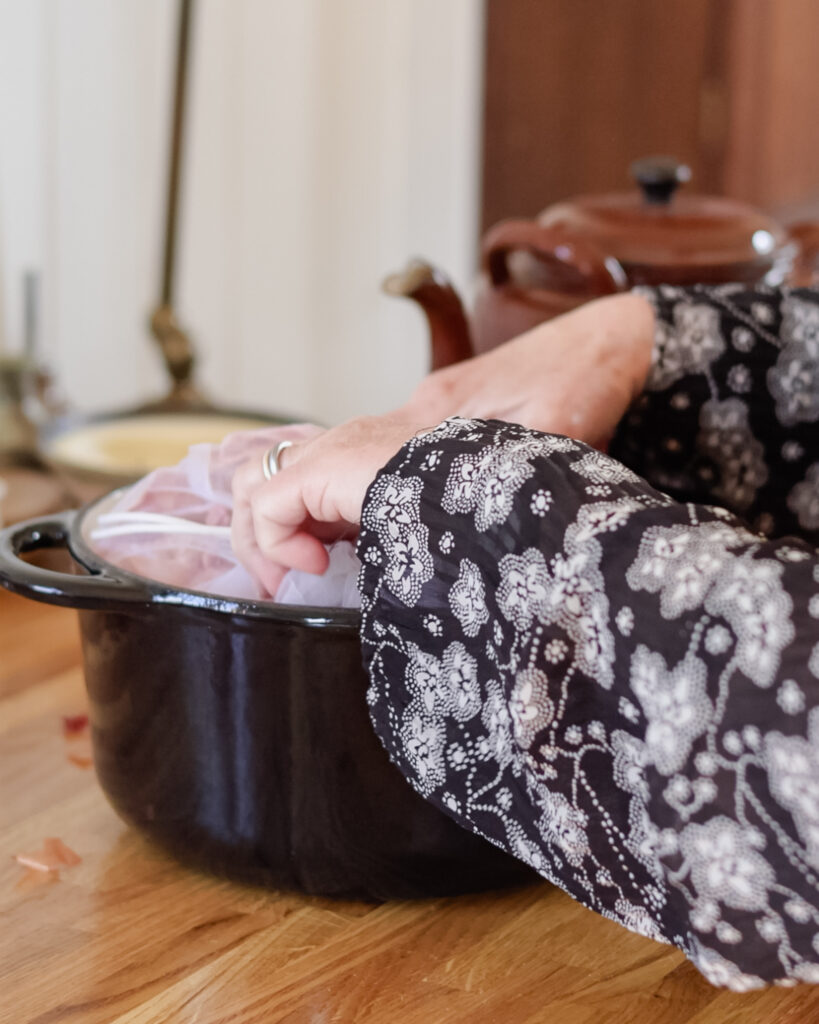
Step 3: Stew for 24 hours
Place your pot on the stove and let it warm up just to a simmer. Once it is simmering let the fire go out and then leave your dye for 24 hours, you can choose to leave it for less time but the longer you leave it the richer the colour will be.
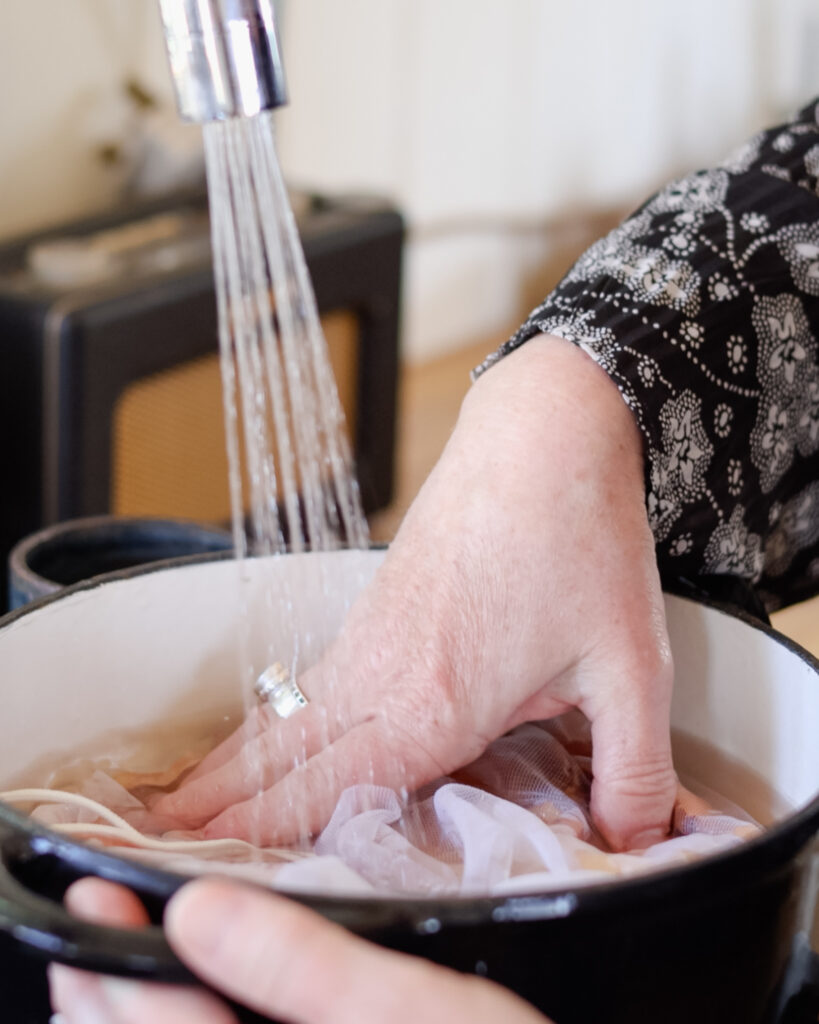
Day 2, step 4: Prepare the wool
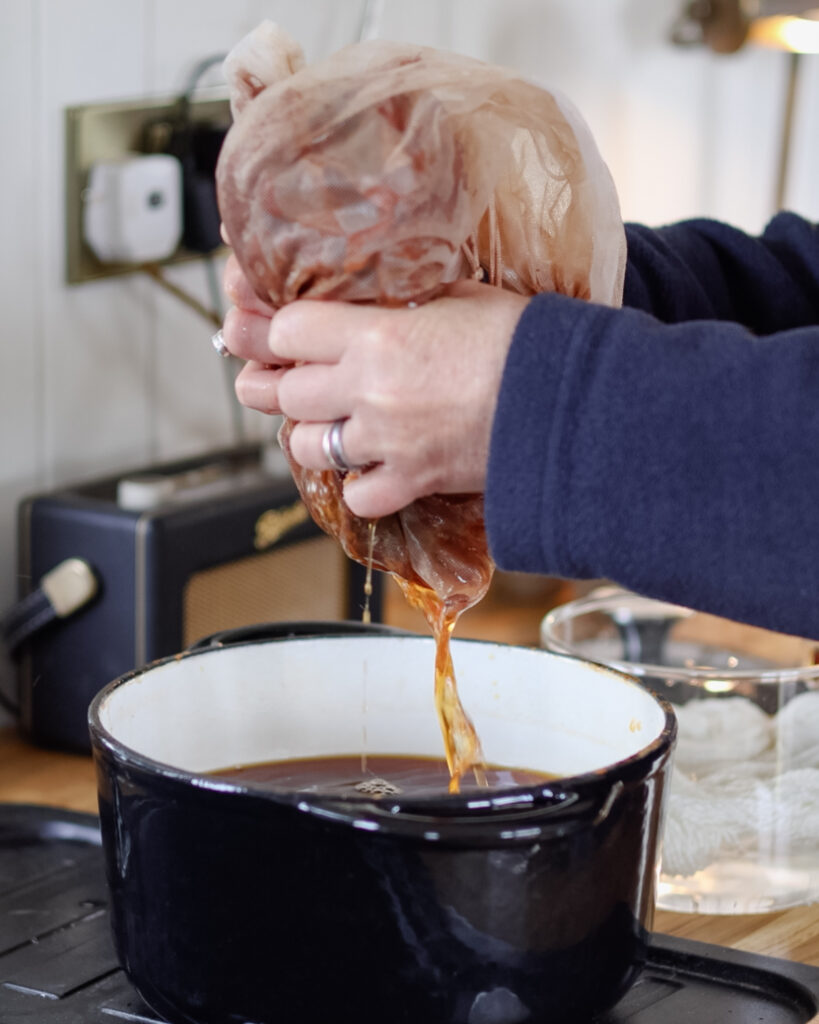
The next day you will then have a rich golden orange dye ready for your wool. Start off by removing the dye pot from the stove and light the stove again, letting it warm for at least 30 minutes. You then need to prepare your wool by placing in a bowl and adding cold water until the wool is submerged. It is crucial that you get the wool wet first and let it soak for about 1 hour before dyeing it. It is also very important that the dye water is removed from the stove before you light it so it doesn’t warm up, this avoids the wool from felting. Whilst the wool is soaking, take out the mesh bag of onion skins and squeeze out any remaining dye colour, we suggest keeping the used onion skins and making another dye later on too as there will still be colour left to extract from the skins!
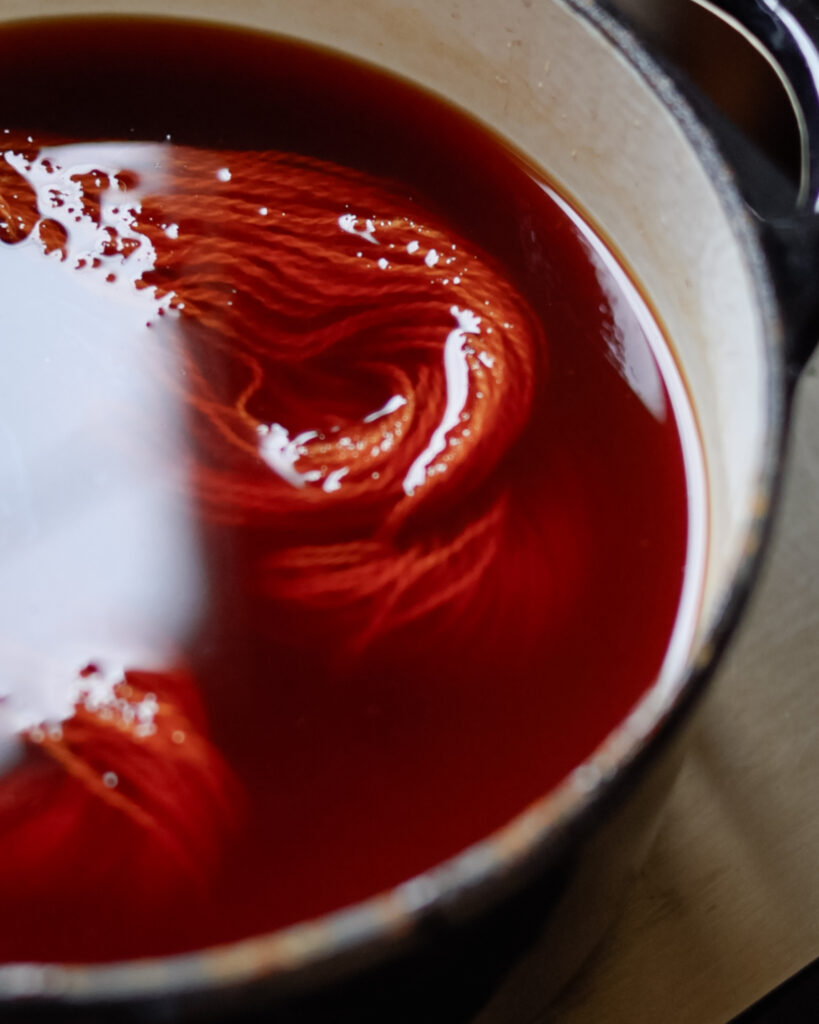
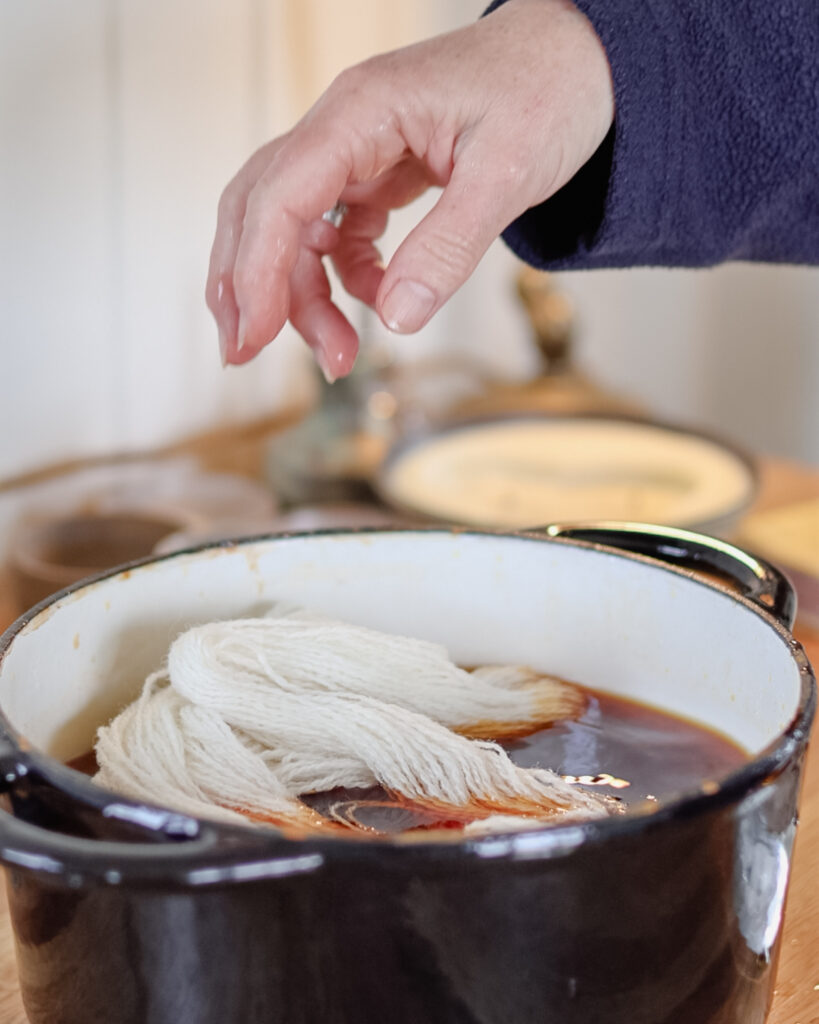
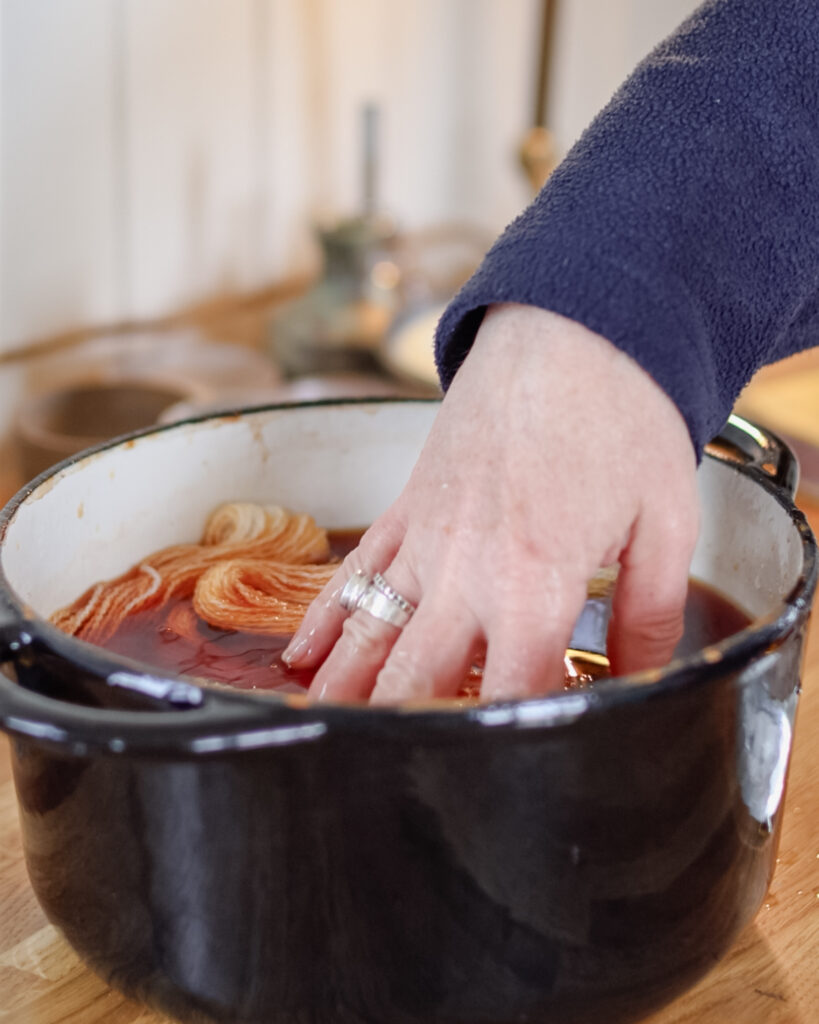
Day 2, step 5: Dye the wool
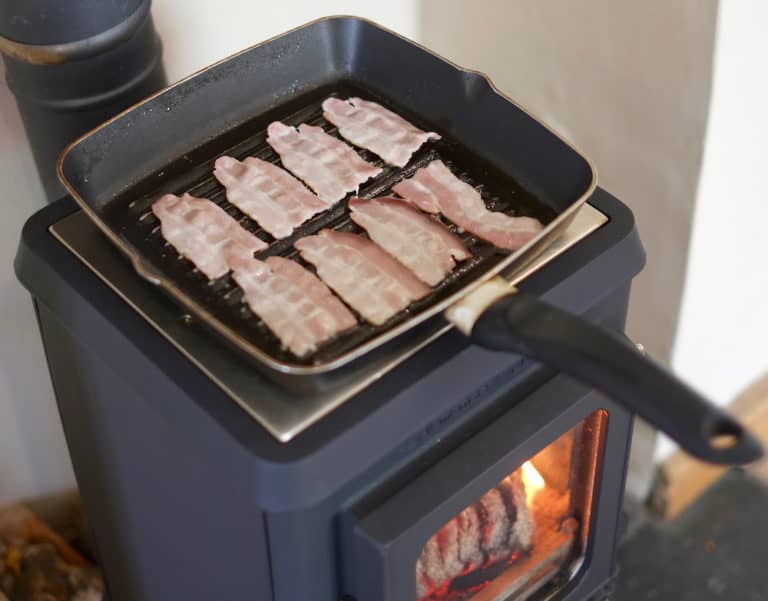
Once the stove top is warm and the wool has soaked, take the wool out of the water and place into the dye, making sure it is fully submerged. You can now put your dye pot back on the stove top and like yesterday, let it come to a gentle simmer and then let the fire go out and the dye water cool. It is important to not let it boil though so keep an eye on it. You then need to leave it for another 24 hours to allow the wool to really soak up the colour of the dye.
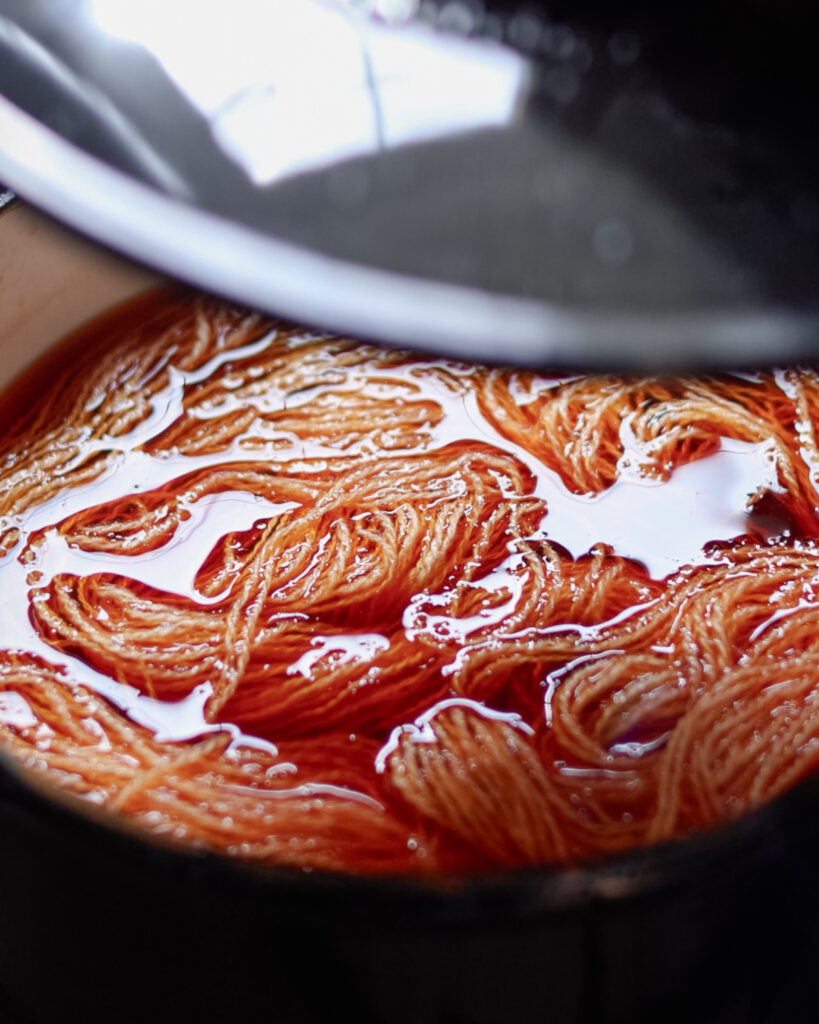
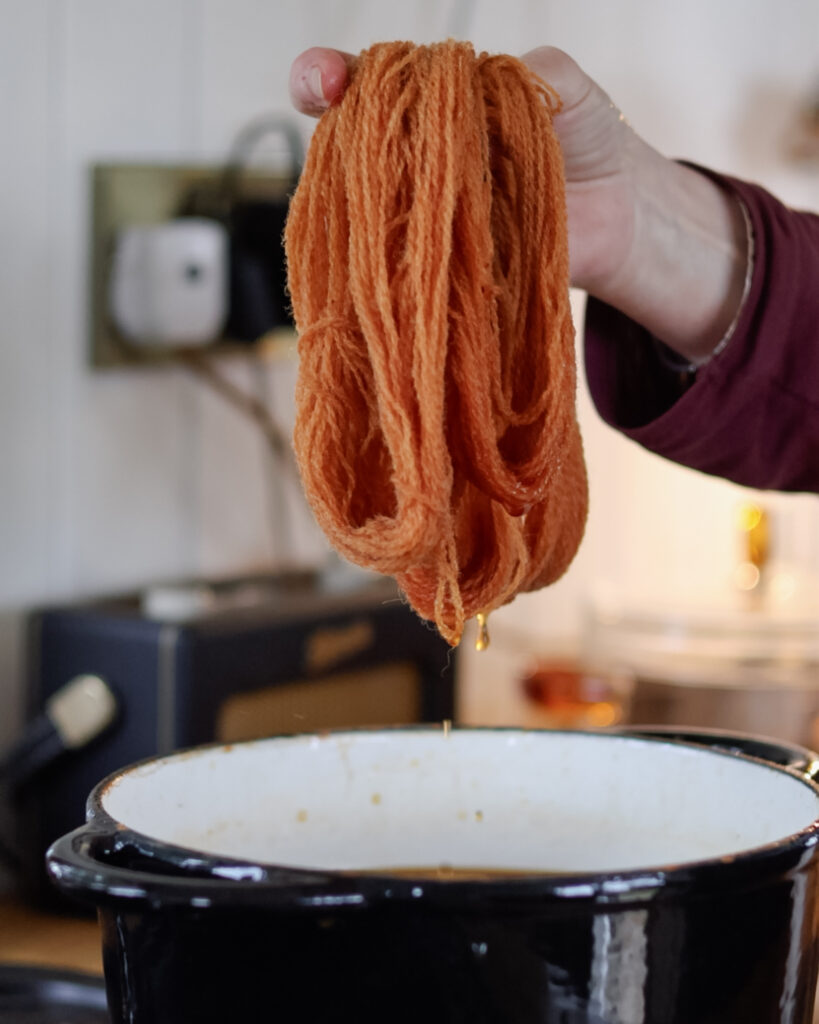
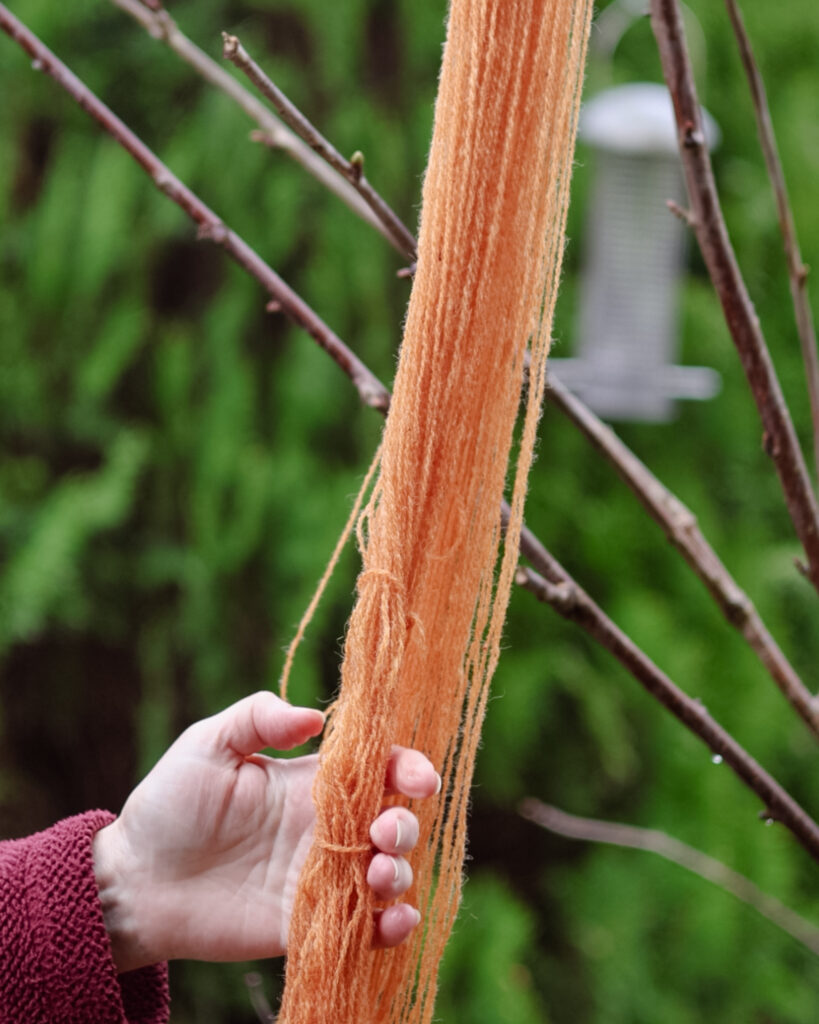
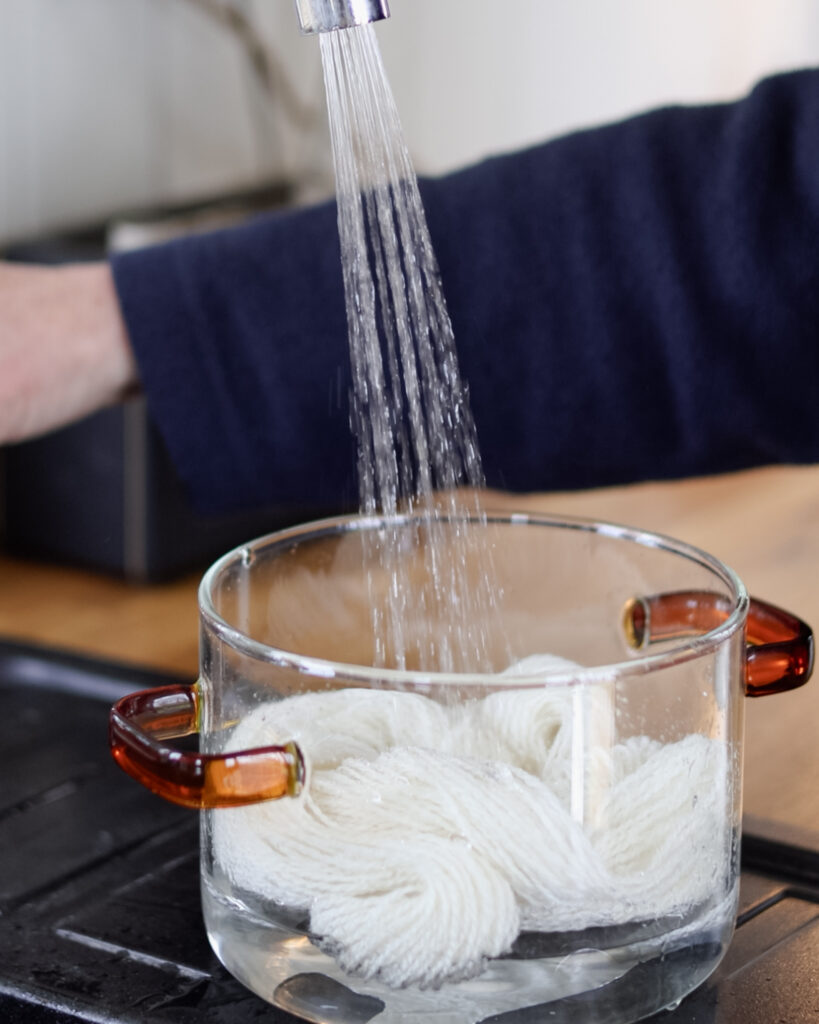
Day 3, step 6: Drip drying
On day three you should have some beautiful orange/brown wool! How exciting. You can now remove the wool from the dye and squeeze out the water. The best thing to now do is to let it drip dry outside in the shade. Let it drip dry for about 24 hours, once it is dry you will then need to rinse it well and you can then hang it up again to dry. Once it is fully dry you then have some beautiful homemade dyed wool ready for a knitting project!