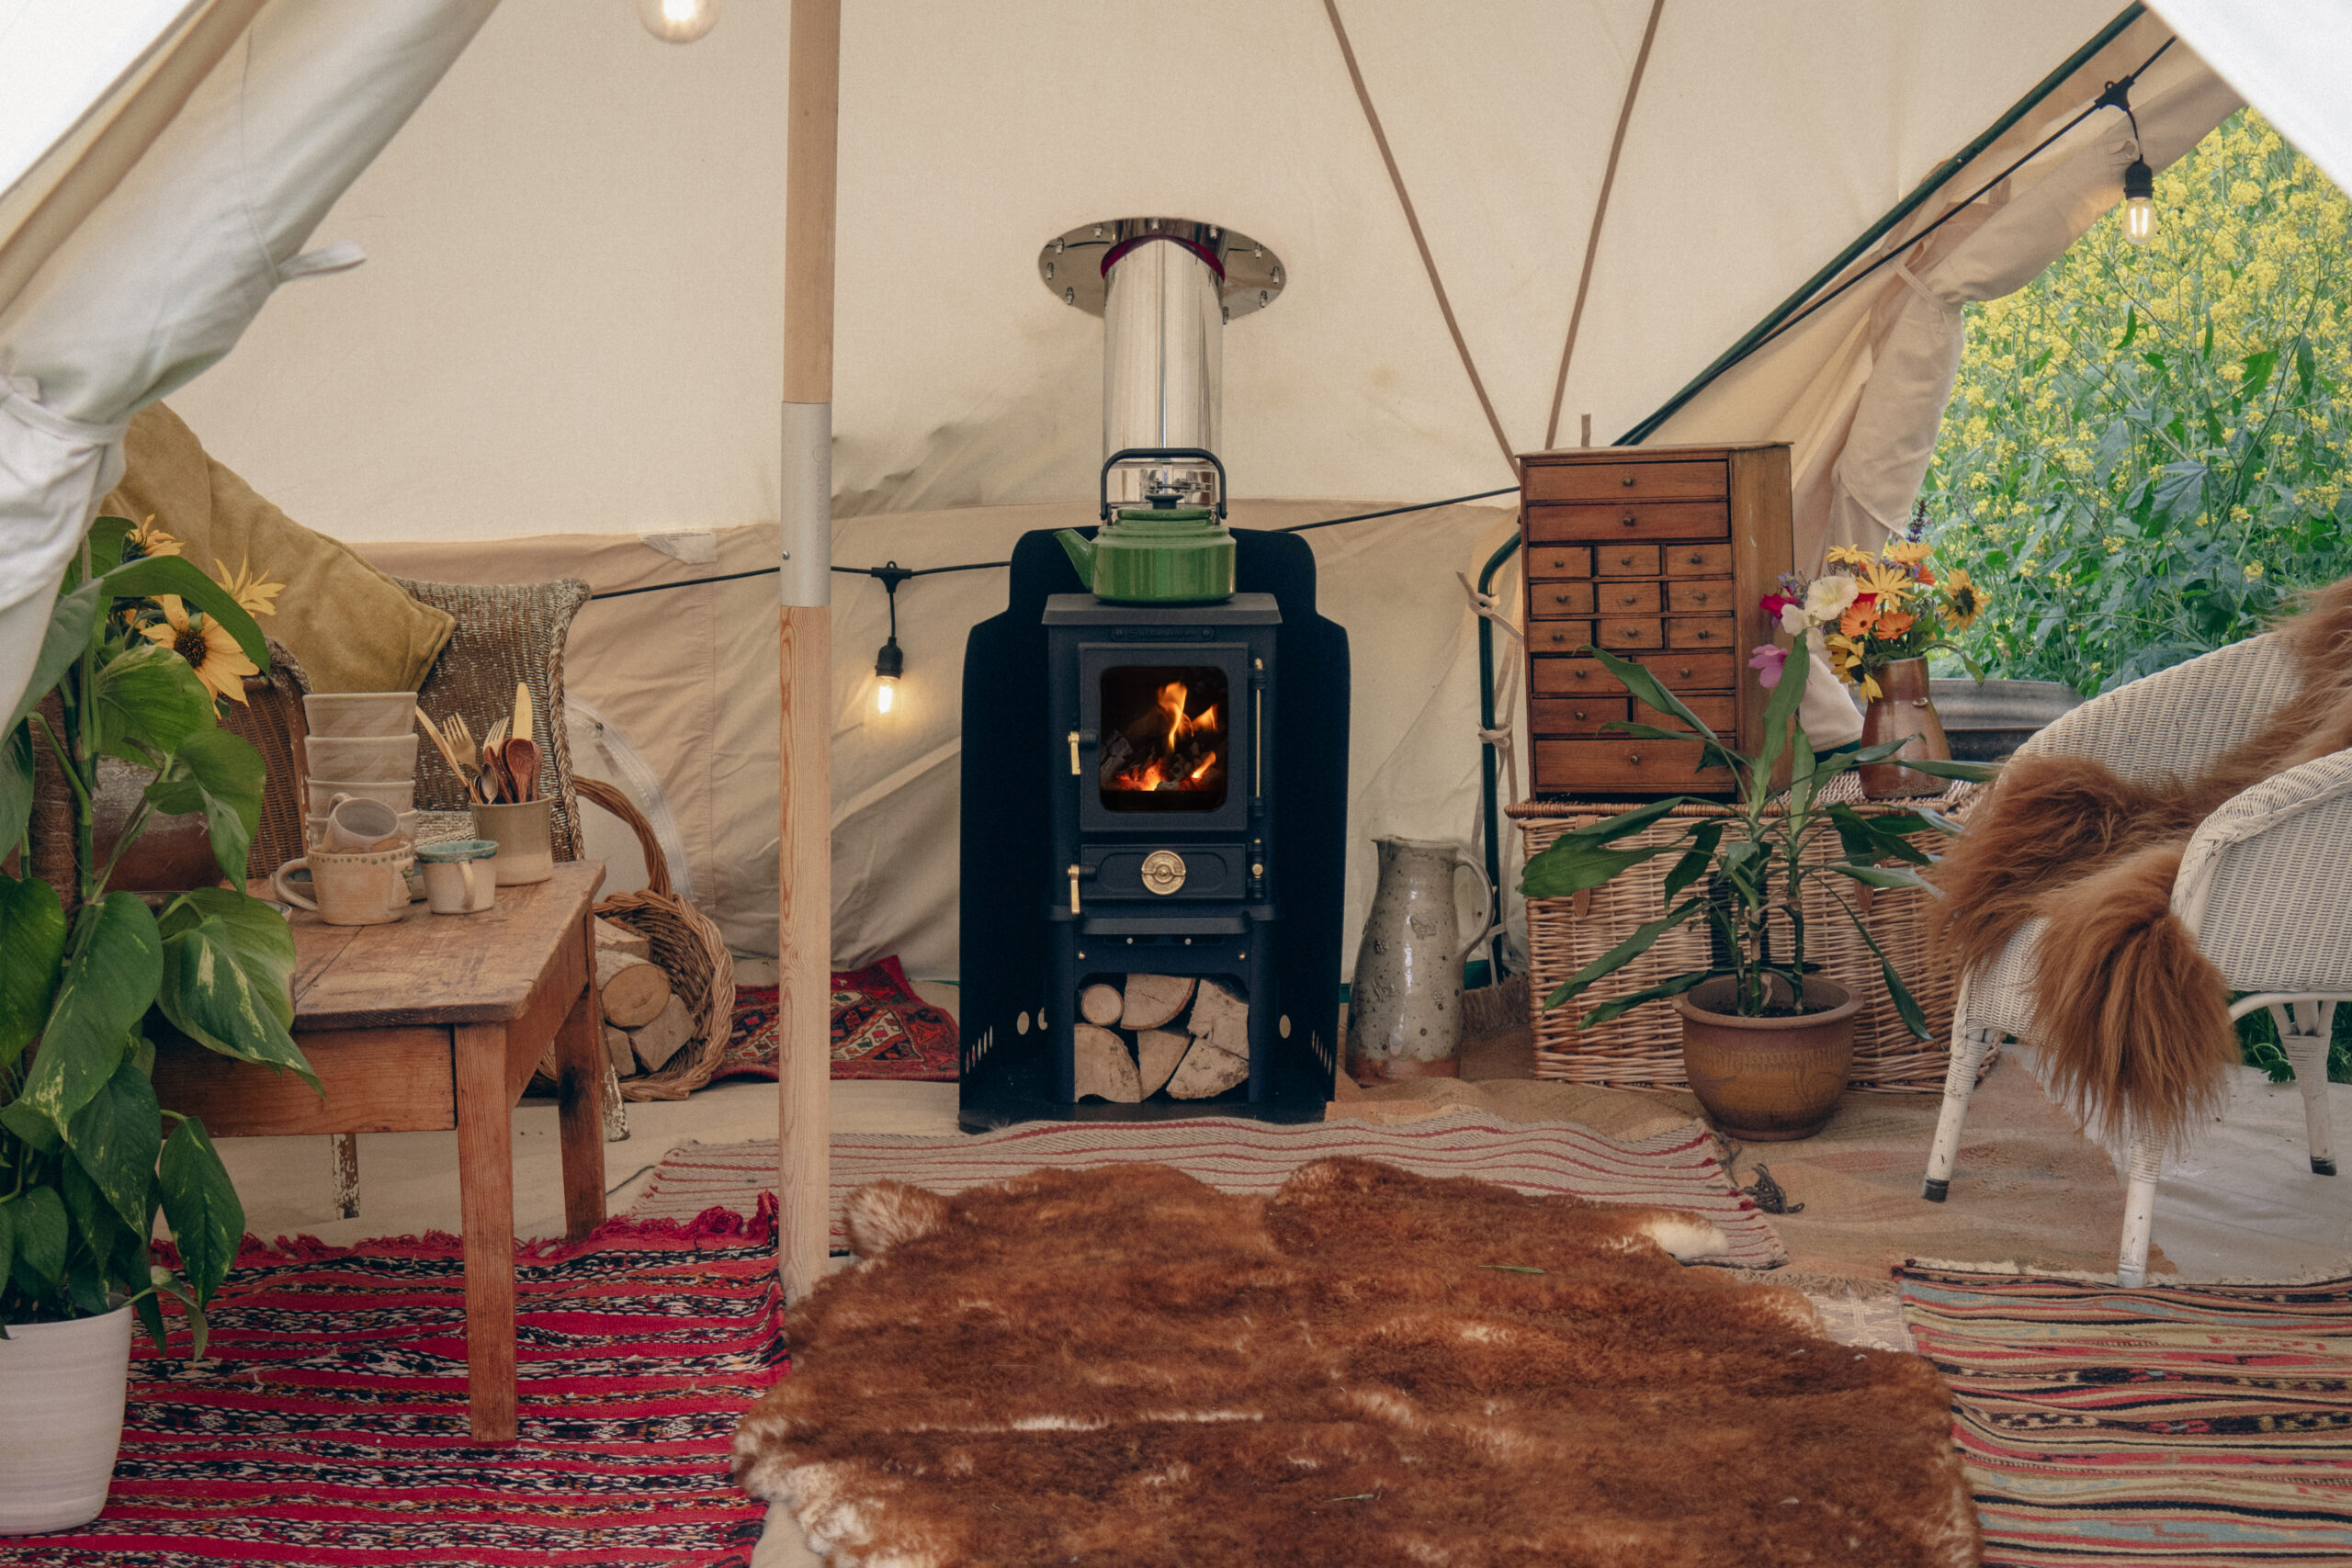
Installing a Wood Stove into a Bell Tent or Yurt
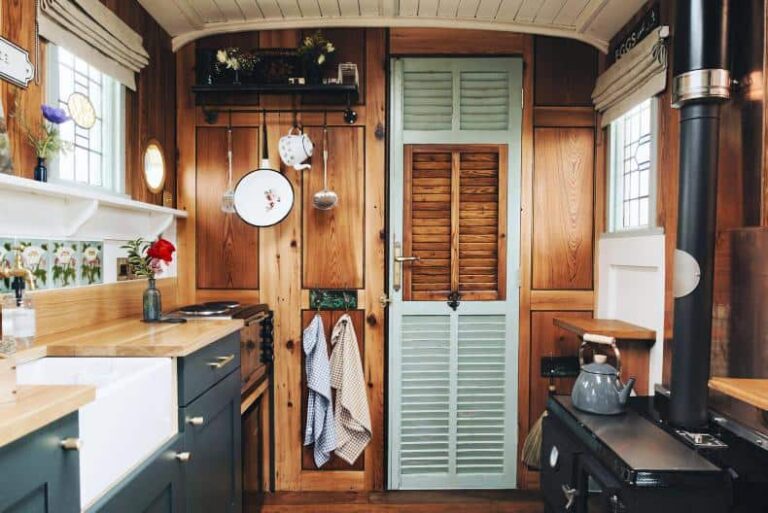
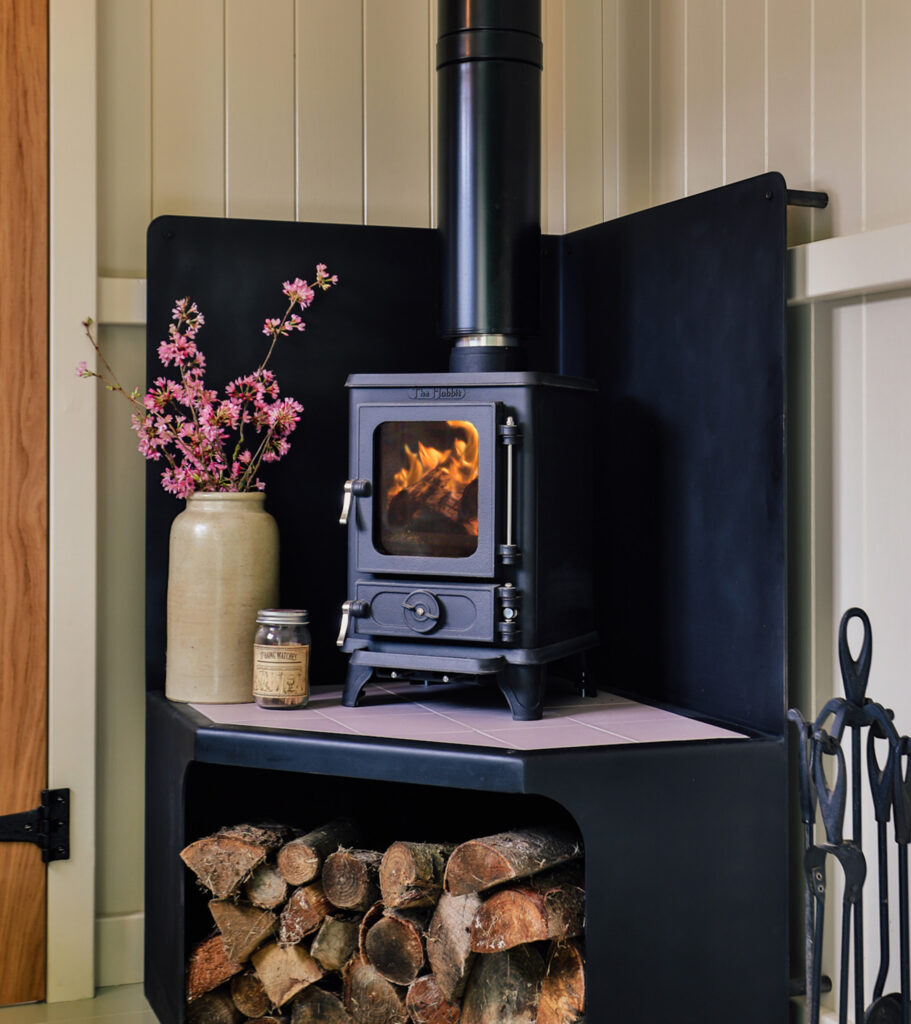
Over the past 15 years, our Hobbit Stove has been installed in various canvas glamping structures, such as bell tents, yurts and safari tents. We recognised the need for a more suitable and stable flashing kit for the flue system when installing a wood stove into a bell tent or yurt with a canvas material, to ensure that there is a solid structure once you have cut the hole in your tent to safely secure your flue.
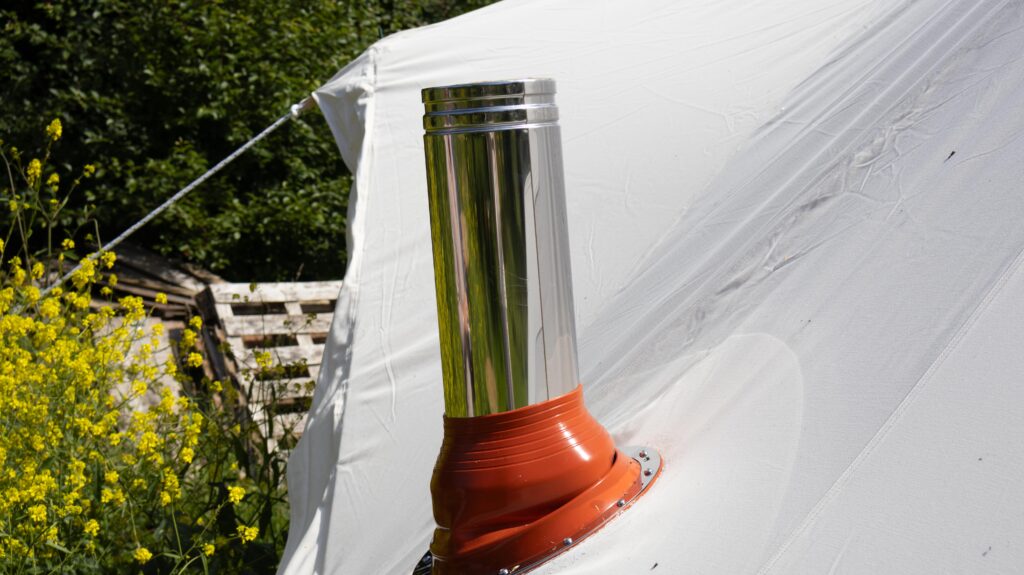
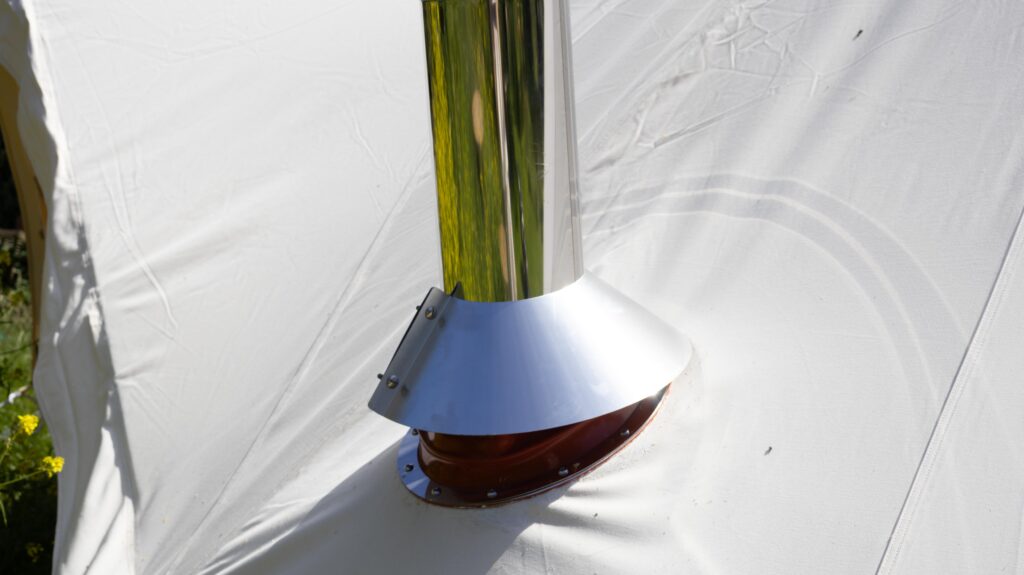
We have designed a new Canvas Flashing Kit specifically designed for canvas material, to make installing a wood stove into a bell tent or yurt simple and safe. This includes a stainless steel oval trim plate for the inside of the tent, a silicone flashing for the outside, then an external ring that sits along the rim of the silicone flashing. These three pieces are then bolted together through the canvas. This creates a very solid structure for the flue to go through and eliminates the issue of the canvas being such a movable material.
How To Install a Wood Stove into a Bell Tent or Yurt
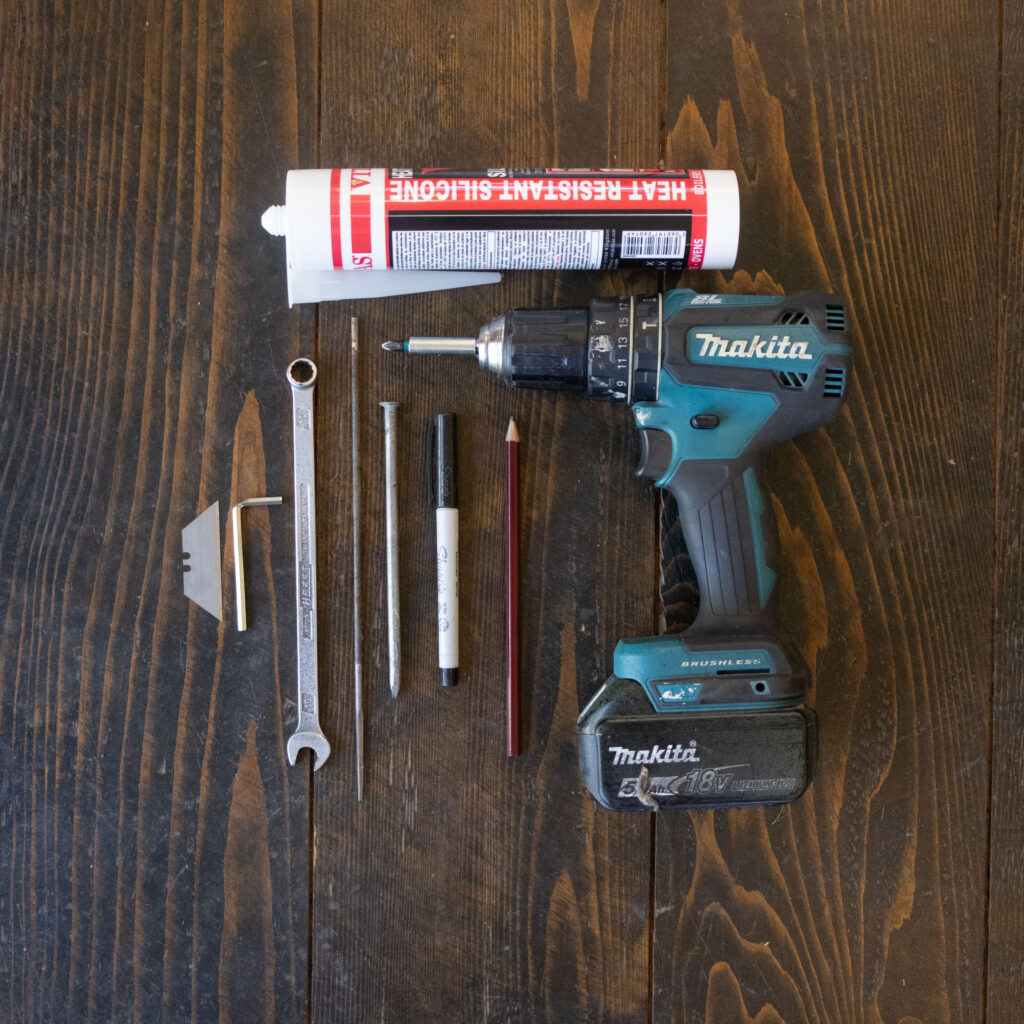
Tools needed:
- 10mm spanner
- 6 inch nail or something similar with a pointy end to make the holes in the canvas
- Allen key
- Pen and pencil
- Stanley knife blade or Stanley knife
- Drill
- Clear silicone
Step by step guide on how to install a Canvas Flashing Kit
Step one:
Once you have your canvas tent up and ready to go, position the stove exactly where you would like it and mark with a pen on the inside of the canvas the middle of the flue pipe where it will exit the canvas.
Step two:
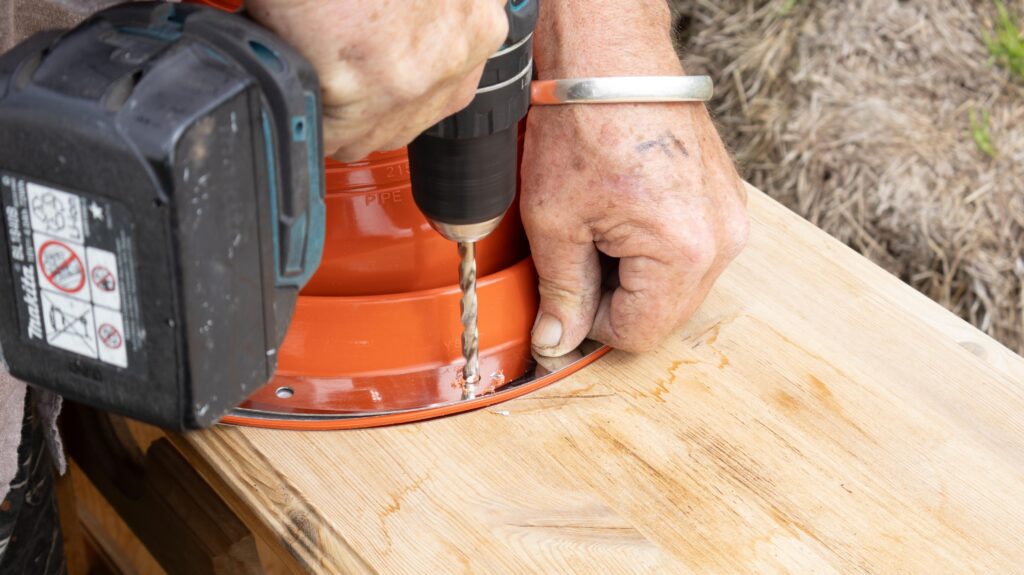
Drill out the holes in the silicone flashing by using the external flashing ring holes as a guide. Then bolt through the external ring, silicone flashing and interior flashing ring to ensure all of the holes are aligned in all three components. You will then need to remove the bolts for the moment.
Step three:
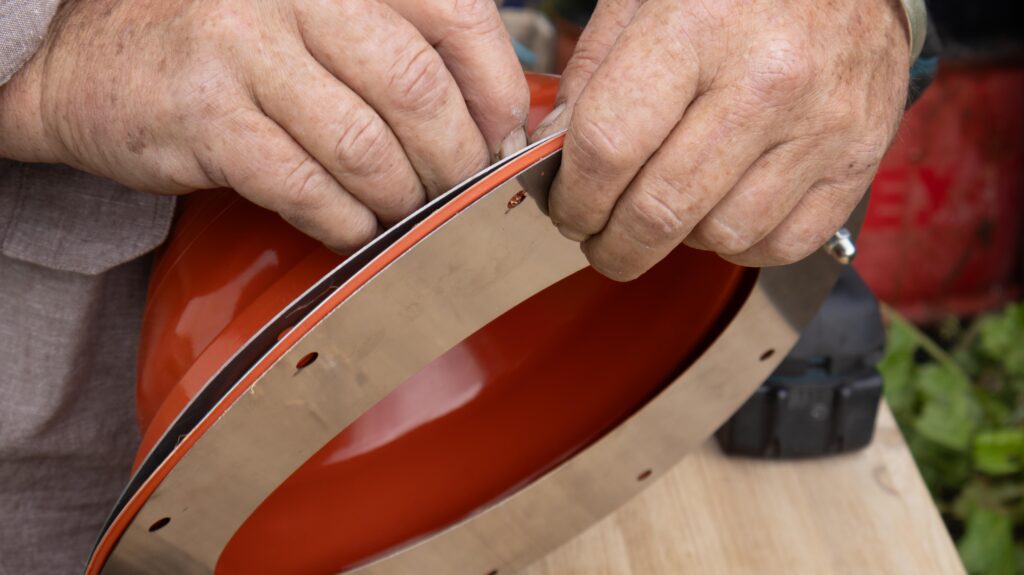
Trim the silicone flashing collar with a Stanley blade or a craft knife to the correct fit, for example for 100mm twin wall you will need to cut along the third line (in the video we show doing this a bit later on, but we suggest doing it before you stick the flashing to the canvas!)
Step four:
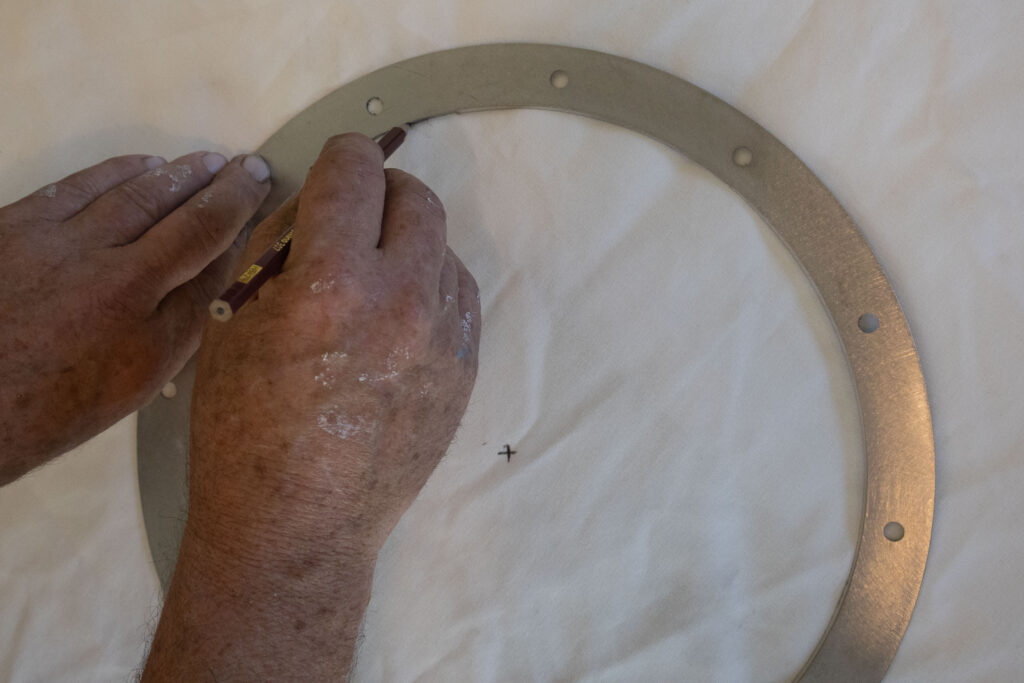
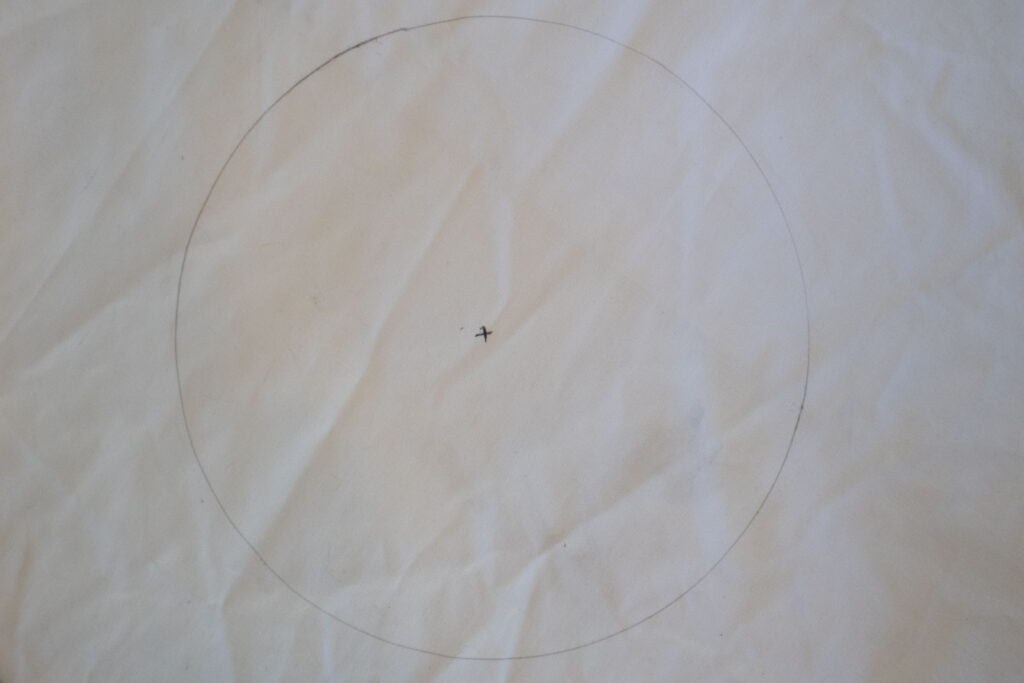
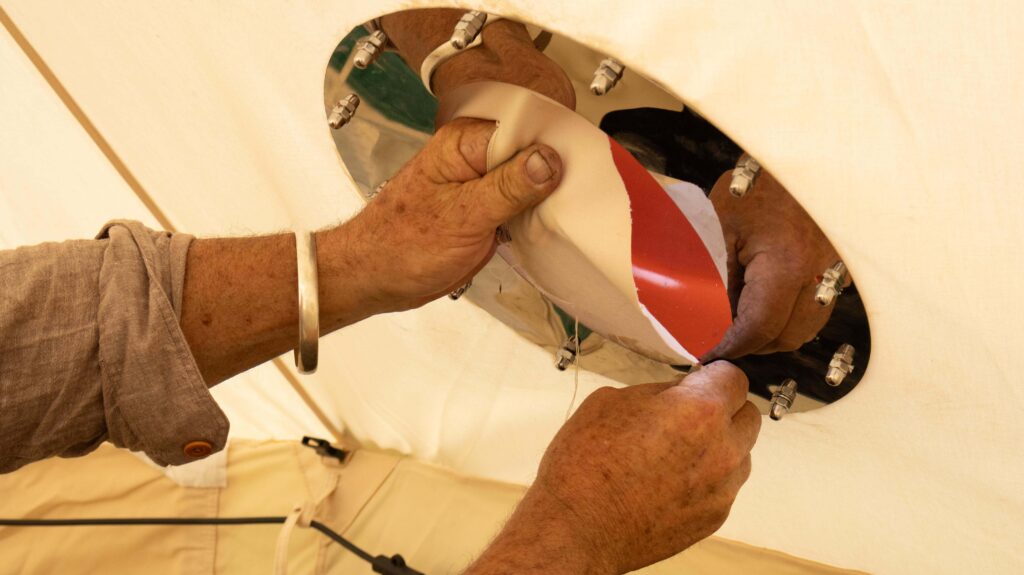
Using the outer metal ring, place it where it needs to be on the canvas and mark with a pencil the inner circle. Then put a circle of silicone just on the outside of the circle that you have just drawn on the canvas. Position the silicone flashing, outer ring and have a friend position the inner ring (with the oval shape pointed at 12 o’clock) press so it is stuck to the silicone then pierce the canvas through top hole using a 6 inch nail or a sharp pencil or other sharp tool that would do the job! Push the first bolt through the hole sandwiching the outer ring, flashing and inner plate together. Then make your way around piercing all of the holes, the best way to do this would be to work in a clock like fashion, start with 12 o’clock, then 6 o’clock, 3 o’clock then 9 o’clock and so on.
Step five:
Once you have pierced your holes and bolted all the way around, you can then start cutting the canvas. Reach inside of the silicone collar and trim out the circle of the canvas. To neaten up the canvas, you can fit a length of fire rope in the lip of the flashing and the plate to secure the canvas.

Step six:
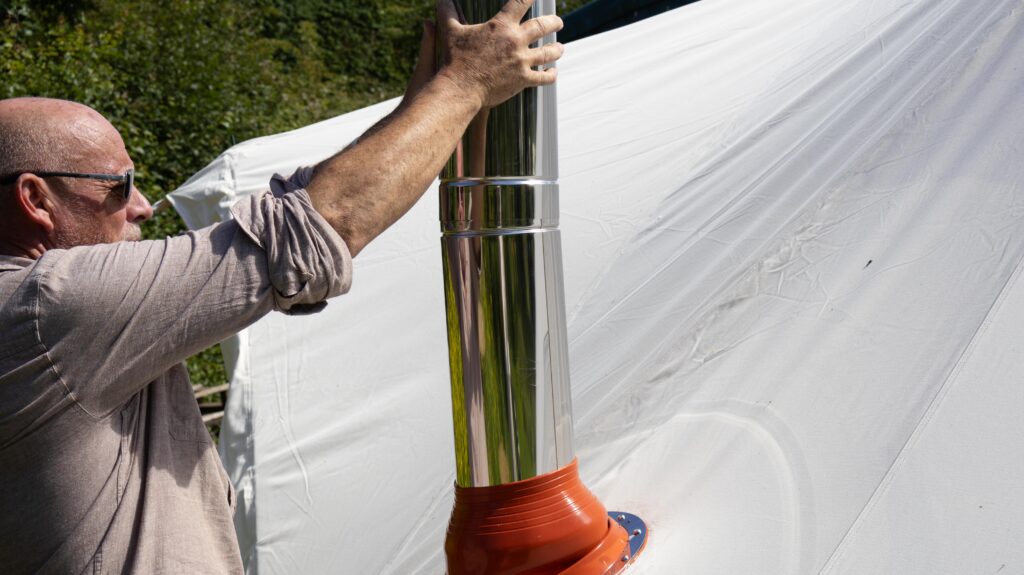
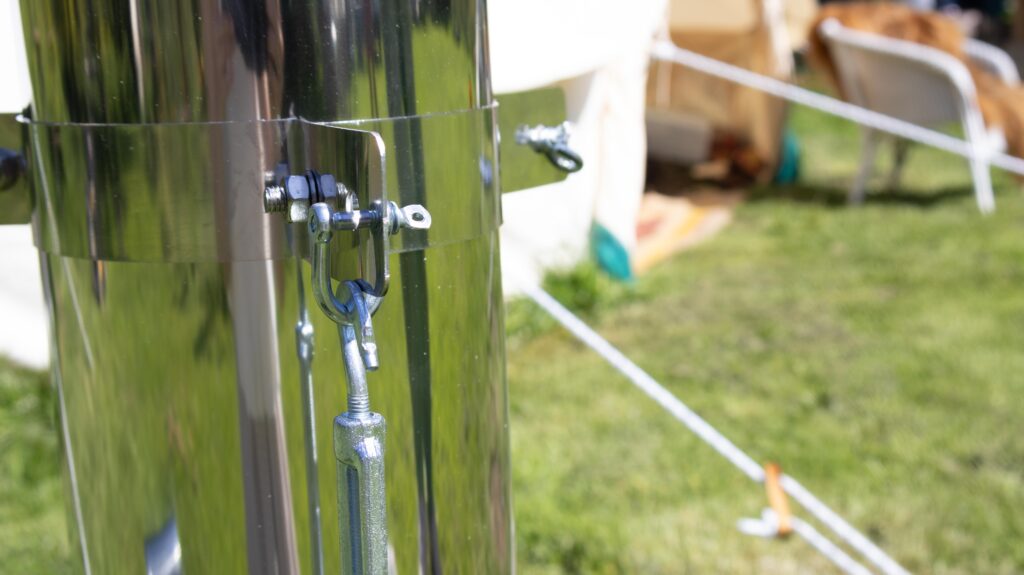
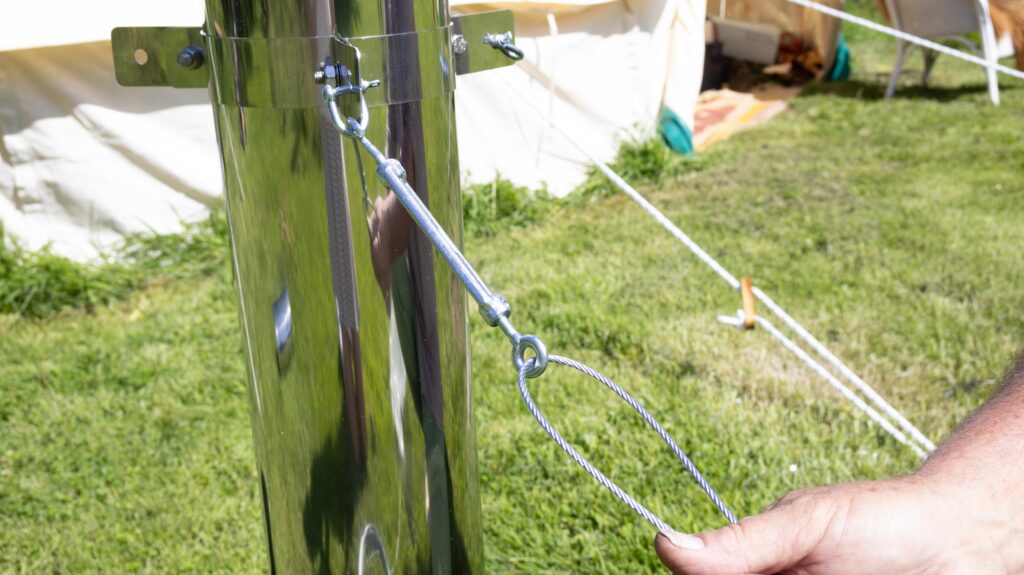
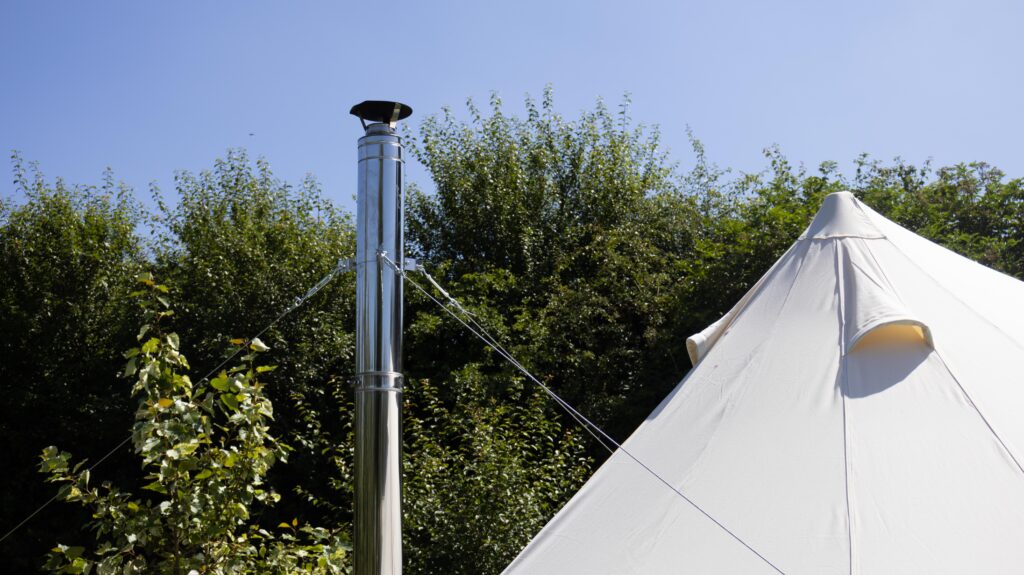
Insert the flue up through the flashing from the inside then lower the bottom of flue into the adapter attached into the collar of the stove. Attach the storm collar and additional length of flue, and storm collar. If you are using our guide wire kit you can now this and peg it out.