Wood Burning Stove Maintenance and How to Clean the Glass of your Appliance
Having a log burner in your home is a great way to ensure a cosy atmosphere during the winter months. But now that spring is finally here, it’s the ideal time to give your appliance some TLC to ensure it remains in optimum condition.
Wood burning stove maintenance not only ensures it looks good and continues to perform well, but it also prevents the build-up of ash and other by-products.
In this guide, we will outline the key steps to keeping your wood stove clean and looking good for years to come.
Before diving into the cleaning process, it’s essential to gather all the necessary supplies.
Here’s what you’ll need:
- Stove brush or vacuum with a brush attachment.
- Ash shovel.
- Metal bucket or ash container.
- Newspaper or drop cloth.
- Soft cloth or sponge.
- Stove polish (optional).
Step 1: Safety First.
Before you begin cleaning, ensure that your wood burning stove has completely cooled down. Attempting to work on a hot stove can result in burns or other injuries. It’s best to wait at least several hours after the fire has been extinguished before setting to.
Step 2: Remove Ashes.
Using an ash shovel, carefully scoop out any ashes that have accumulated in the firebox.
Place the ashes in a metal bucket or a container designated for this purpose. Remember to never dispose of hot ashes in a combustible container, as they can pose a fire hazard. Once that’s done, take the container outside to ensure the ashes are completely cooled.
Wood ash is a very effective addition to your compost bin!
Step 3: Clean the Inside.
Once the ashes have been removed, it’s time to clean the interior of the stove. Use a stove brush or vacuum with a brush attachment to remove any remaining ash and debris from the firebox, grates, and baffle. Pay close attention to crevices and corners where ash tends to accumulate.
Step 4: Clean the Glass Door.
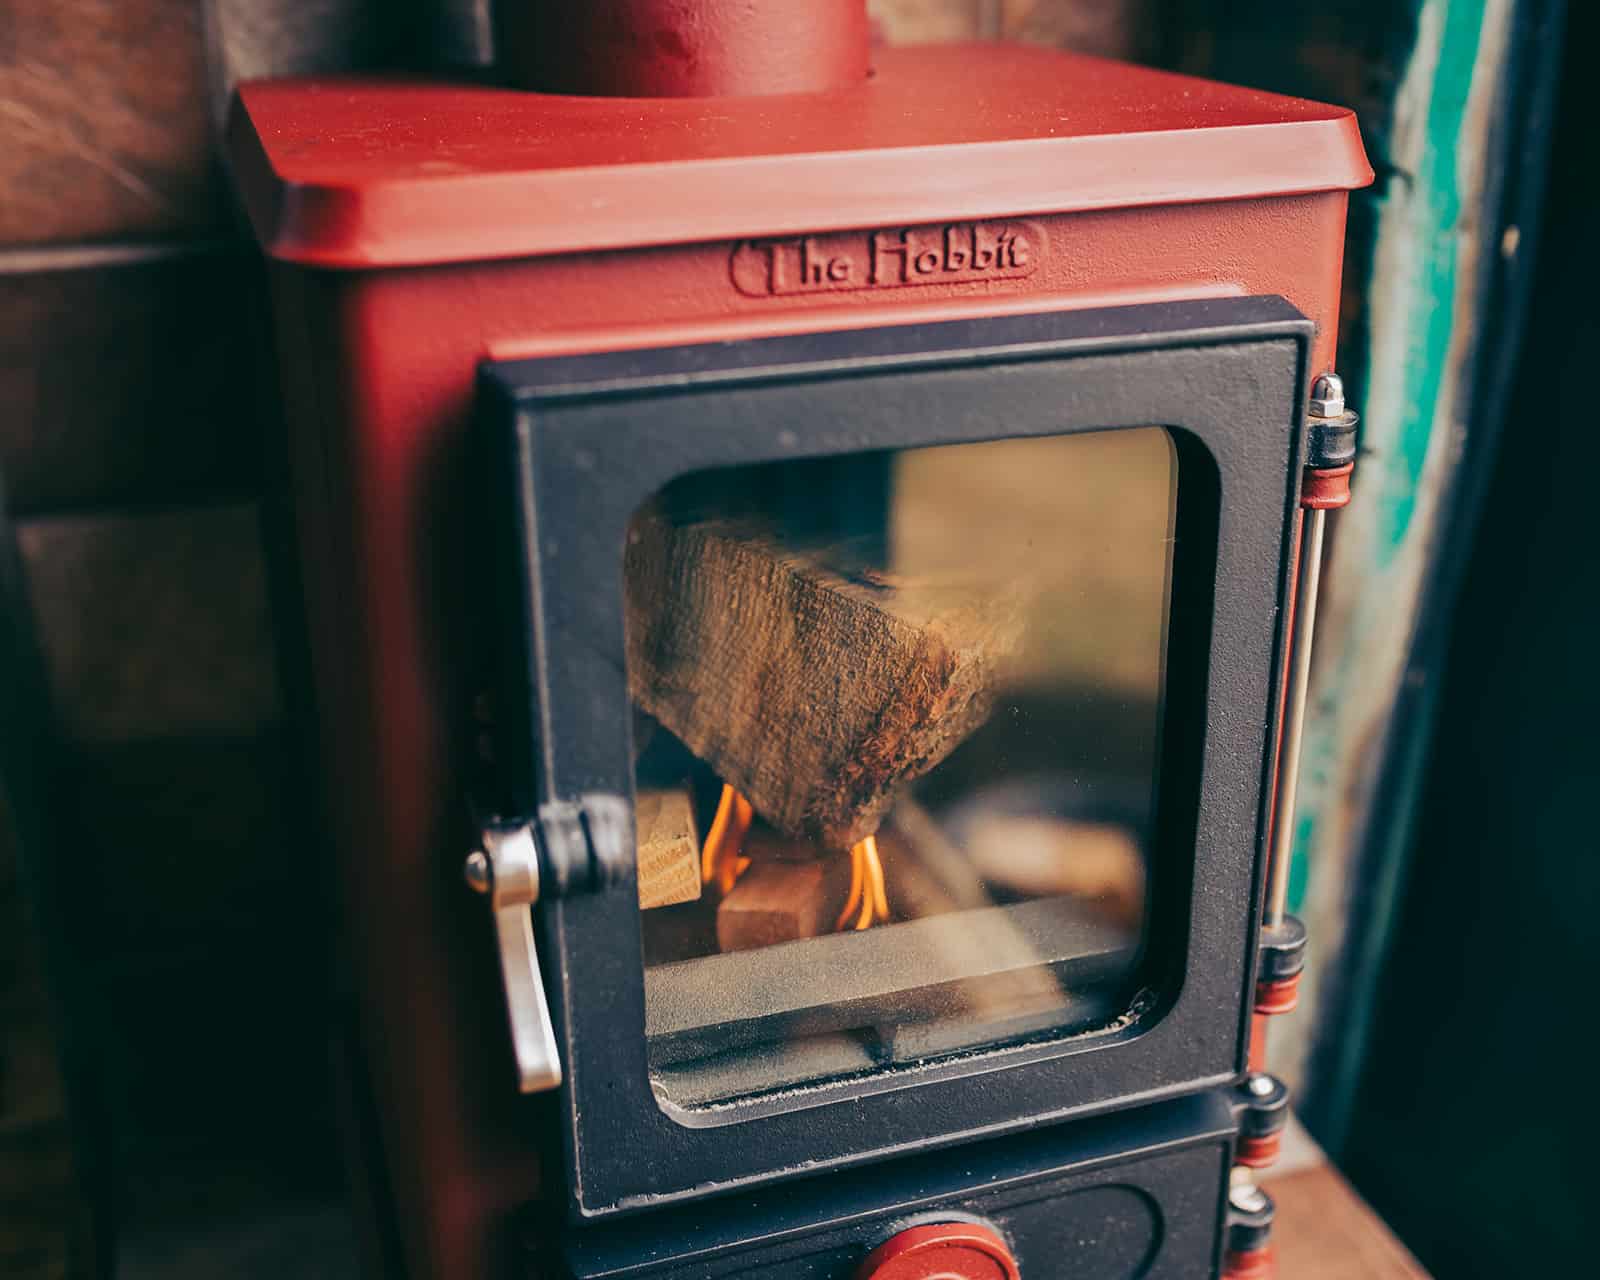
If your wood burning stove has a glass door, you can use a fireplace glass cleaner to remove any soot or stains. Spray the cleaner directly onto the surface and wipe it away with a lint-free cloth until the glass is clear. This approach is good for dealing with any particularly stubborn stains that are difficult to remove.
Alternatively, for a cheaper and more environmentally friendly option, we would recommend dipping some kitchen roll or newspaper into a little water before dipping it into the ashes of the fire. This is slightly abrasive and can be used to clear most build-ups on the glass.
Step 5: Wipe Down the Exterior.
Next, dampen a soft cloth or sponge with water and gently wipe down the exterior of the stove to remove any dust, dirt, or soot buildup.
Step 6: Polish (Optional).
If you want to give your wood burning stove a glossy finish, you can apply stove polish according to the manufacturer’s instructions. Stove polish not only enhances the appearance of the stove but also helps to protect it from rust and corrosion.
Step 7: Inspect and Maintain.
As you clean your wood burning stove, take the opportunity to inspect its various components for any signs of wear or damage. Check the door gaskets, hinges, and handles to ensure they are in good condition. If you notice any issues, address them promptly to prevent further damage and ensure the stove operates safely and efficiently.
Step 8: Schedule regular chimney cleans.
The stove and flue should be checked and swept by a professional chimney sweep at least once a year. This will remove any creosote build-up and ensure proper ventilation.
Additional tips for optimal maintenance.
Regular inspections: Schedule regular inspections by a certified professional to detect and address any issues promptly.
Proper wood selection: Burn only well-seasoned wood in your stove to minimise build-ups of potentially dangerous chemicals and to improve efficiency.
Careful loading: Load the wood correctly to maintain proper airflow and avoid blocking the stove.
Keep the area clean: Regularly clean the area surrounding the stove to prevent the accumulation of dust and debris.
Wood burning stove maintenance may seem like a daunting task, but with the right tools and techniques, it can be a straightforward and rewarding process.
At Salamander Stoves, we have a hand-picked collection of parts and products to help you with this important job, including an emergency maintenance kit, mini dustpan and brush, replacement glass and stove paint.
We are always happy to advise on the best way to maintain your stove’s performance and prolong its lifespan, so that you can enjoy many peaceful evenings by the fire for years to come.

