A Guide to Wood Burning Stove Installation
Learning about wood stove installation can often feel quite overwhelming, and we are often asked a variety of different questions on the topic. This post aims to answer the most common questions, clear up any uncertainty and confusion you may have, and equip you with all of the knowledge that you need when it comes to understanding wood burning stove installation. Let’s learn about wood stove installation, safety and efficiency!
How much does it cost to install a wood burning stove?
Wood burning stove installation (including the stove) range from £700 – £3500, on average £2000. The overall amount you pay will depend on several factors such as:
- The installer who fits your stove
- If your home has a chimney
- If your chimney needs a chimney liner
- If you need a hearth installed
Can you install a stove yourself?
Yes, you can install a wood-burning stove yourself, but it comes with important caveats and responsibilities. When installing a stove into a house you will need to stick to the building regulations and it will need to either be installed by a qualified HETAS installer or if you are doing the installation yourself, you will need to get it signed off by building control.
This is slightly different when it comes to ‘temporary’ accommodation such as shepherds huts, cabins, bell tents, boats, garden rooms etc. DIY installation does not need signing off in these spaces, but always follow HETAS guidance as far as possible. See below for the different types of documents for these spaces:
HETAS Guidance for Glamping Installations
HETAS Technical Note 23: Stoves in Temporary Leisure Accommodation
SOLIFTEC Guide to Stoves in Boats
You can install a wood burning stove yourself if:
- You follow local building codes and regulations.
- In the UK, for example, DIY installation is legal only if signed off by a building control officer or done by a HETAS-registered installer.
- In the US, local/state codes vary but typically require a permit and inspection.
- You understand safety requirements.
- Safe clearances to walls, ceilings, and furniture
- Proper hearth construction and fireproof materials
- Adequate ventilation and draught.
- You use the correct materials and components.
- Approved stove and flue pipe
- Chimney liner (often required)
- Carbon monoxide detector and fire alarm nearby
- You’re comfortable working with tools and ladders.
- You may need to access the chimney from the roof
- Cutting through walls or sealing openings might be involved
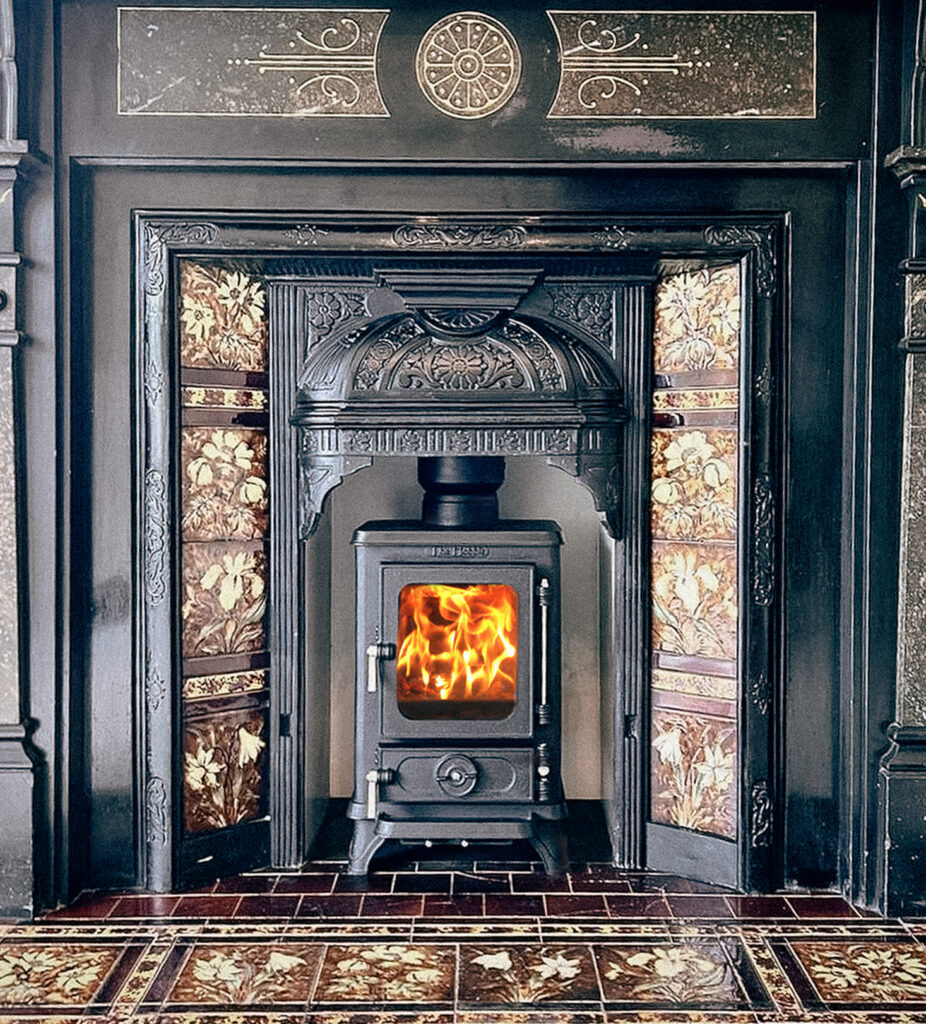
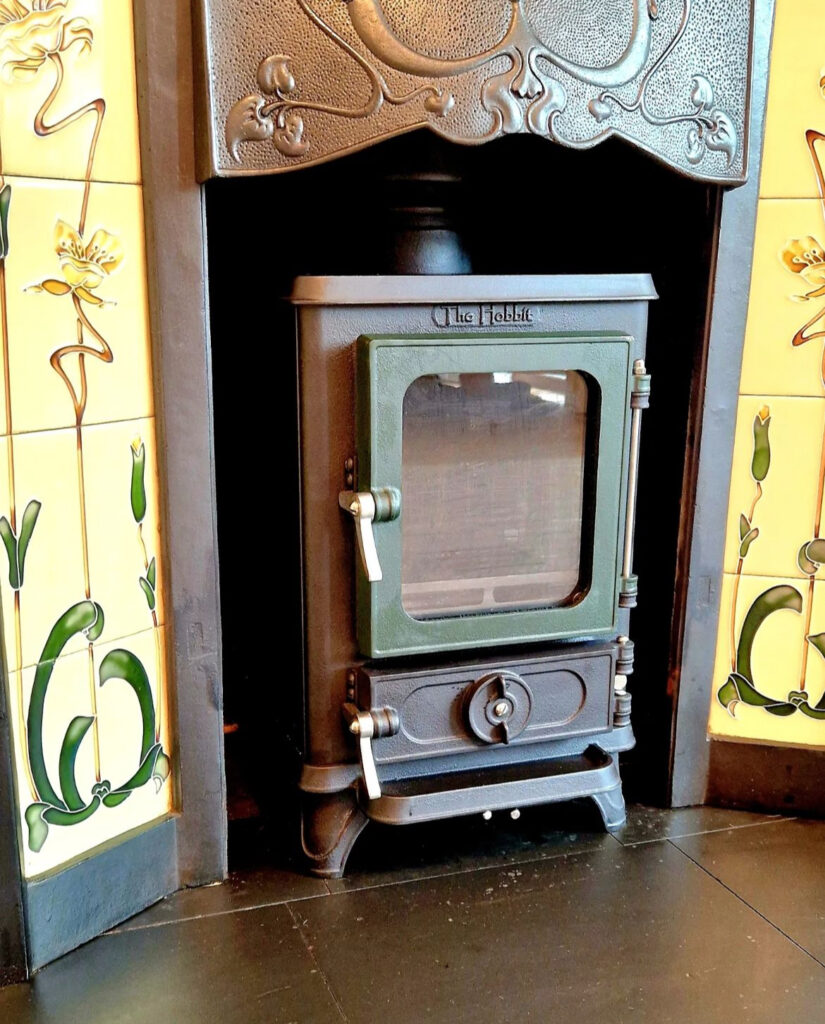
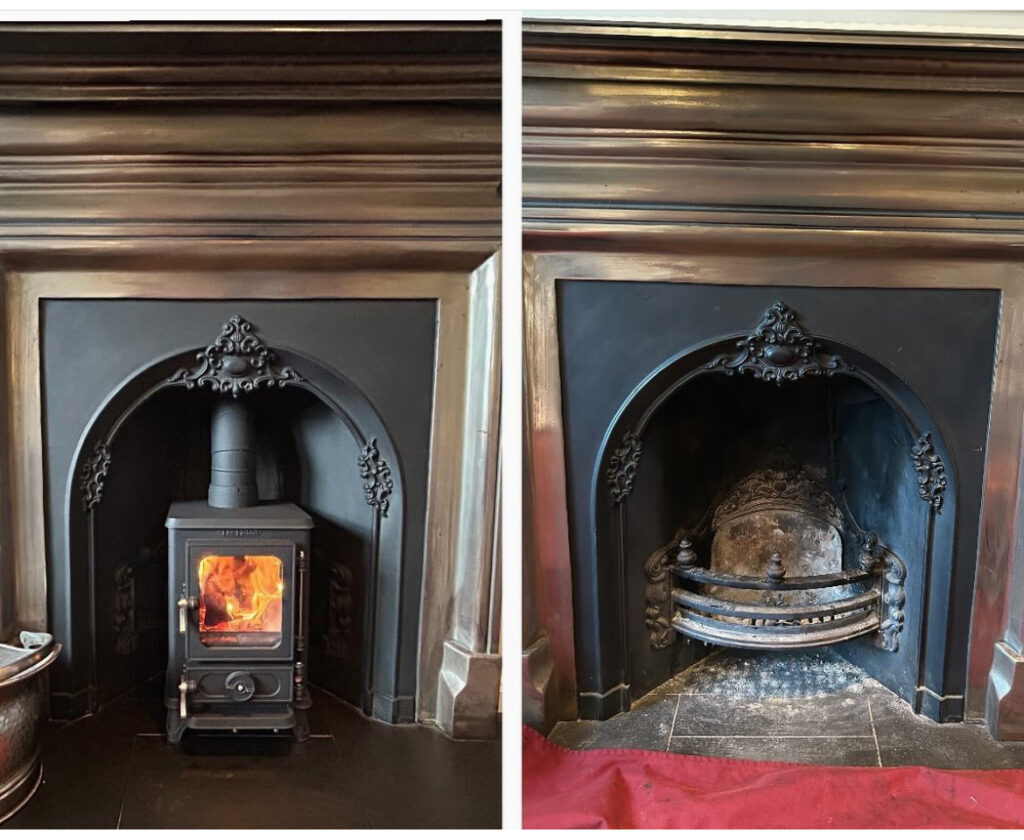
How to install a wood stove into an existing chimney?
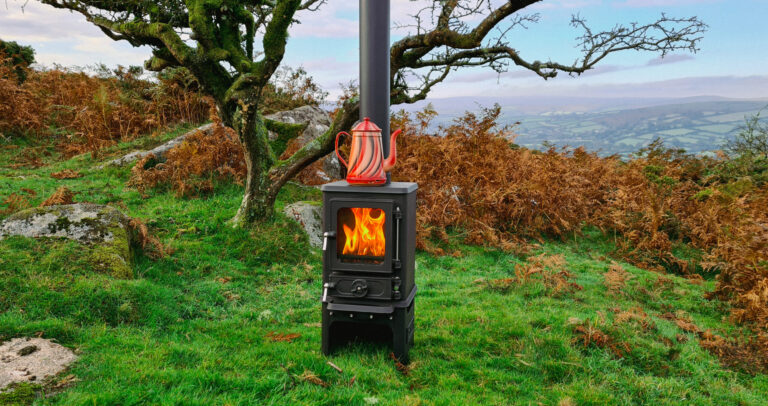
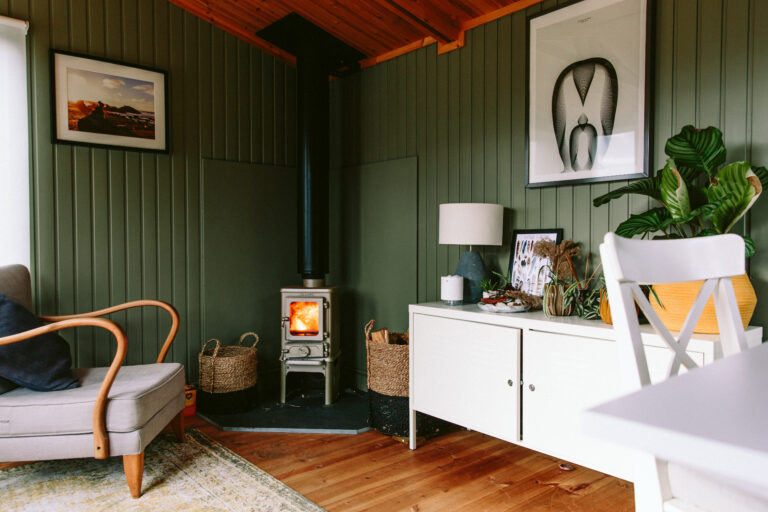
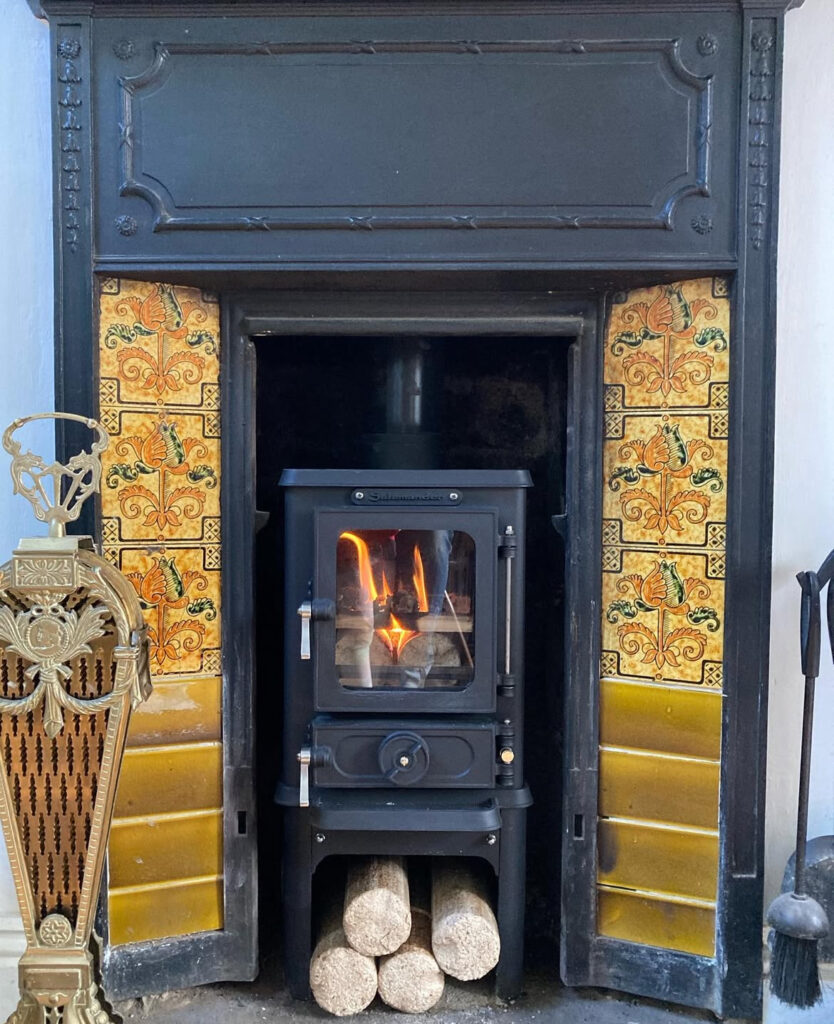
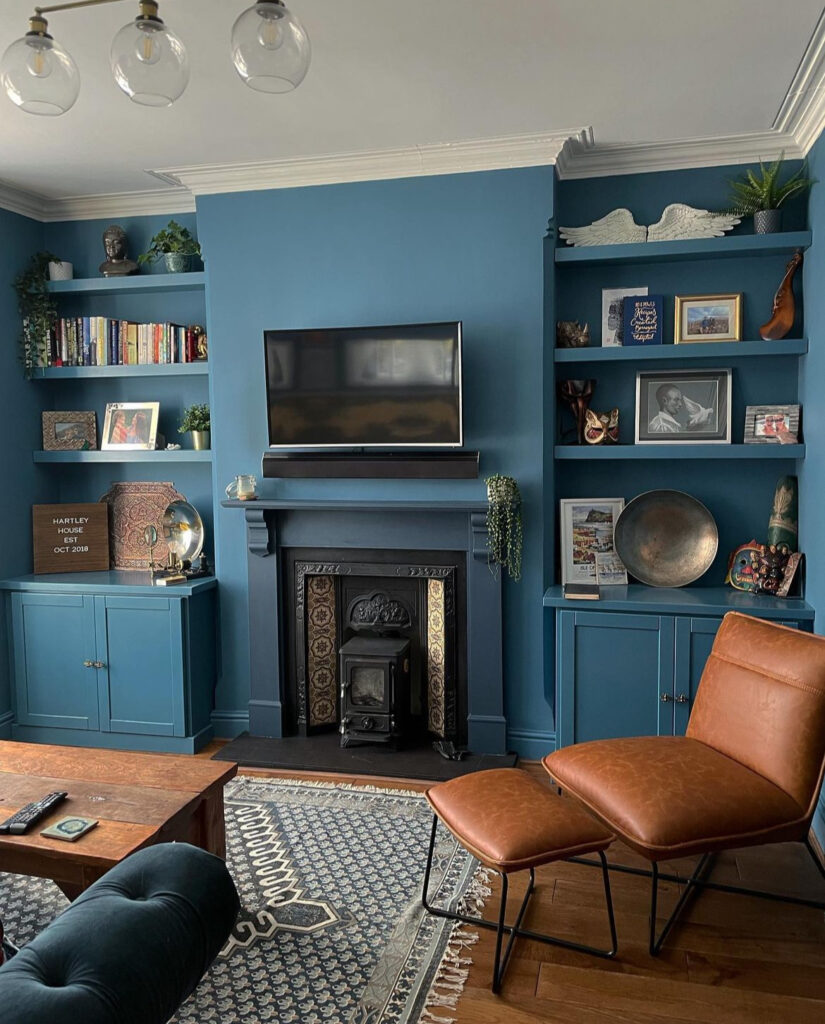
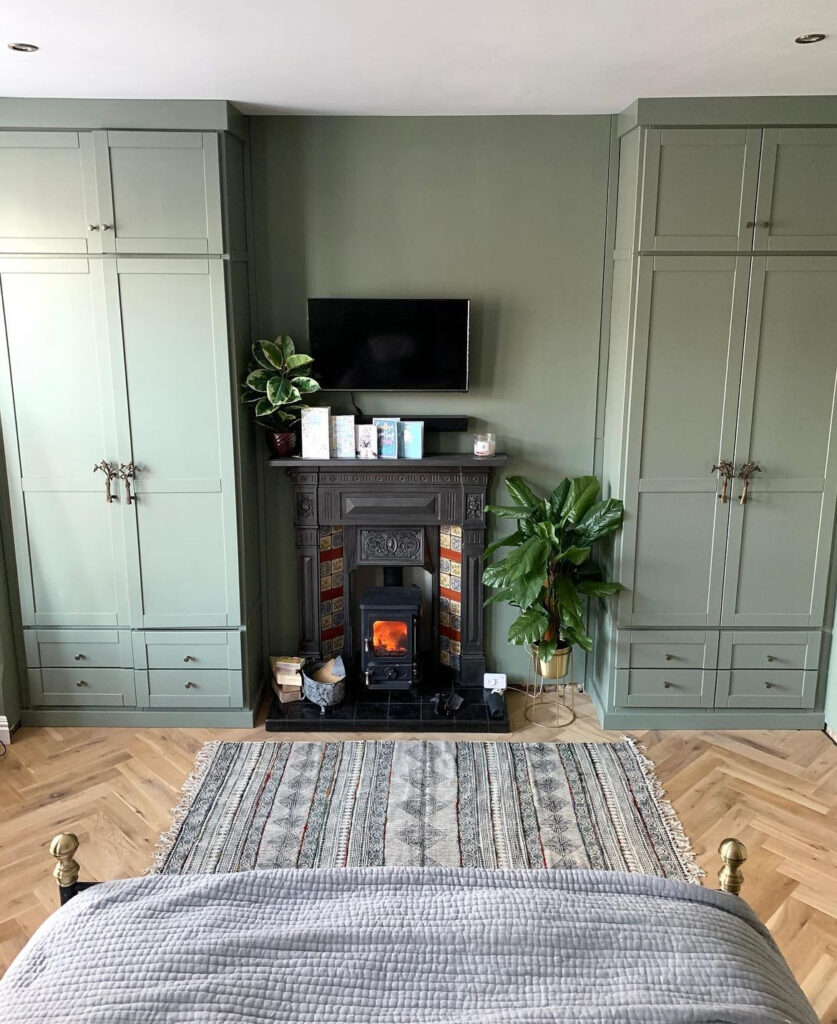
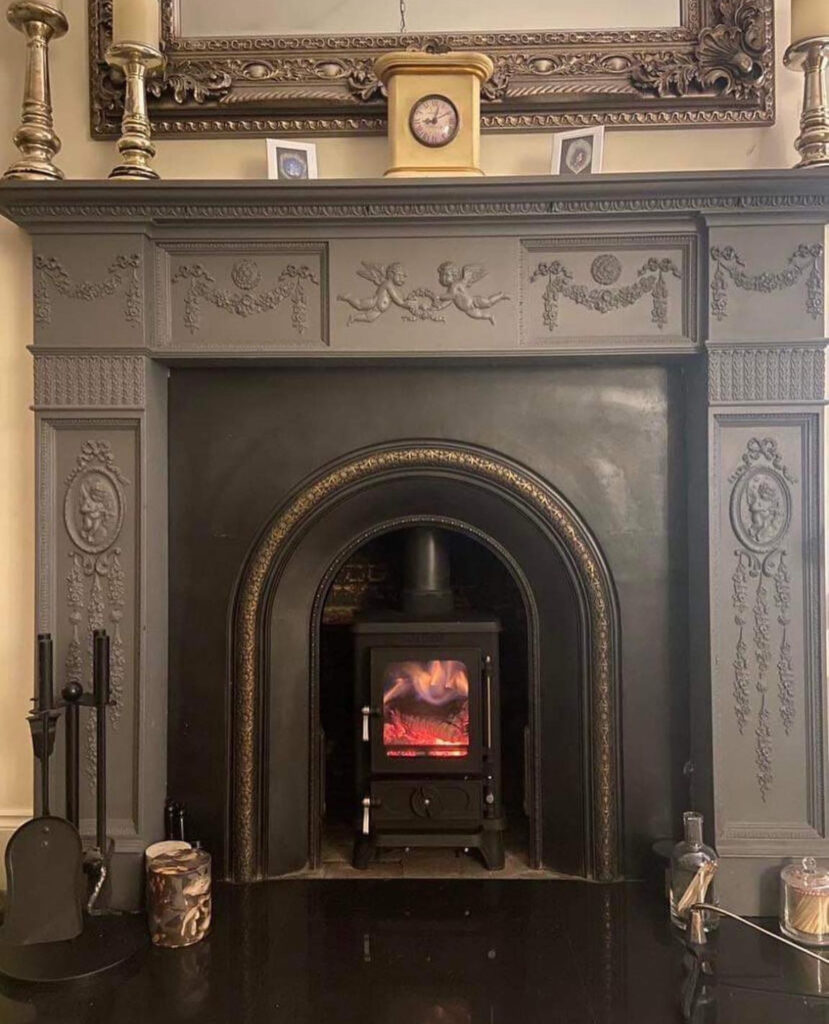
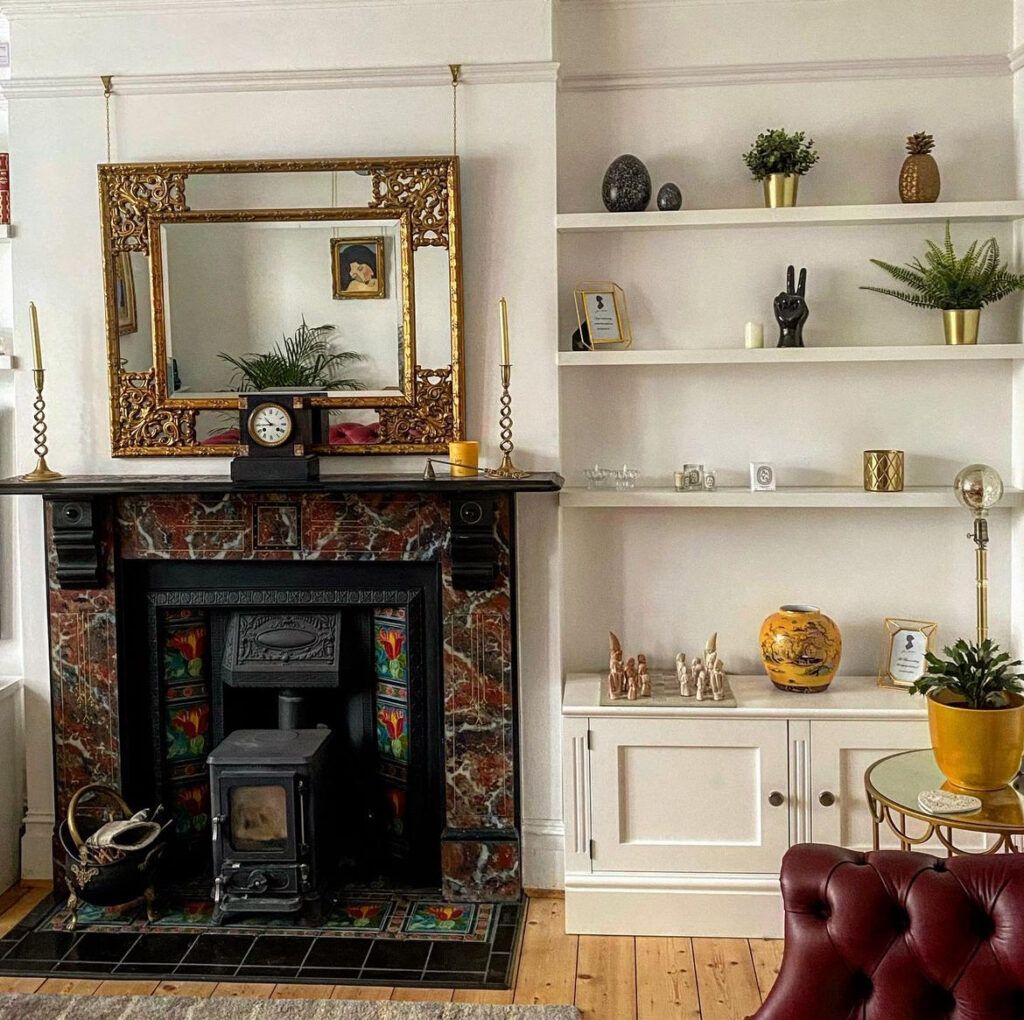
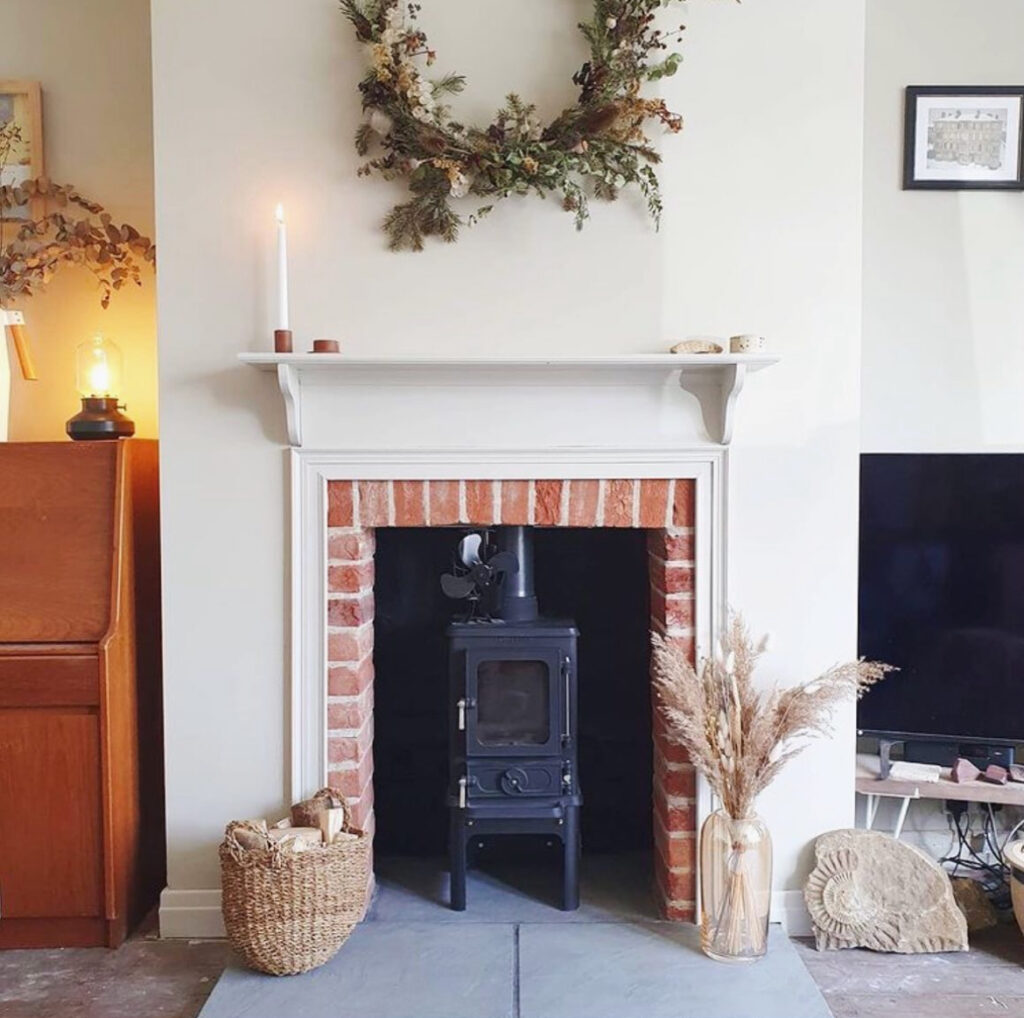
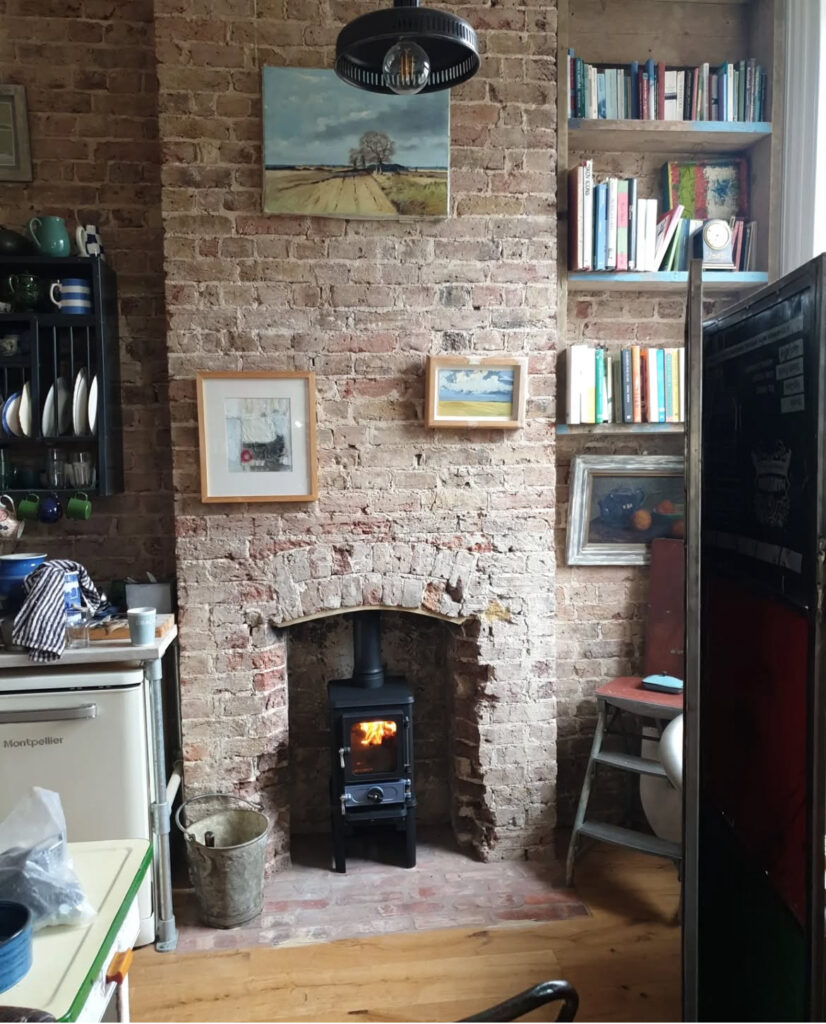
Our small stoves were originally designed to fit existing old fireplaces such as Victorian and Edwardian, so we know a lot about these small spaces! Installing a wood stove into an existing chimney can be a great way to increase heating efficiency, but it needs to be done correctly for safety and performance. We would always recommend using a trained stove installer when it comes to wood stove installation in a house/chimney.
Step-by-step: Installing a wood stove into an existing chimney
1. Assess the chimney
- Inspect the existing chimney for structural integrity and cleanliness.
- Ensure it is suitable for a wood stove: a masonry chimney or Class A metal chimney is typically needed.
- Hire a chimney sweep to clean and inspect the flue.
2. Choose the right wood stove
Make sure to choose an Eco design stove. Our stoves are all tested and certified to be installed into a house in the UK and Europe.
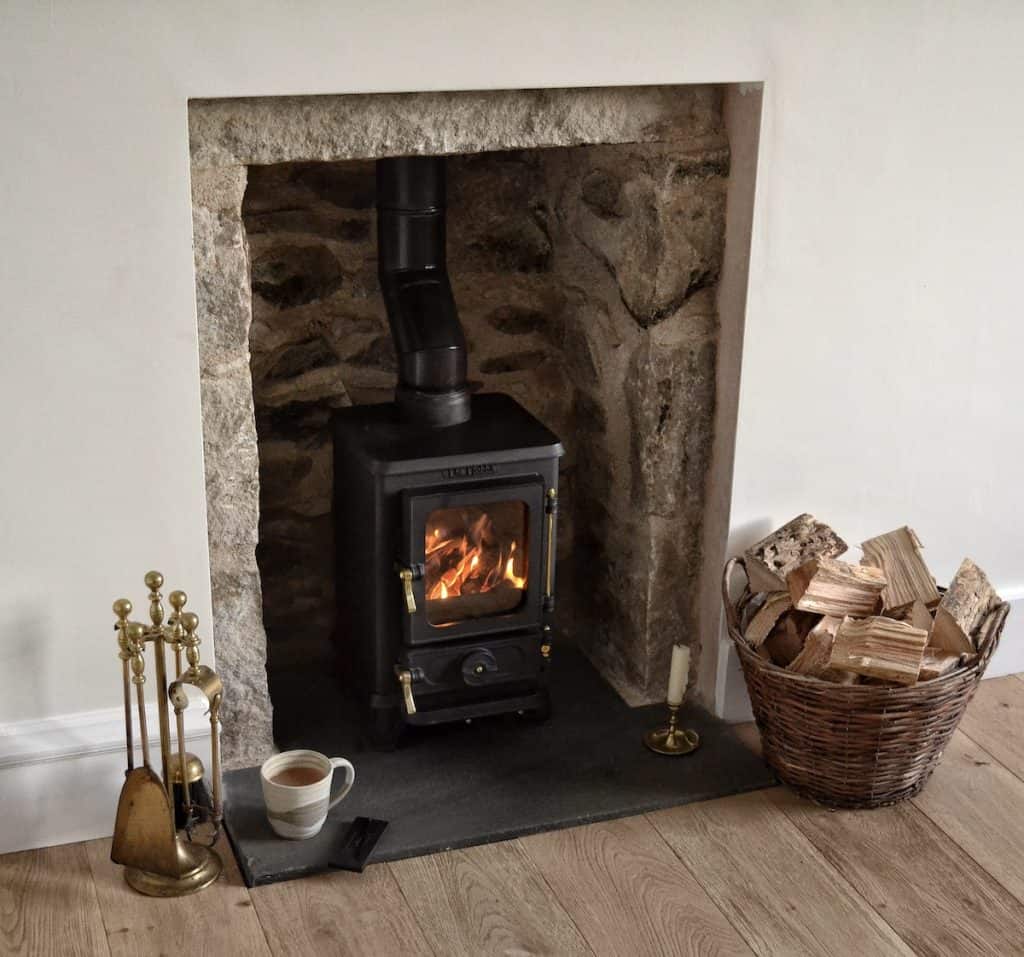
3. Install a stainless steel liner
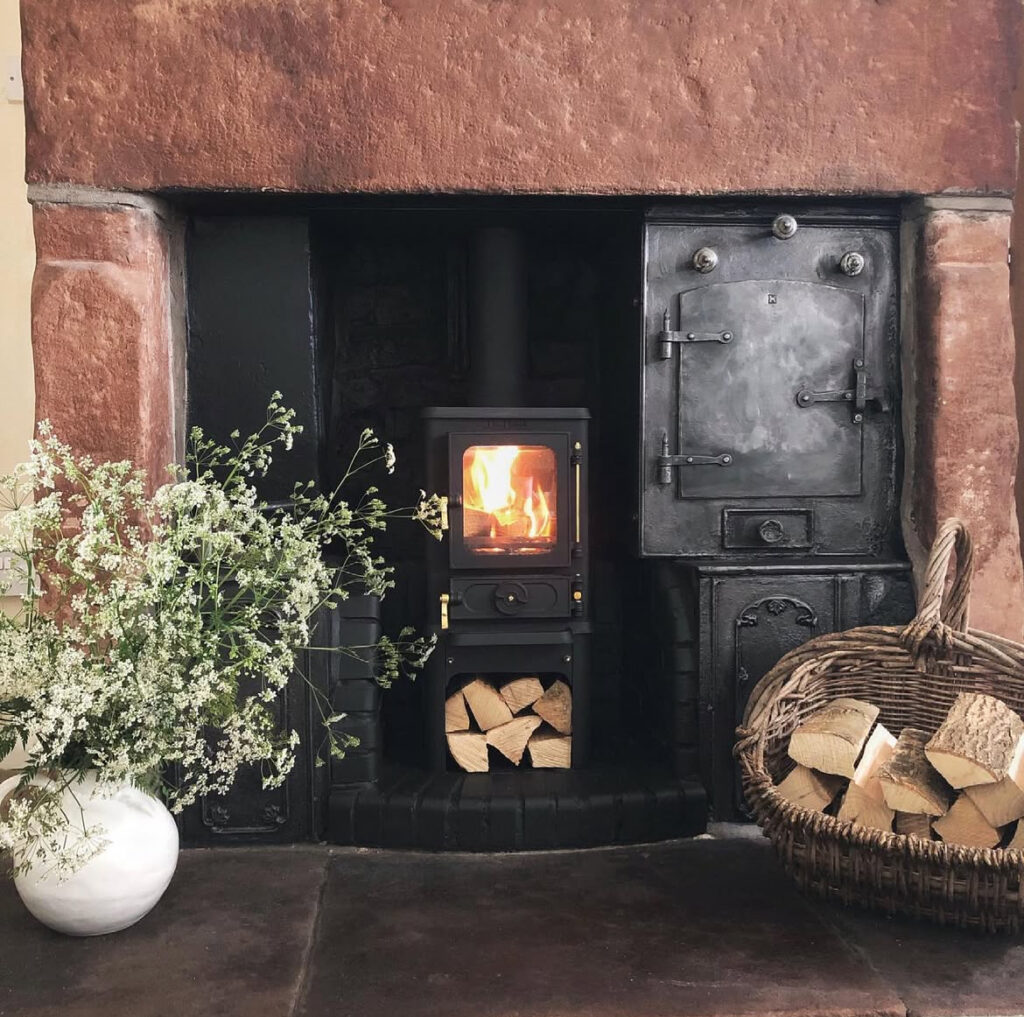
For wood burning stove installation, most existing chimneys aren’t in good enough condition to safely use as-is. In most cases, you’ll need to install a flexible 316 or 904 grade stainless steel chimney liner. Lining the chimney significantly improves the stove’s draught, efficiency, and overall performance, while also reducing the risk of creosote build-up in the flue. Our Chimney Lining Kit includes everything you need to connect a small wood stove to an existing masonry chimney.
4. Hearth and clearances
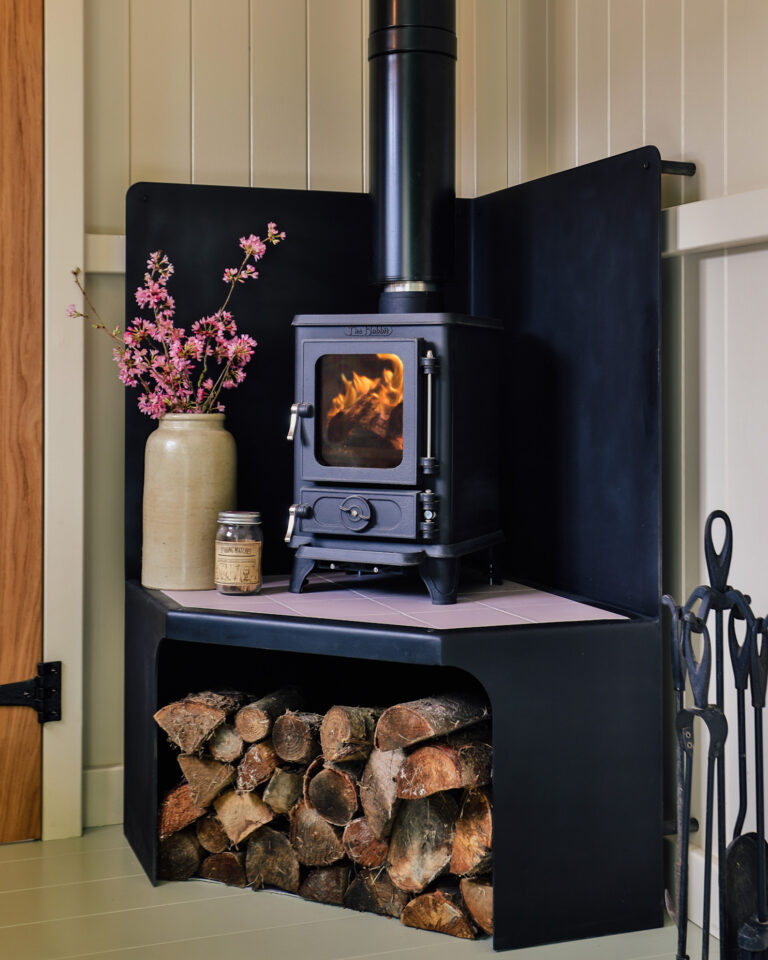
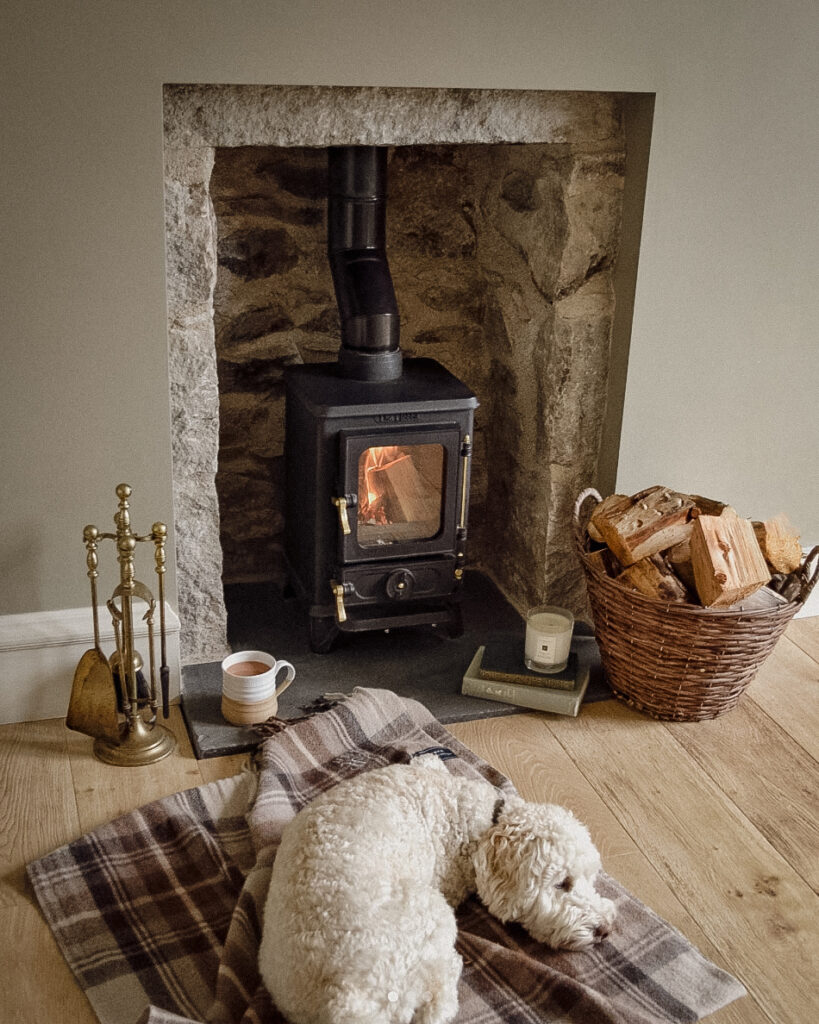
National and local building regulations must be complied with when preparing the floor or hearth for wood stove installation. The floor must be capable of bearing the weight of the stove and the hearth temperature. Our small wood stoves can be placed on a non-constructional hearth made from non-combustible material that’s at least 12mm thick such as:
- Glass
- Slate
- Metal sheeting
- Concrete
- Patio tiles
- Marble
Whatever non-combustible material you decide to use, you will need have at least 225mm of material from the front of your stove to the front of your hearth. This can be measured from the stove doors rather than the footplate, which sticks out a bit further. We would also recommend you to have at least 150mm of hearth space at either side of your small wood stove, where possible.
Safety clearances during wood stove installation must be abided by as these ensure the stove is safely sited from combustible materials. See here for a detailed breakdown on the difference clearances for The Hobbit Stove and here for The Little Range Cookstove clearances. Please note other brands of stove will have different clearances.
5. Position the stove
- Place the stove in its final position on the hearth.
- Connect the stove pipe to the chimney liner adapter.
- Secure all joints with screws and stove cement if needed.
6. Seal the chimney opening
- Use a register plate at the base of the chimney to:
- Prevent heat loss up the chimney
- Increase efficiency
- Add a finishing, clean touch
- Reduced the risk of down-draughts
7. After wood stove installation
- First Burn: Perform a test burn to cure the stove’s paint and check for proper draught by carrying out a draught test to 12pa. Use a few firelighters and several pieces of kindling to start a small fire. We recommend doing a few of these and letting them burn out each time to build up the curing process.
- Regular Maintenance: After wood stove installation, regular maintenance ensures safe, efficient operation. Follow these steps:
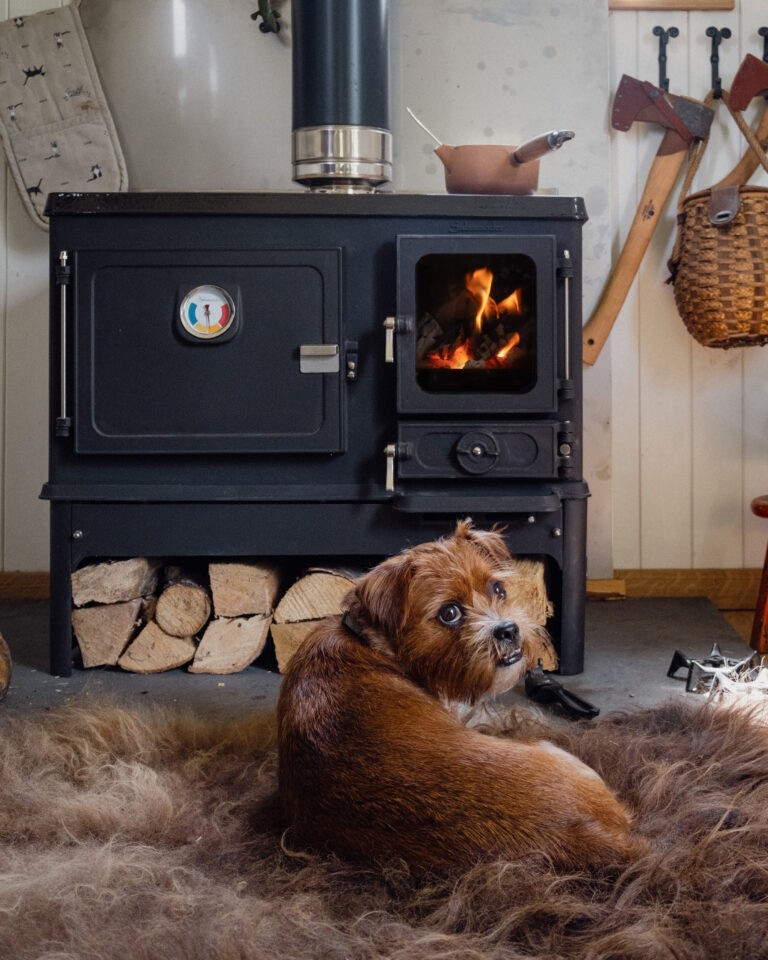
- Between fires in the stove, it is good practice to keep ash and debris to a minimum. Especially empty the ash pan and ash pan section. Remember that if only burning wood, it is recommended to keep a bed of ash about 1cm thick on the grate.
- Clean the outside of the stove with a soft brush, avoid chemical cleaners as this could mark the paint.
- Regularly remove and clean the baffle, and back and side bricks of soot and debris. Also clean the internal surfaces of the stove. The frequency of cleaning will be dependant on how vigorously the stove has been fired and what fuel has been used. The best way to clean the internal parts is with a hoover using a soft brush end.
- The rope in both doors will need regular inspection to check the condition and to ensure that the doors seal, and full control of the air supply to the fire can be maintained.
- Clean the stove glass only when cool with warm soapy water. Use of any abrasive cleaner will scratch the glass and make subsequent cleaning more difficult. Follow instructions here.
- It is important to have the chimney cleaned at least once a year.
- Regular inspection and cleaning of the internal components of the stove can indicate if the chimney requires more frequent cleaning. If the stove has been unused for an extended period (during the summer), the chimney should be checked by a competent person before use.
- Stay Informed: Keep up-to-date with any changes in local regulations or best practices related to wood stove usage.
Stay safe and do it properly
When it comes to installing a wood burning stove, there are many important factors to consider, which is why we will always recommend speaking to your local installer if you have any questions about how to install a wood burning stove. Feel free to also contact us for more information on installations into existing chimneys and all other structures, our friendly team would be happy to help!