Installing A Small Stove Into A Shed With A Wall Exit Flue
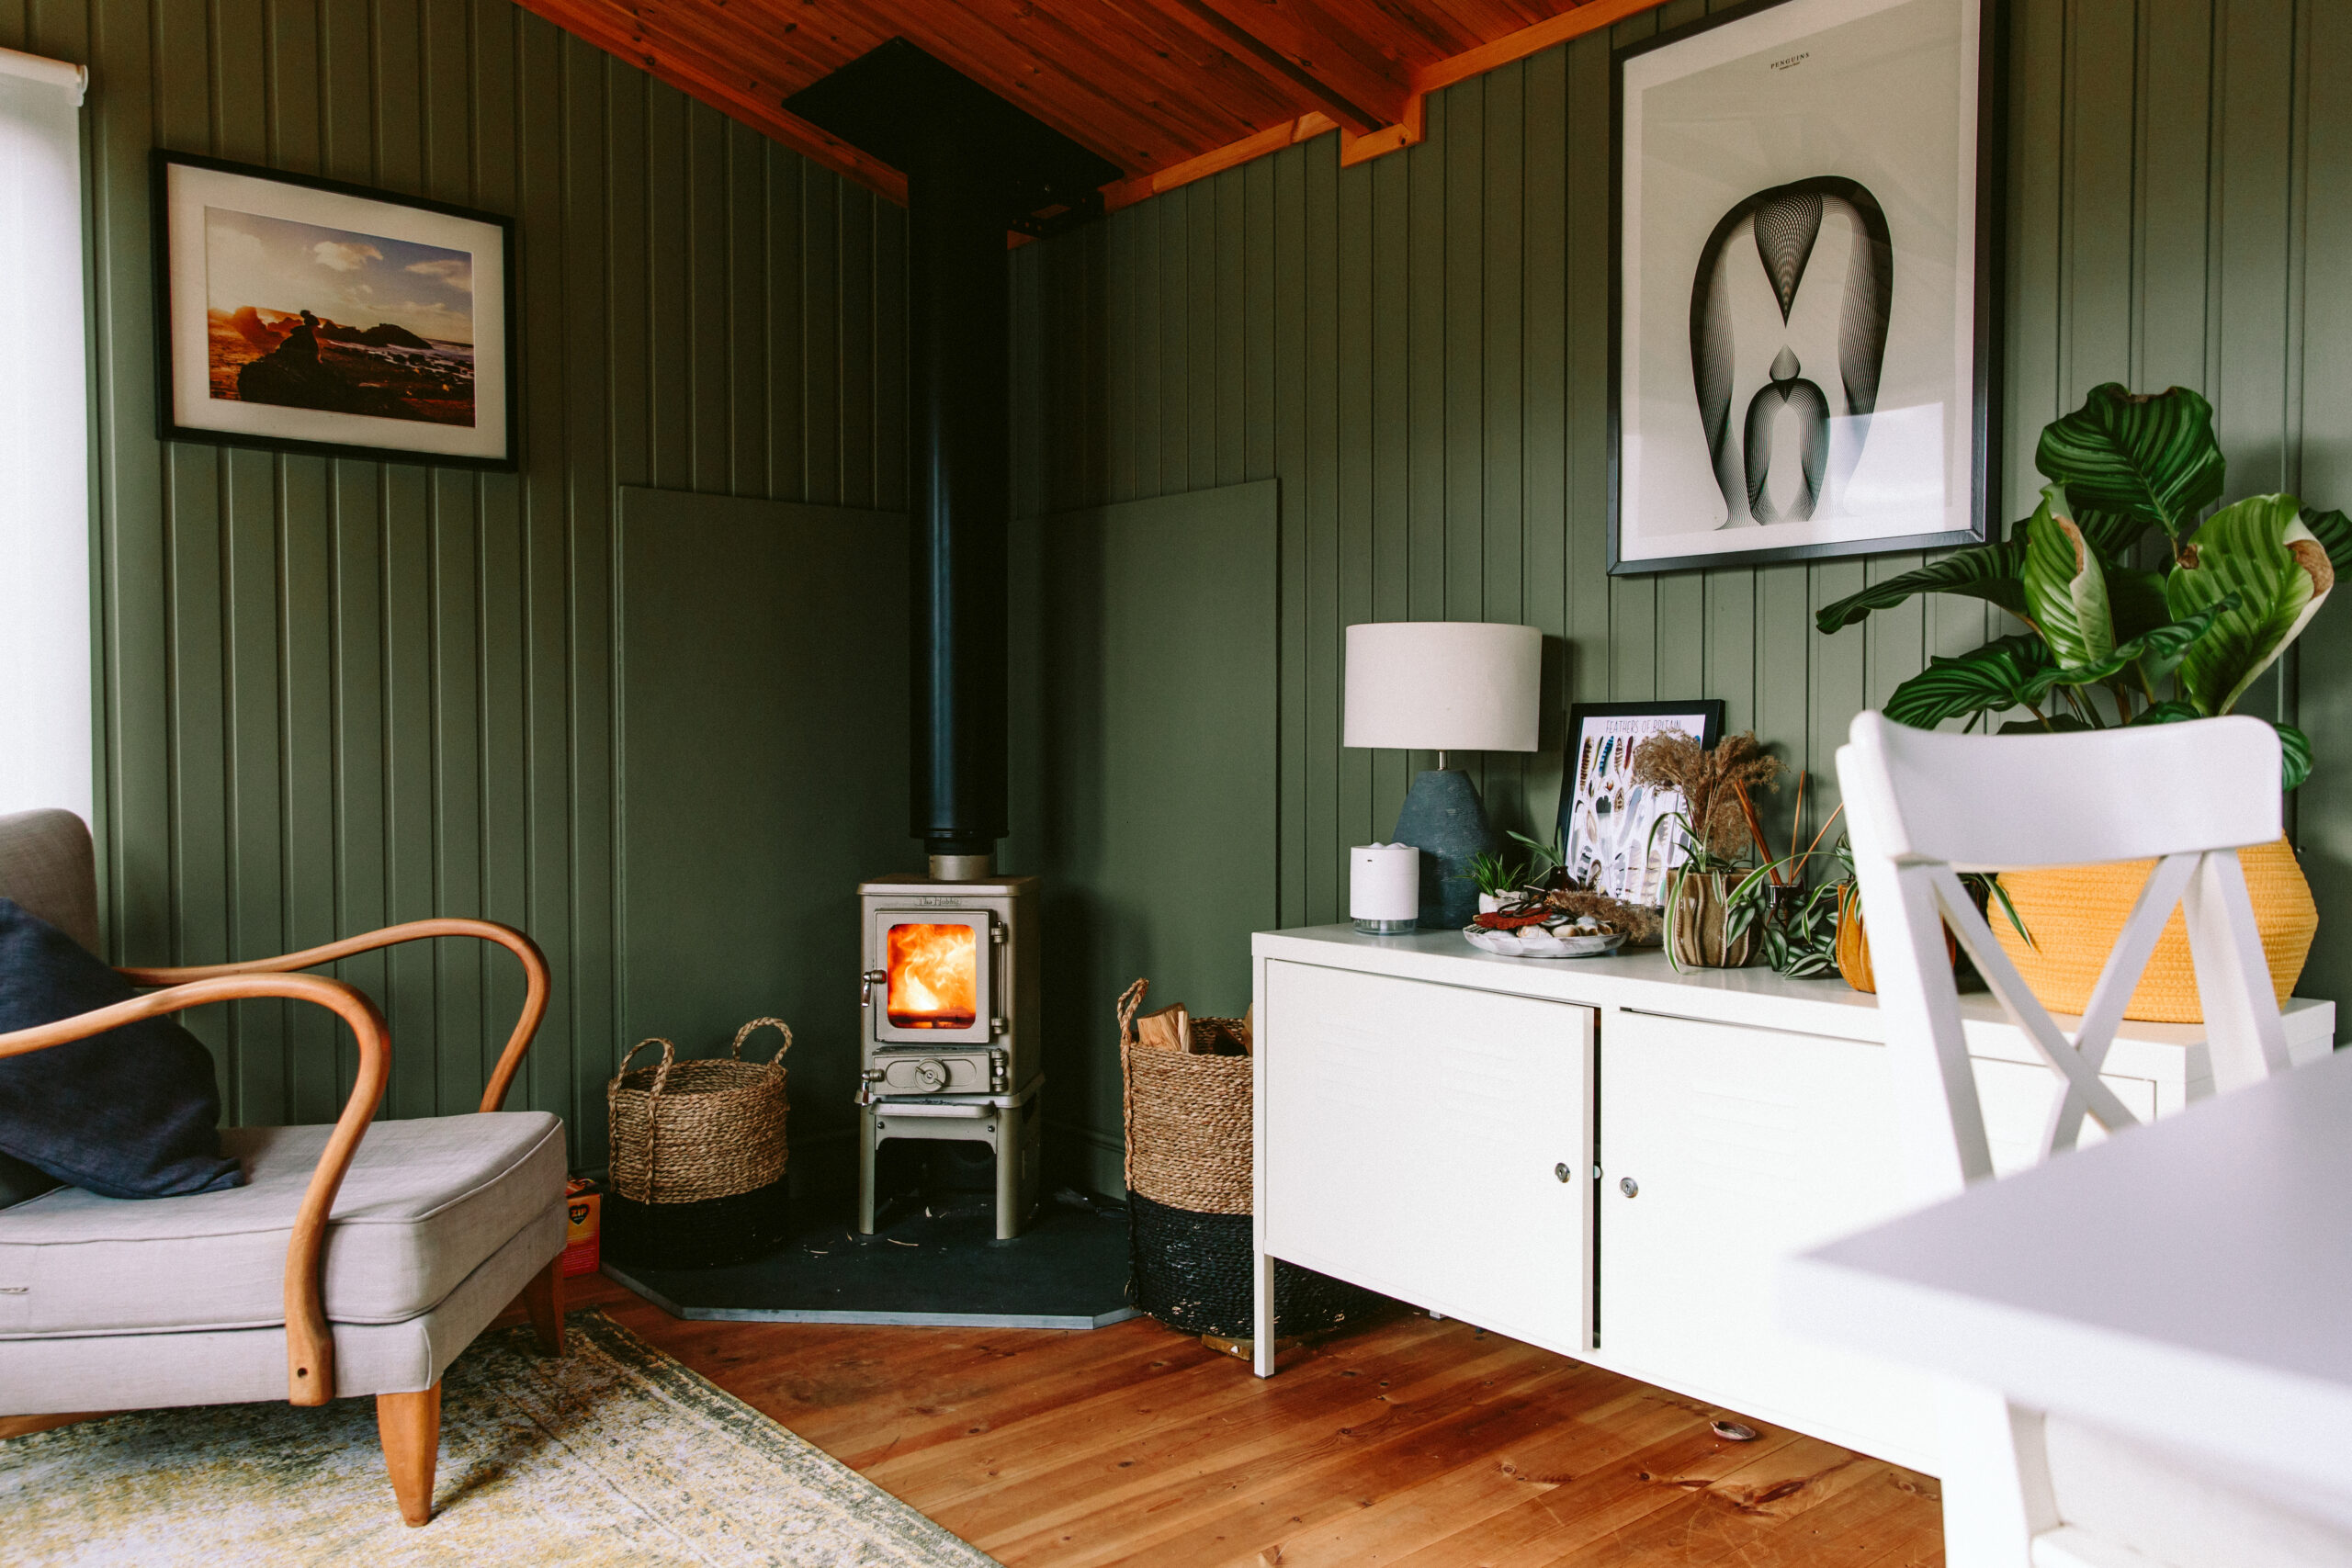
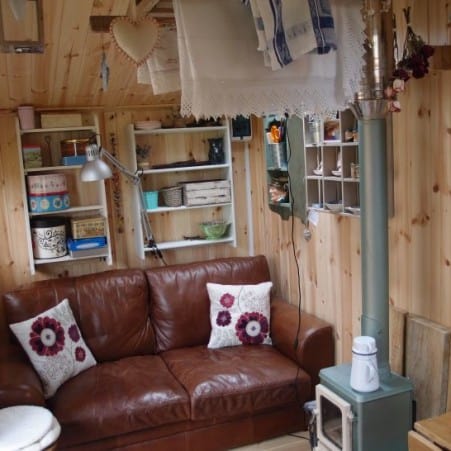
The short video below shows you an overview of this wall exit flue set up. The Hobbit stove installed in the shed has a stainless steel cook top option along with the new pedestal stand option. The decorative base that the pedestal base itself is standing on was made from old bits of cast stove that were laying around the garden. Rubbed down and polished up they make an attractive additional feature. Another good option is to make a raised base in the corner which can be used to store logs under.
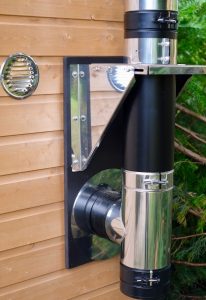
To mark the exit point for the wall exit you can set the stove and first few components up on the hearth and mark where the flue comes on the wall. The stove can then be removed again and the shielding and hole cut. It is a good idea to cut the hole in the wood initially close enough to just allow the twin wall pipe to pass through. This will keep the flue in the correct place whilst you set the remaining parts in place. The hole in the wood needs eventually to be cut back 50mm from the pipe, eg. a 250mm diameter hole using 100mm internal diameter twin wall flue pipe.
To shield the wooden walls from the heat of the stove and to allow us to site it 200mm from the sides of the stove into the corner of the shed, we initially installed some enamelled heat shields. These were set off the timber by using spacers to create a 30mm air gap behind each plate. As the flue pipe passes through this shielding a square hole was cut 155mm x 155mm. This whole is hidden behind the first internal round stainless steel trim plate. We can supply these enamel shielding plates so contact us for more information.
The flue kit we used is as follows:
- 1 x 45 degree elbow SW 100mm Vitrelux flue pipe.
- 1 x adaptor increaser to 100mm HTS twin wall flue pipe.
- 1 x 150mm length 100mm HTS twin wall flue pipe
- 1 x 90 T 100mm HTS twin wall flue section
- 1 x 90 T cap and locking band 100mm HTS twin wall
- 2 x 500mm length 100mm HTS twin wall flue pipe
- 1 x 1000mm 100mm HTS twin wall flue pipe
- 1 x Anti down draught cowl with locking band 100mm HTS twin wall component
- 1 x wall band support and extension kit 100mm HTS twin wall component.
- 1 x Wall support 100mm HTS twin wall component
- 2 x round flat trim plates 100mm HTS twin wall
- Fire cement – used to cement the 45 degree single wall component to the collar of the stove and for where the adaptor to twin wall joins the 45 degree elbow.
- Heat proof silicone – used to secure the trim plates along with sealing the support board to the side of the shed.
Additional components.
- Support board – Made from plywood. 70cm x 35cm from 16mm marine plywood sprayed black with heatproof flat black stove paint and varnished.
- 100mm vent cover.
- CO and smoke alarm
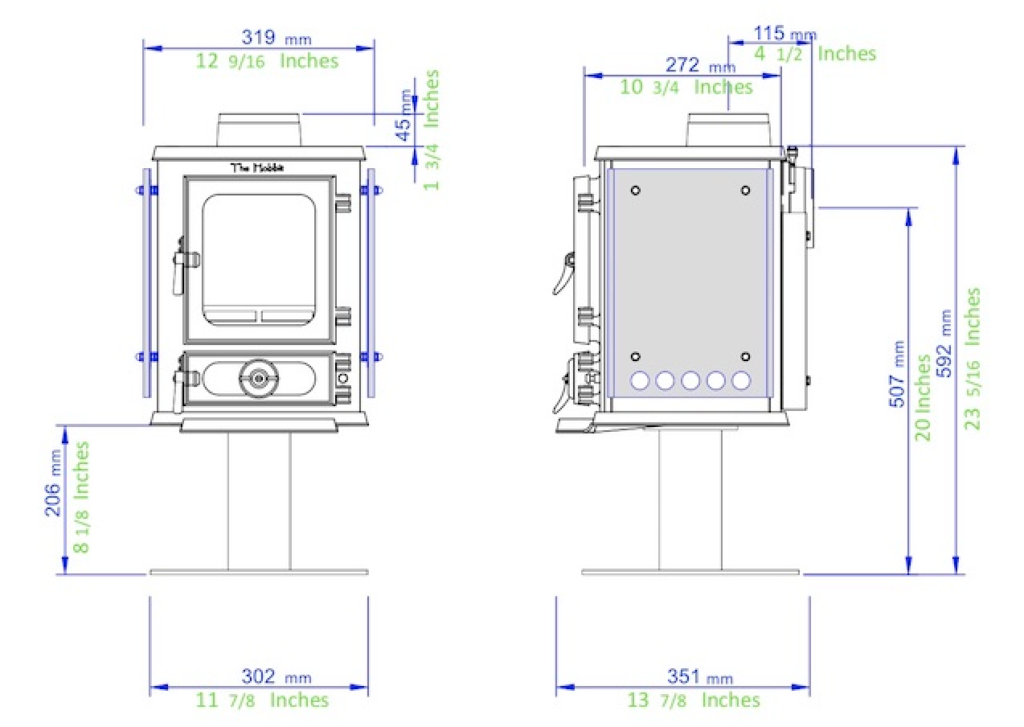
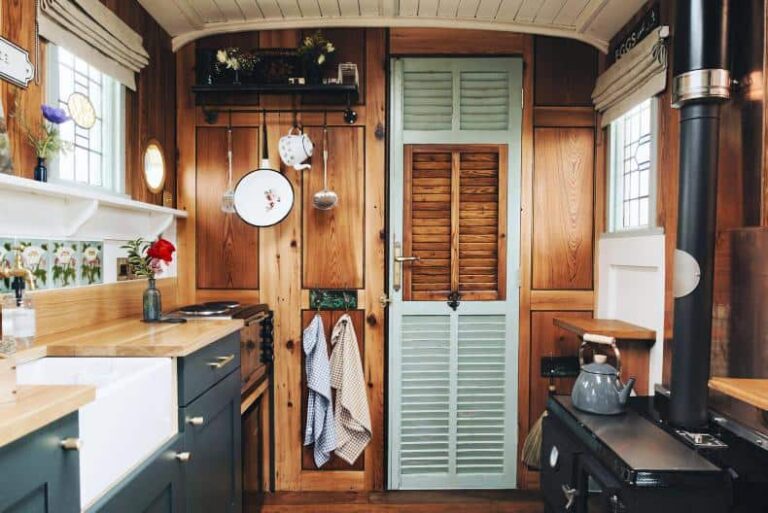
Here are the dimensions of the Hobbit stove on the new pedestal stand. This dimensional drawing also includes the stove heat shield options which reduce the distance to shielded combustibles to only 100mm. They were not required in this instance but maybe required if you do want any shielding on the wall or are in a very tight space such as a vehicle. For more information about the separate enamel heat shields for the wall, the pedestal base or the stove heat shields contact us. For information about installing a small stove in a van go here.
Step by step guide.

- Position a hearth plate to the floor – This needs to be a minimum of 12mm thick and extend 150mm to the sides of the stove and 225mm from the door forwards of the stove.
- Position the stove and offer up the flue components which will allow you to mark the exit point on the wall.
- Remove the stove and flue and install heat shields to the wall. These like the above will need to be modified to accommodate the flue. Ours has a 155mm x 155mm square hole cut into it which will be covered by the trim plate.
- Cut a 155mm hole in the wall.
- Reposition the stove and offer up the 45 degree elbow, adaptor and 150mm length, which should extend to the outside.
- Connect the 90 T and cap and position the mounting board onto the shed with a temporary screw. Drill 6 holes and bolt the wall support brackets to the mounting board and shed wall.
- Connect the wall support collar to the first length of 500mm twin wall and join this to the 90 T. Bring the support collar down onto the wall support plate and then tighten the collar bolts.
- Connect the second 500mm length and use this to position the wall band support. The wall band support should be fixed as high as possible to the shed to provide maximum support.
- Now all the support components are in place the system can be deconstructed and then the flue reassembled with the fire cement seals between the collar on the stove and the 45 degree elbow and then the connection between the elbow and twin wall adaptor.
- Having fie cemented the first two components the remaining flue parts can be assembled. The trim plates can be attached inside and outside using the heat proof silicone. It is a good idea to also use a little to seal the mounting board to the wall. The system has been finished by adding a 1000mm length topped with an anti down draught cowl due to the proximity of the trees around the shed.

