Installing a Wood Burner into a Shepherd’s Hut
This post will guide you through each step of installing a wood burner into a shepherd’s hut. The following information can also be applied to any stove installation where you are working with a metal or a metal profiled roof. You will need to use a silicone flashing when working with this type of roofing material.
Tools required:
- Ladder
- Plumb line
- Permanent marker pen
- Spirit level
- Tape measure
- Cordless drill with 2mm, 6mm and 8mm drill bits
- 10mm Ring spanner
- A sharpened metal rod (if sheeps wool insulation is in place)
- Cordless jigsaw
Useful documents
With any stove installation you should always refer to Approved Document J of the building regulations. When installing a wood burner into a shepherd’s hut, or indeed any small space, sticking rigidly to the building regulations can be challenging.
HETAS have produced an advisory document to help stove installers and self-builders alike. It takes the core themes of Approved Document J and applies them to this scenario.
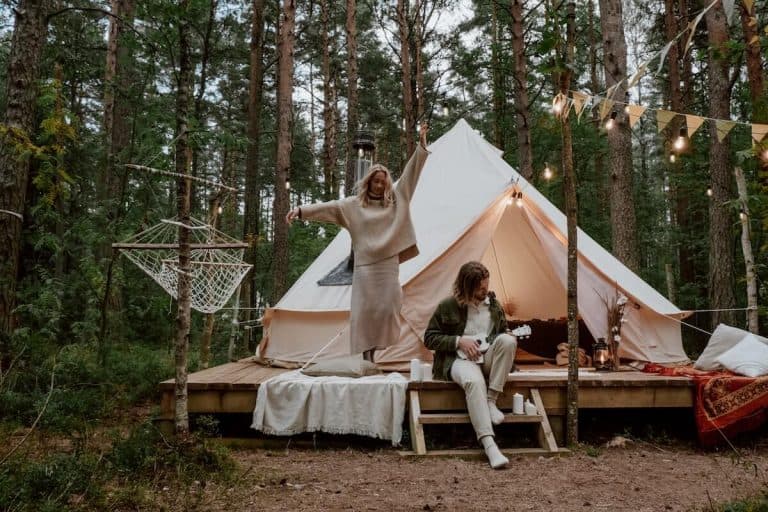
Pages 20 and 21 are specific to shepherds’ huts and you can view the document here. There’s also a useful guide on how to use a small wood burning stove in glamping accommodation, which you can find here.
Installing a wood burner into a shepherd’s hut – choosing a small wood burning stove
There’s not a huge variety of small wood stoves on the market that are suitable for spaces such as shepherds’ huts. We have designed and manufactured three multi-fuel stoves that are perfect for smaller spaces.
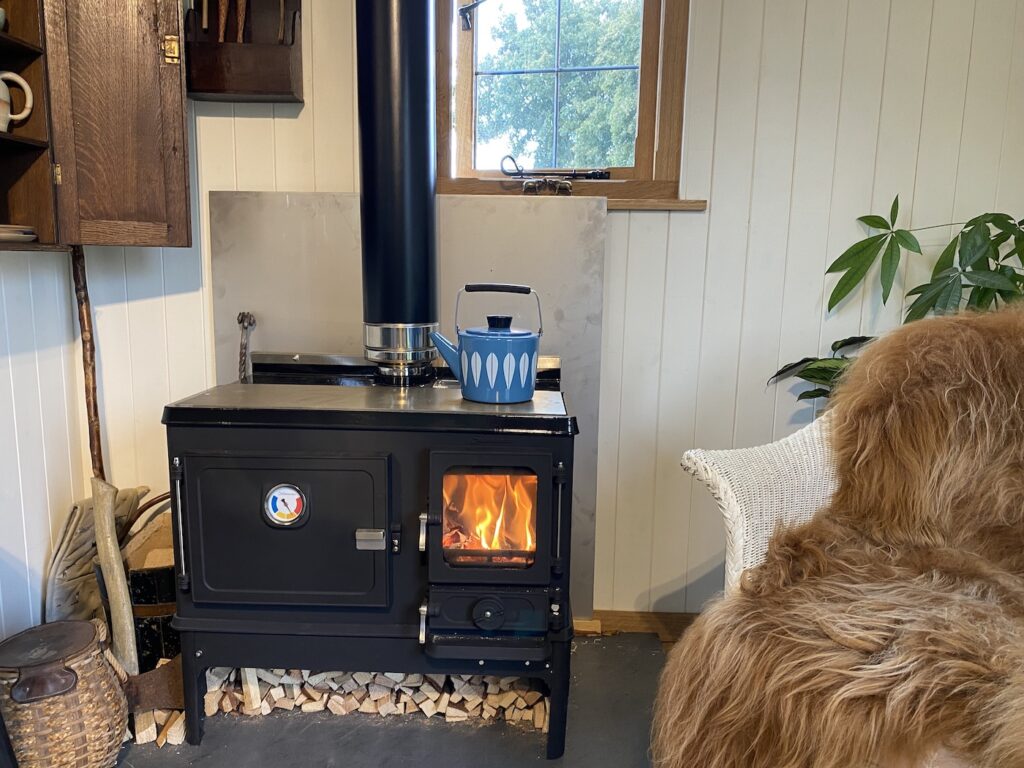
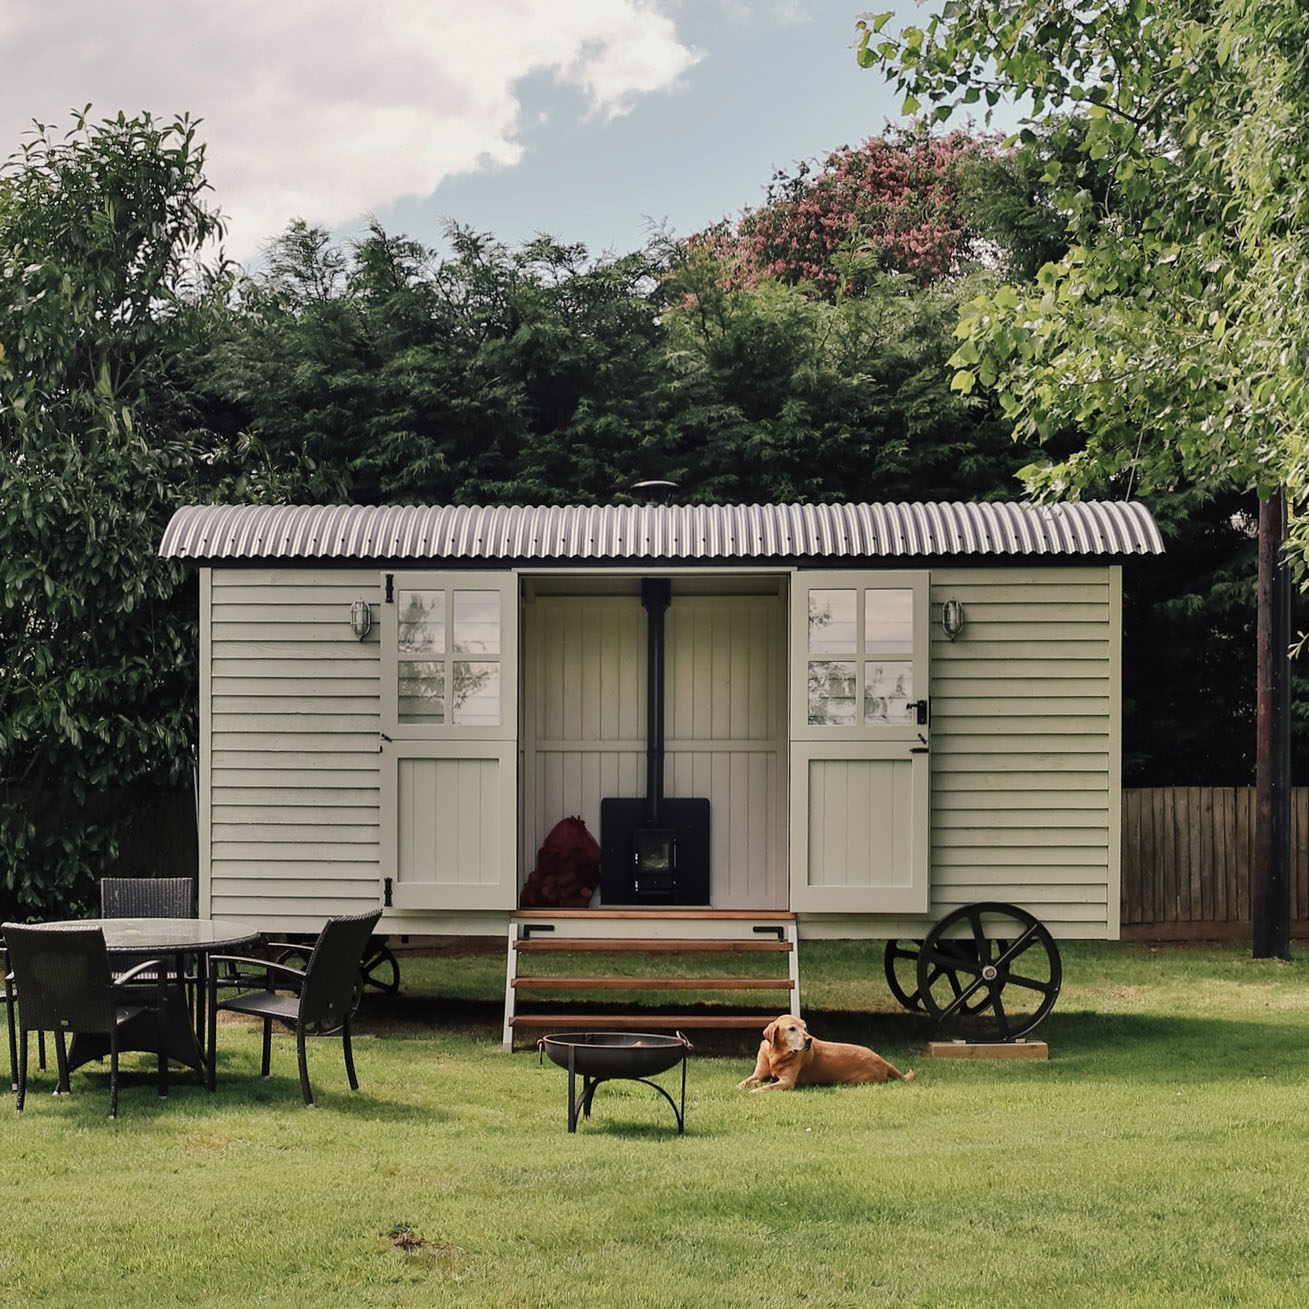
The Hobbit Stove is a very popular choice for shepherds’ huts. You can see a wide variety of huts it has been installed into here. In this case we went with our Little Range Cookstove, as our hut is slightly bigger than usual, measuring 18ft x 8ft.
Our Range Cooker has a nominal heat output of 4.3kW, which is great for this size space. This multi-fuel stove will keep the hut toasty warm in the depths of winter, whereas a 5kW stove would be far too powerful for a shepherd’s hut.
Note: it’s much better for the stove, and the environment, if you burn a smaller appliance more vigorously instead of burning a larger appliance more gently. The latter will generate more smoke, soot and tarry deposits.
We also went for this model of stove for its stainless steel hotplate and built-in oven! This transforms the hut into self-catering accommodation for guests, who already have a dual electric hob to use as well.
We’re going to be using our stove cooking range to rustle up some delicious wood-fired recipes! We will be posting some videos on our YouTube channel, but we have also made a free online cookbook to inspire you.
Installing a wood burner into a shepherd’s hut – choosing your flue system
Once you’ve decided on the small wood stove for your space, you can then move onto the flue kit. It’s important to know which stove you are looking to use first, as this will determine the diameter and lengths of the flue pipes required for the job. All of our stoves have a 100mm/4″ outlet or collar.
We have designed two flue kits for shepherds’ huts, but the list of parts can be amended to suit your particular installation.
We used the following list of parts for this installation:
- 1 x Appliance connector (stainless steel finish, single wall to twin wall insulated flue)
- 2 x 1000mm TW (black)
- 1 x 500mm TW (black)
- 1 x Wall support
- 1 x Trim plate (flat round)
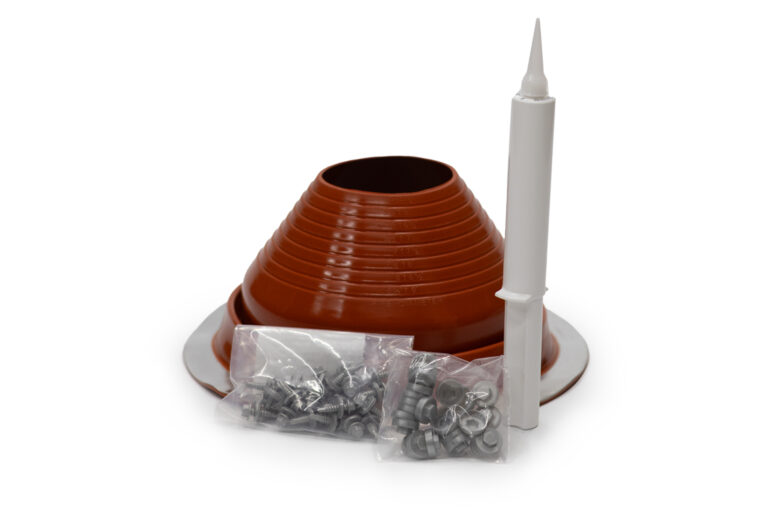
- 1 x Silicone flashing and fixing kit
- 1 x Storm collar (black)
- 1 x AD Cowl TW (black)
- 1 x Cartridge of fire cement
- 1 x Cartridge of heatproof silicone sealant
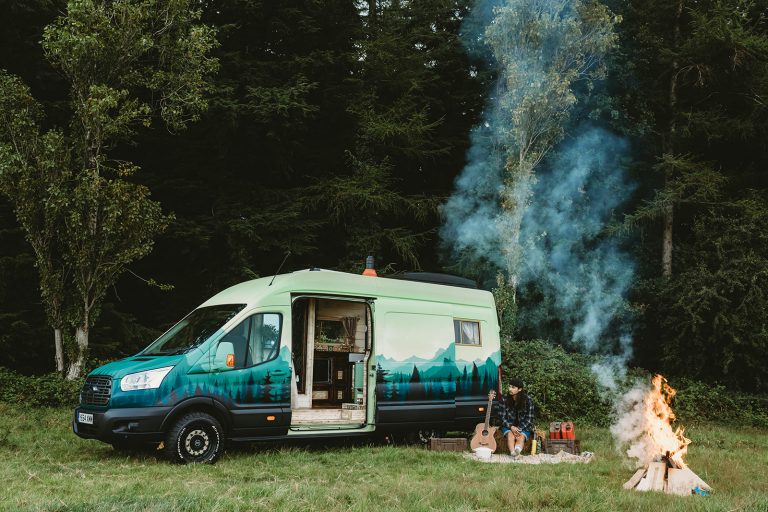
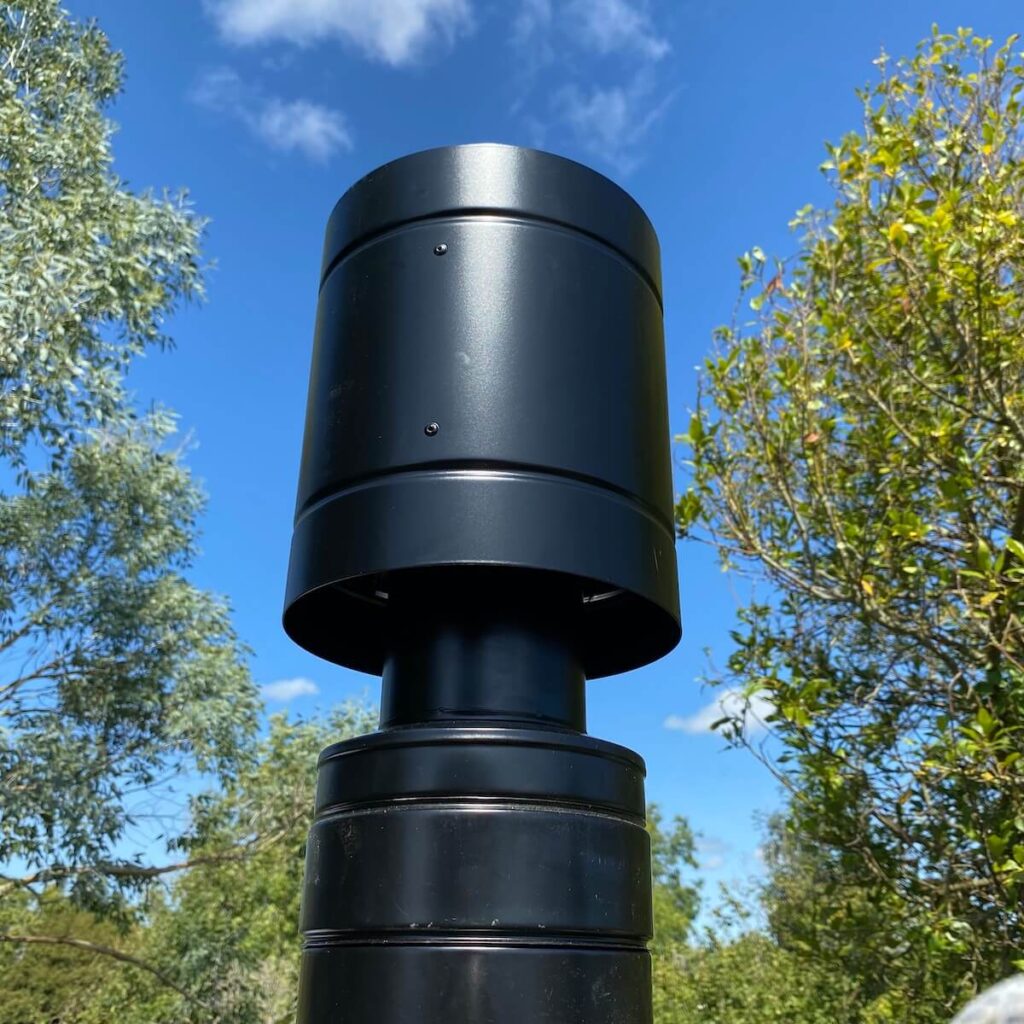
Note: You should use an AD cowl (anti-downdraught cowl) if your hut is surrounded by trees or other buildings. Fitting an AD cowl will help prevent downdraught. This is where smoke is blown back into the room due to a change in air pressure above the flue, which tends to happen during stormy weather.
Installing a wood burner into a shepherd’s hut – the hearth and shielding
In this example we will be installing The Little Range Cookstove. This appliance can sit on a non-combustible hearth that’s at least 12mm thick. The hearth can be slate, glass, concrete or metal, for example.
Here, we have used a slate hearth from Kenmart Ltd. The slate that we have used measures 25mm thick, 1200mm wide and 750mm deep. This hearth size allows for 225mm of space from the front of the stove to the front of the hearth, and there’s at least 150mm of hearth space at either side of the stove to comply with regulations.
In this case we added an additional 200mm to the width of the hearth, but this was purely for aesthetic reasons. We shielded the wooden cladding with 1.5mm thick cold rolled stainless steel, measuring 1000mm wide and 800mm tall. We spaced the shielding off of the wall with 25mm spacers.
Step 1 – positioning and plumb line
We finalised the location of the stove and positioned it on our hearth. There needed to be at least 225mm of space from the front of the stove to the front of the hearth. We also kept at least 150mm of hearth space at either side of our wood burning cook stove.
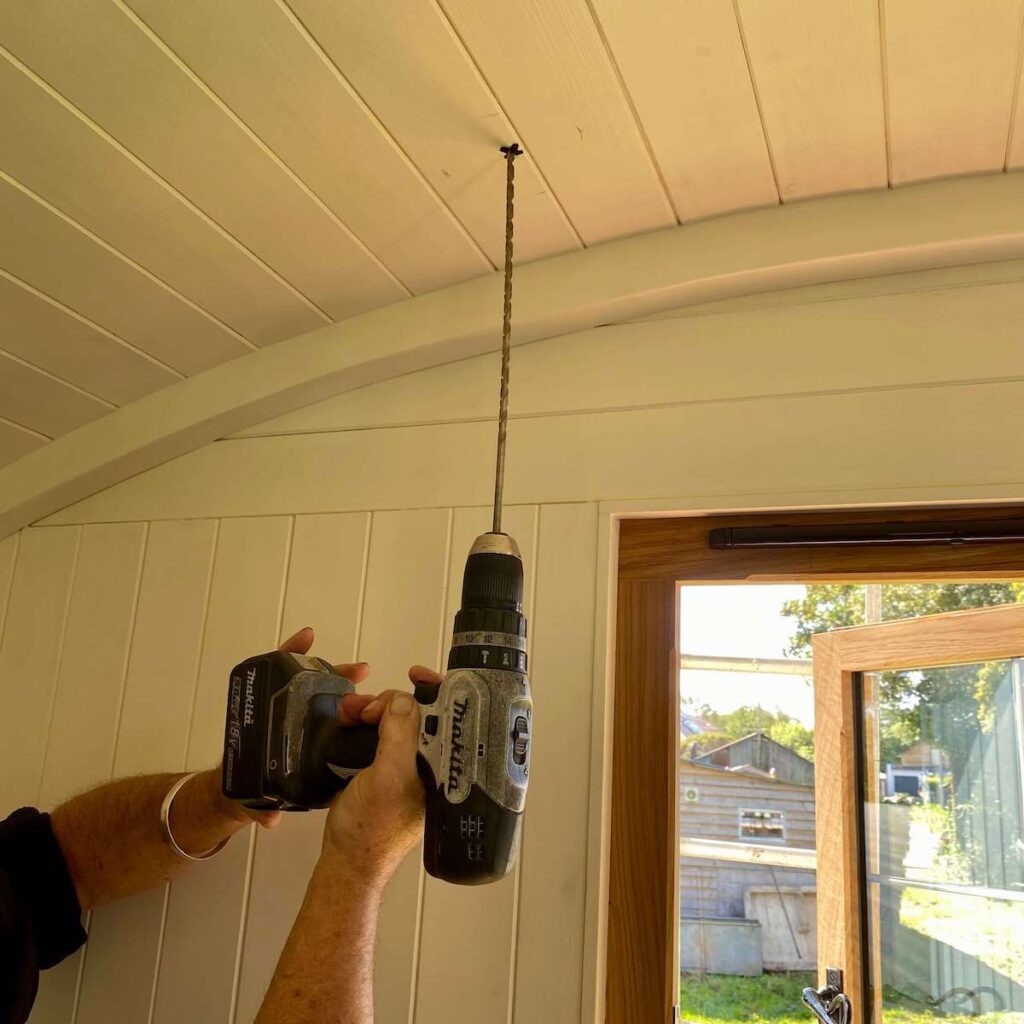
Next, we used a plumb line with the bob positioned in the middle of the flue collar. This enabled us to mark the point on the ceiling that will be the middle of the flue hole. Take care to ensure that the hole in the ceiling will not interfere with any structural beams.
Step 2 – cutting a hole in the roof
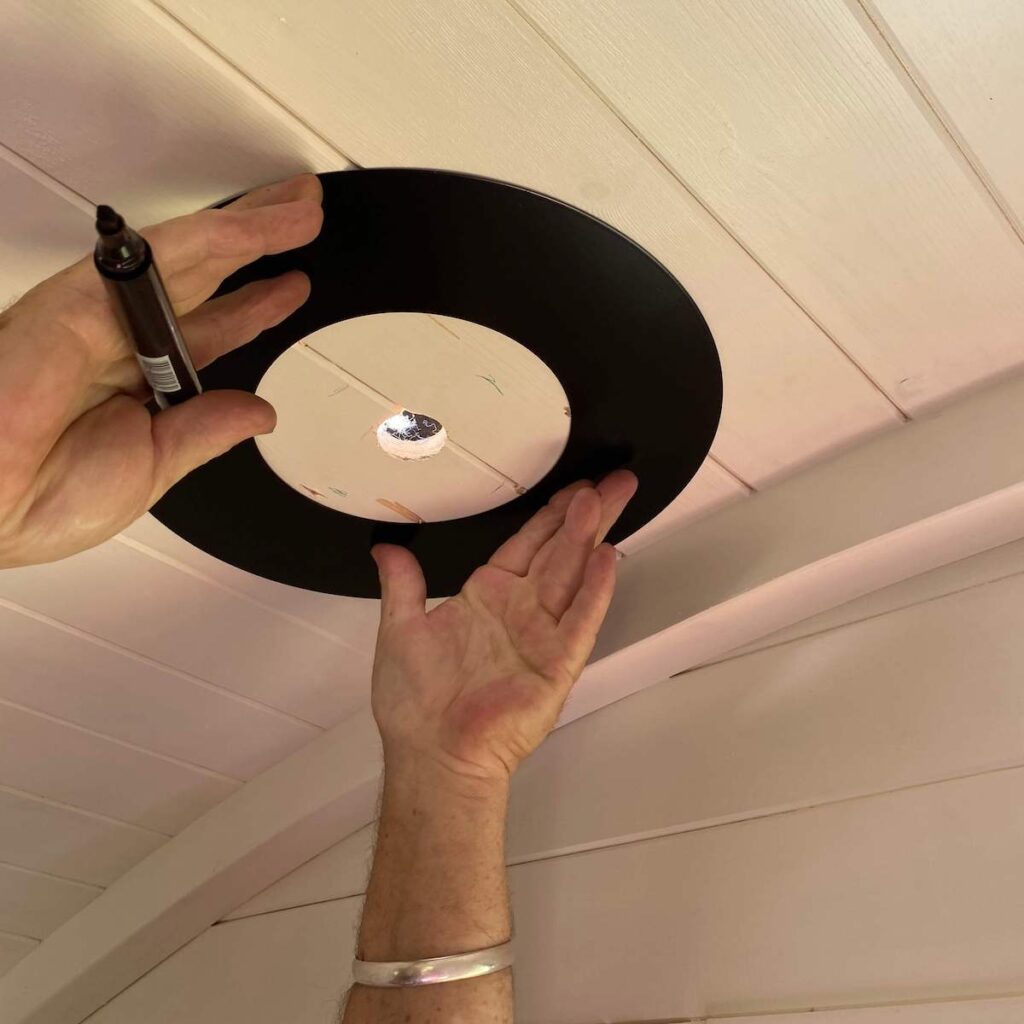
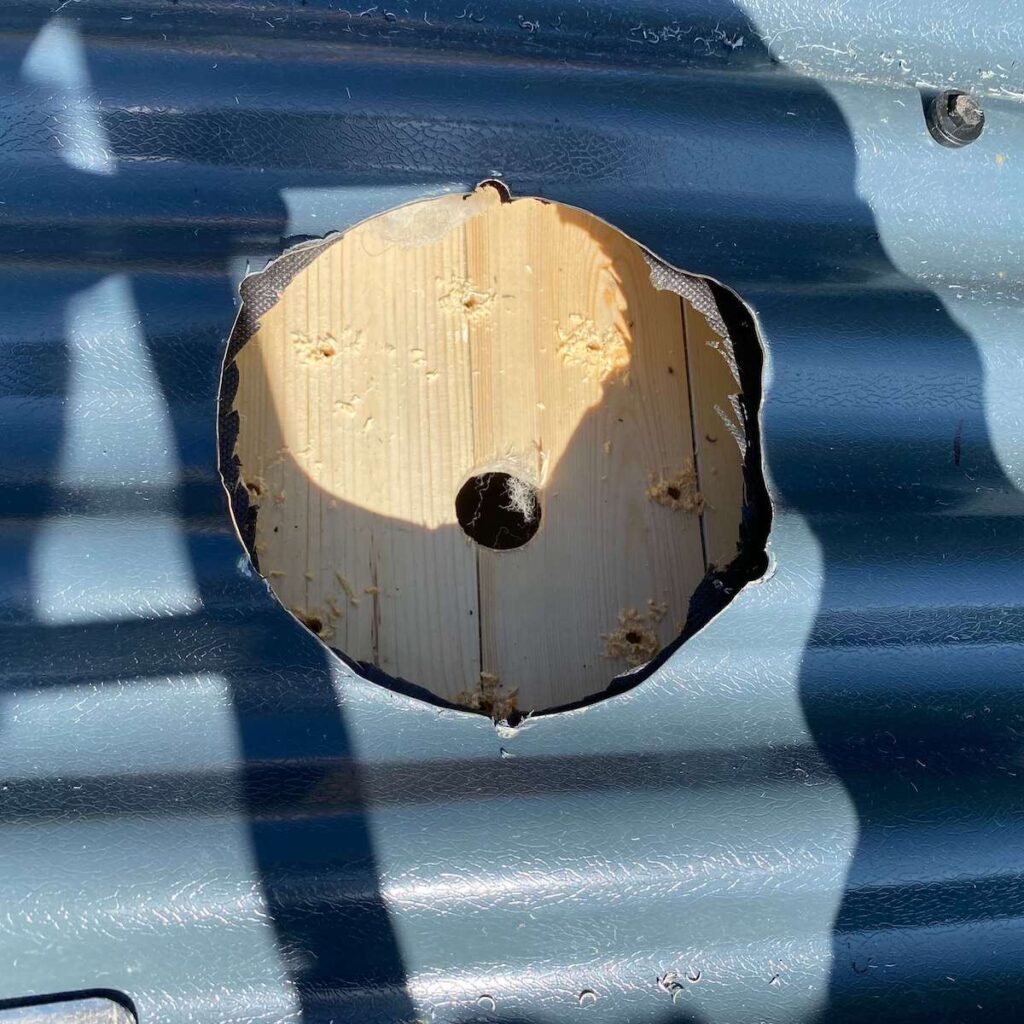
After establishing the centre point, we drilled a hole through the wooden ceiling. Take care to avoid the drill bit snagging on any sheep wool insulation.
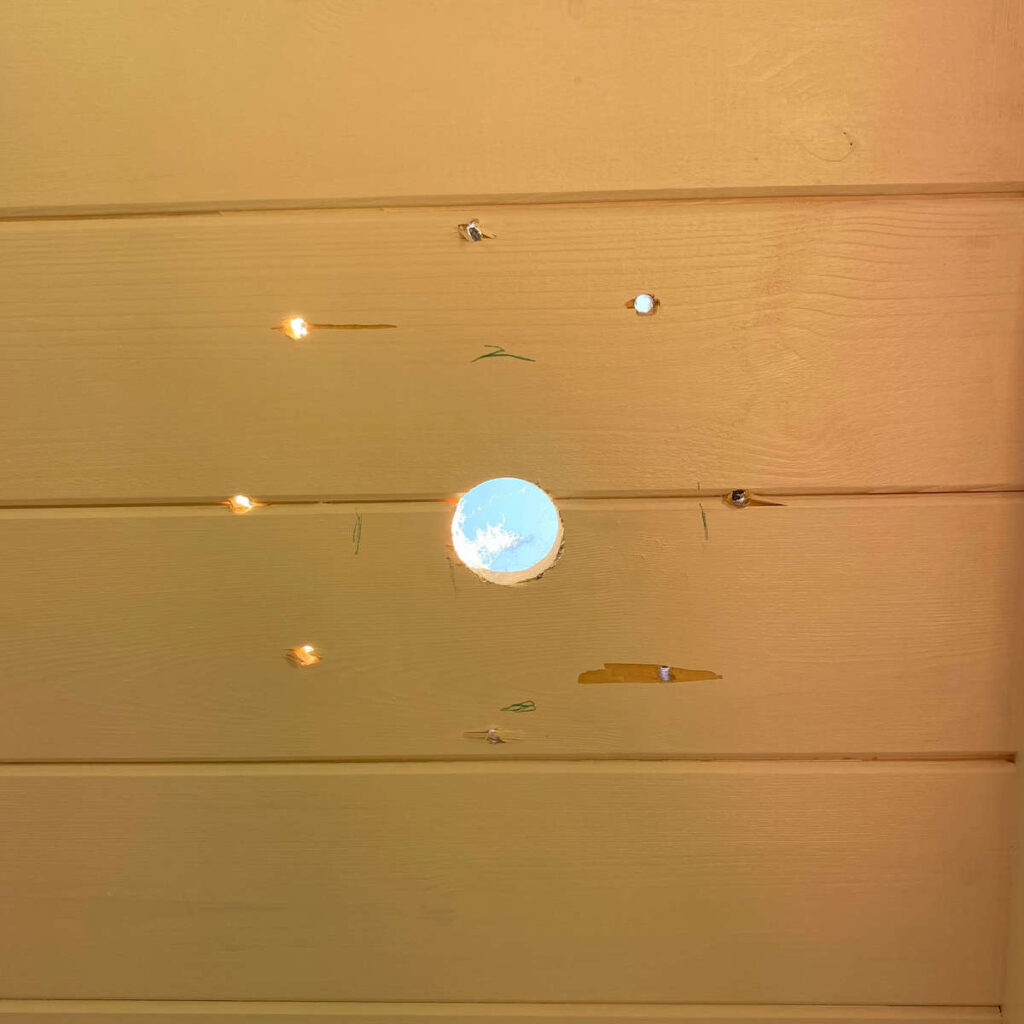
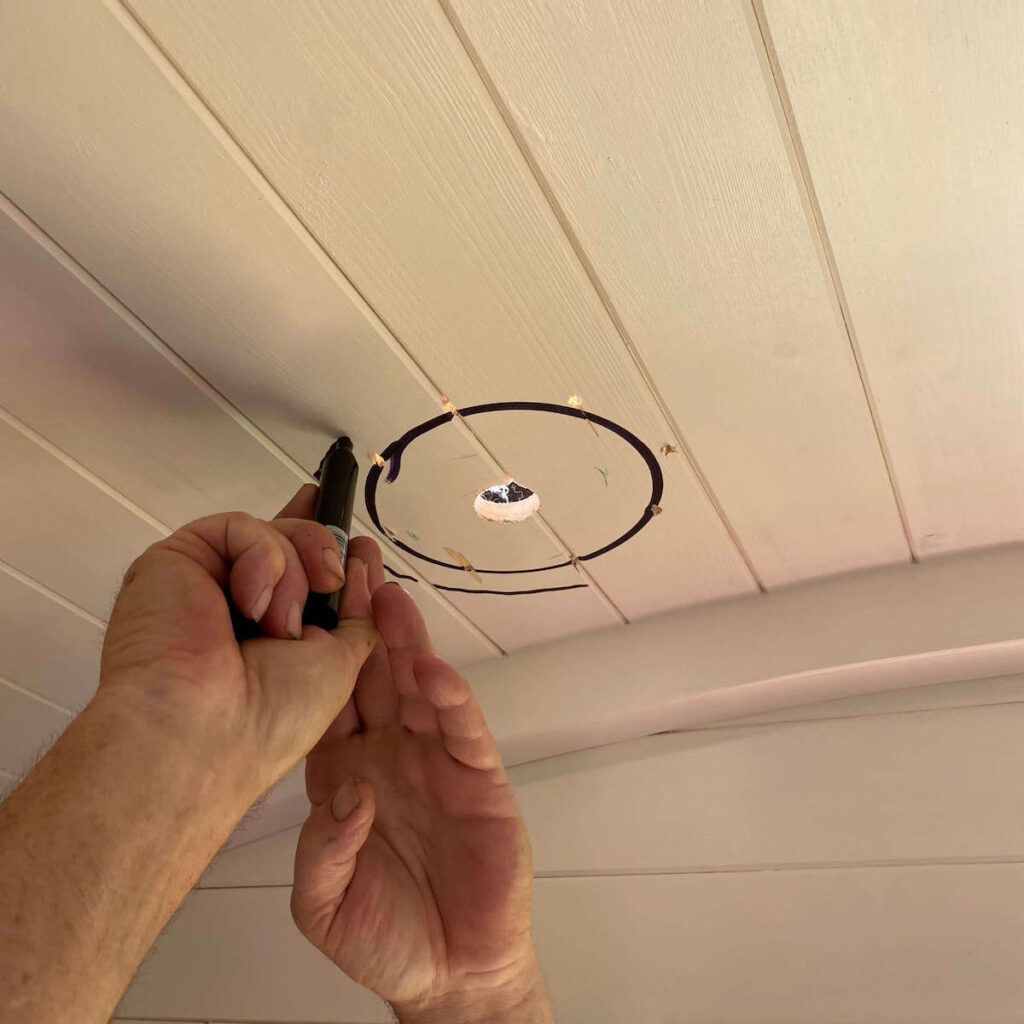
Next, we used the inside of the trim plate to mark the larger hole that needed to be cut into the ceiling. This will accommodate the flue. 8 holes were drilled around the circumference to make the cutting process easier.
We used twin wall flue that has a 100mm/4″ internal diameter to exit through the roof. These pipes have 25mm/1″ of insulation all the way around the pipe, and they need to be kept at least 50mm/2″ away from combustible materials. This meant that we needed to cut a 250mm/10″ diameter hole in the ceiling.
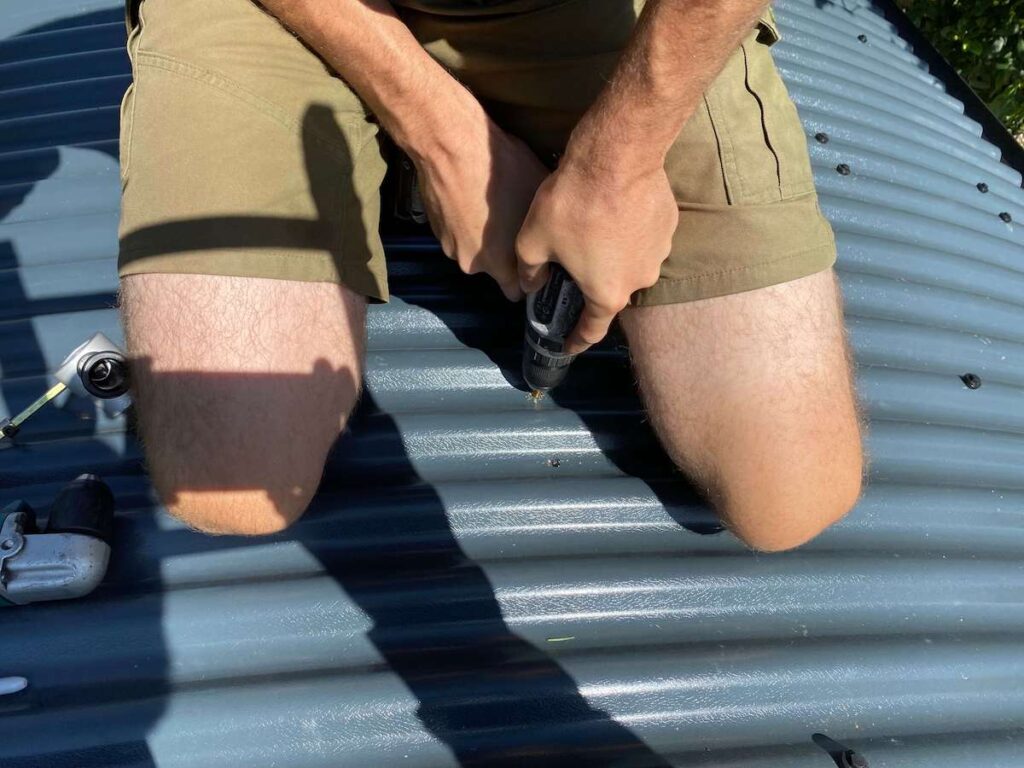
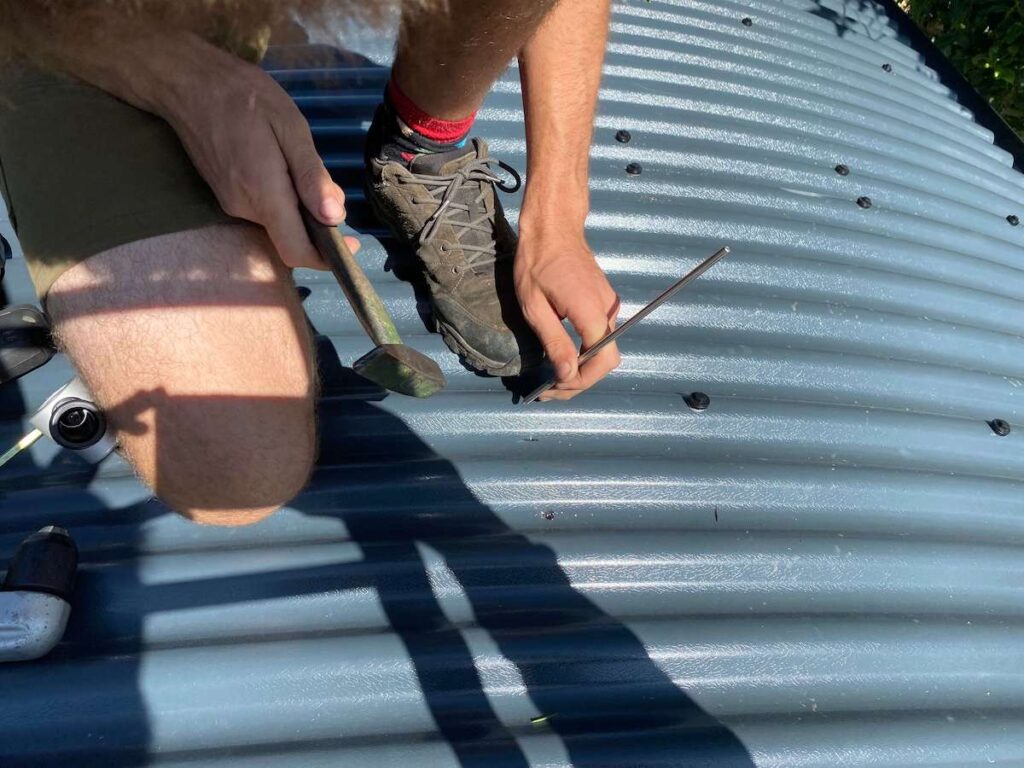
A punch and a drill were used to create two small holes in the metal roof. One marked the centre point and the other marked the circumference of the hole. We found the best tool to cut the metal roof is a small metal nibbler attachment for a drill.
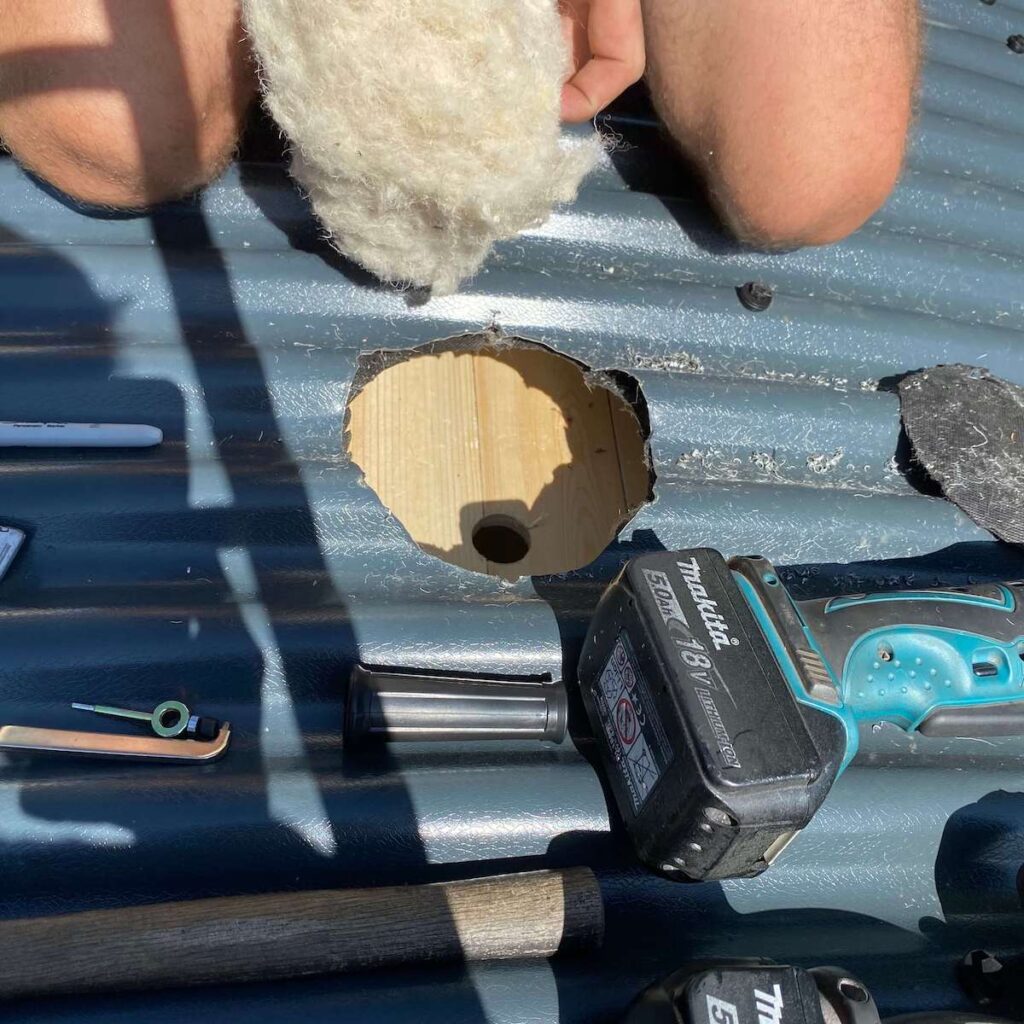
We cut a hole in the metal roof which had a close fit to the flue pipe. In this case, the flue pipes have an outer diameter of 150mm/6″, so a 160mm diameter hole will give a 5mm clearance around the pipe. The internal hole in the combustible wooden ceiling needed to be 250mm/10″ in diameter, so that the combustible material was at least 50mm away from the flue pipe.
We removed the sheep wool insulation before cutting it into smaller sections and repacking it around the hole. Combustible insulation needs to remain at least 50mm away from the twin wall flue pipes. You can then cut the hole inside.


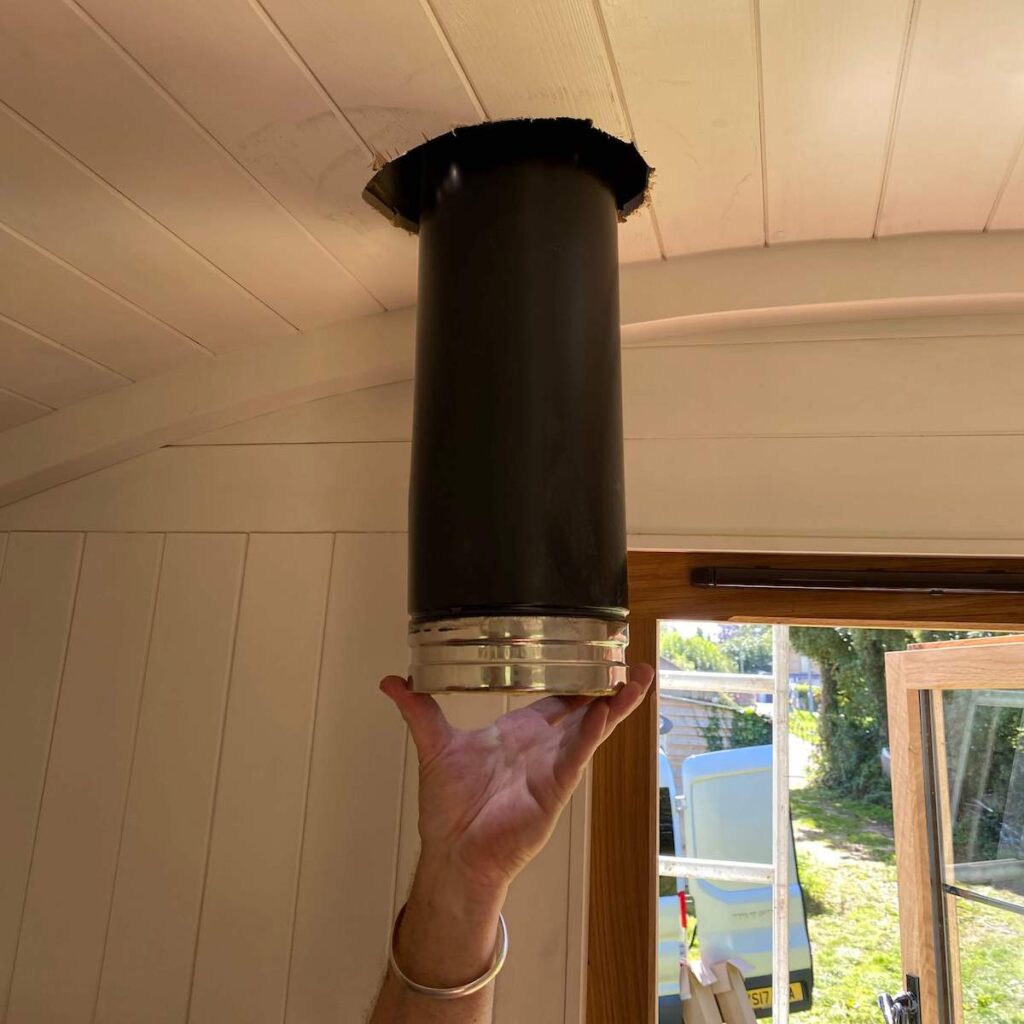
Step 3 – Trim plate and flashing
Don’t worry if the hole in the ceiling is not neat, as this will be completely covered up by the trim plate. The hole in the roof will also be covered up by the silicone flashing and fixing kit. You can choose to pack some non-combustible insulation in the space between the two holes, but this is not necessary. It’s fine to leave this space empty as air is a good insulator.
The trim plate fits close to the flue pipe and extends beyond the hole in the wooden ceiling. You can fix it to the ceiling by applying a thin bead of heatproof silicone sealant to one side of the trim plate before fixing it into position. Trim plates can be circular or square, and you can also get split trim plates that are easier to retrofit. You can use a flat trim plate or a 30 degree trim plate depending on the pitch of your roof.
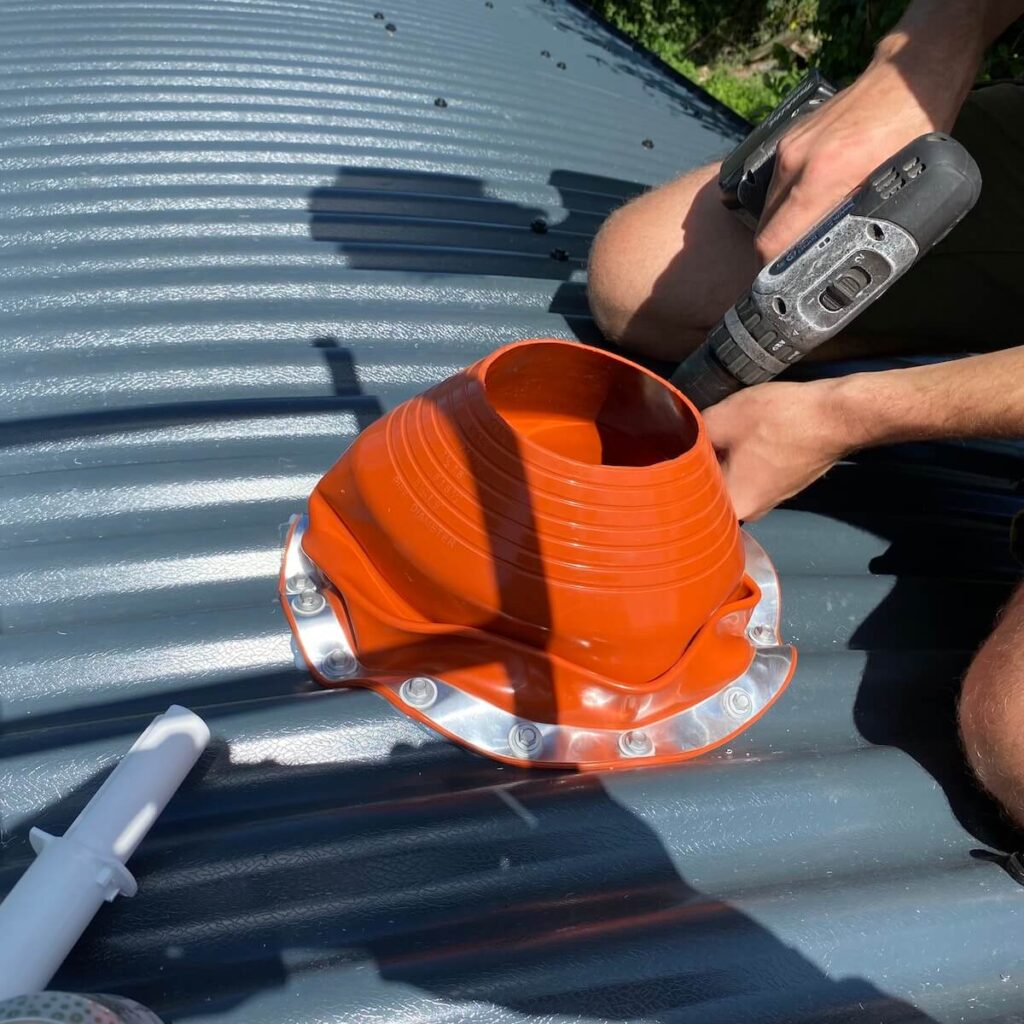
You can fix the silicone flashing into position by applying a bead of heatproof silicone sealant beneath the malleable metal edge. This is reinforced with self-tapping screws. A detailed article and video showing the installation of a silicone flashing is available here. Here’s what ours looked like:
Step 4 – Assembling the flue kit
We do not provide a set of instructions with our installation kits. This is because the installation process can vary considerably depending on the unique specifics of your structure or vehicle. A general guide to assembling the flue kit is as follows:
If you are using single wall flue, then the first length can be fire cemented into the collar of the stove. The remaining single wall flue parts can be fire cemented into each other and a VC clip will provide a neat finish to each join. The single wall to twin wall adaptor can be fire cemented into your last piece of single wall flue. You will need to use twin wall flue to exit through a roof or wall.
As you can see, we have used a twin wall flue kit for installing our wood burner into a shepherd’s hut. We used an appliance connector to convert from the stove collar into 100mm/4″ twin wall insulated flue. We fire cemented this part into the collar of the Little Range. You can connect the twin wall flue parts into one another and fix them in place with the simple locking band mechanism, pictured below.
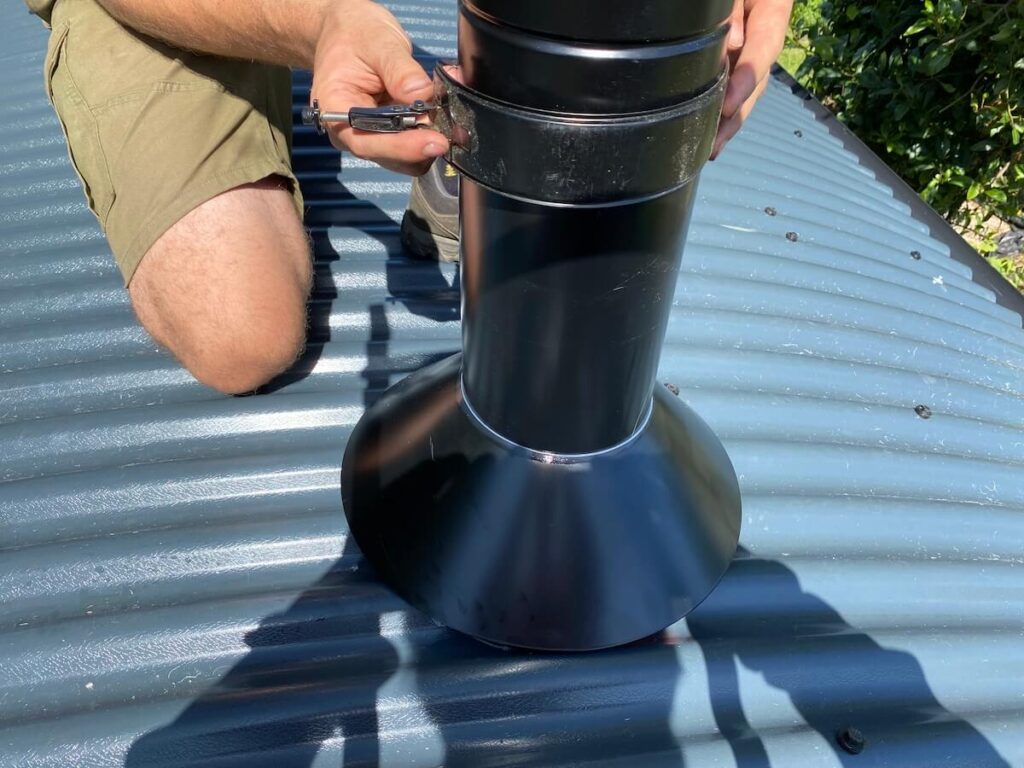
We have used a storm collar around the base of the external flue. You can apply a thin bead of silicone around the top of the storm collar as an extra layer of weatherproofing. The storm collar will protect the flashing from the rain as well as UV degradation.
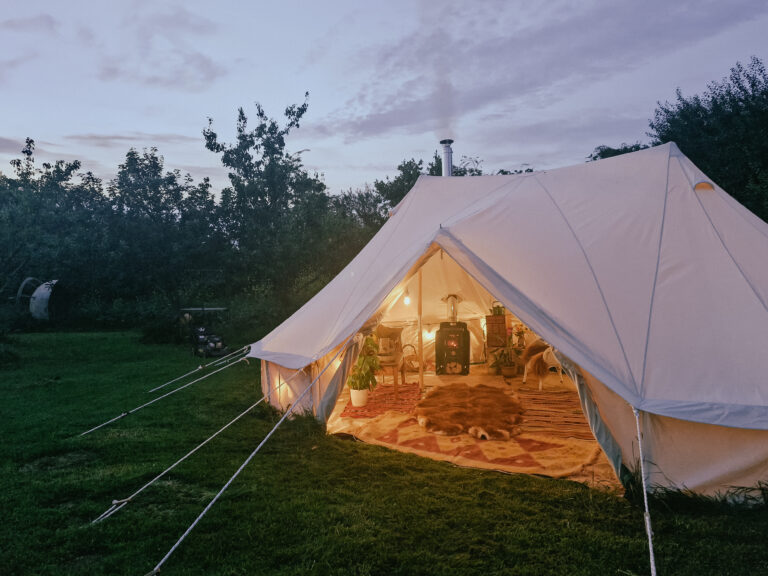
The finished installation should look something like this:
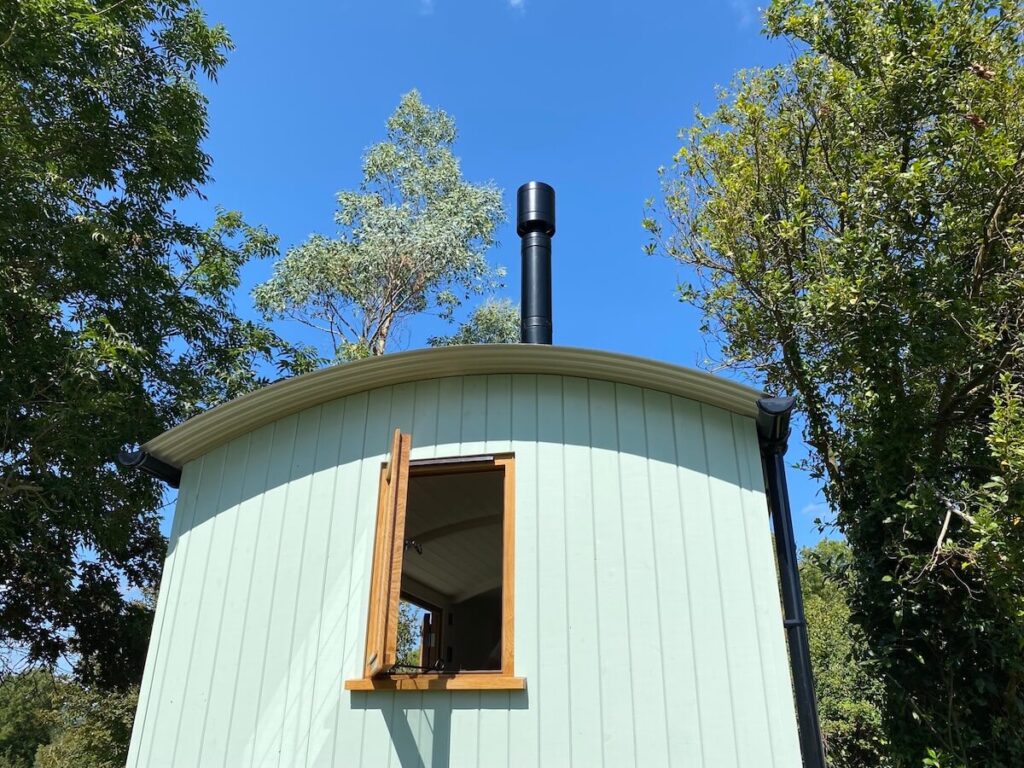
Our lovely shepherd’s hut was built and delivered by the amazing team at Black Mountain Shepherds’ Huts.
Step 5 – Safety alarms, notice plate and first fire
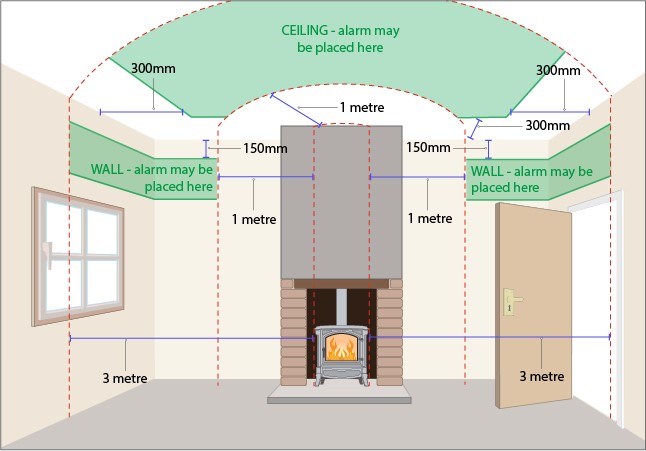
We strongly advise you to install a carbon monoxide alarm and a smoke alarm as a safety precaution. HETAS have provided a useful diagram below, which shows where you should position your CO alarm. You should also fit a notice plate inside the hut. This details the appliance and the flue system that have been installed.
The stove paint on our appliance will need an initial fire in order for it to cure. The stove will produce an odour during this process, so it is best to ventilate the hut as much as possible during your first fire.
Start the curing process by lighting a small fire and refuel the appliance when only half of the fuel in the firebox has been exhausted. Leave the air controls fully open, as the stove will need to get quite hot in order for the paint to cure.
If you light a large hot fire straight away, then this can lead to the paint bubbling and flaking. You can read more on how to cure your stove here. After a few successive fires the smell should dissipate and your stove will be ready for use! If you have any questions, then please do not hesitate to contact us.