Installing a Small Wood Burning Stove into a Van
In this article, we’ll explain a few basic points that you will need to consider when it comes to installing a small wood stove into a vehicle. This could be a campervan, a horse box, RV or any other vehicle which is fairly air tight! Check out our case studies to see how other people have installed their Hobbit Stove!
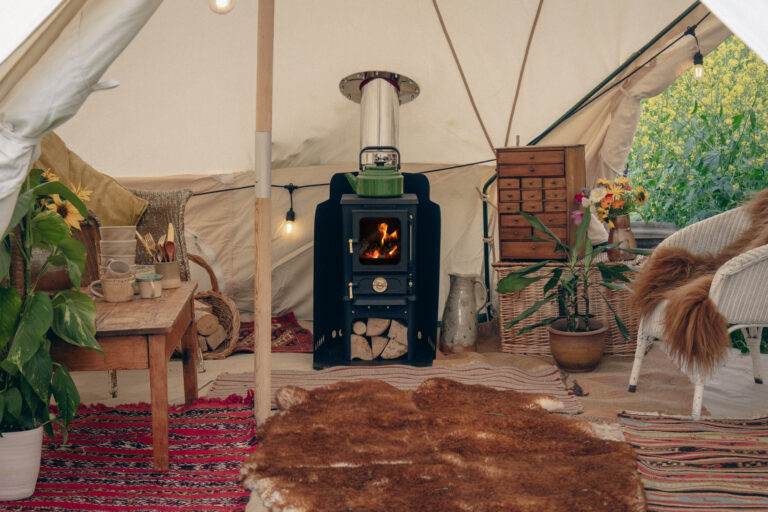
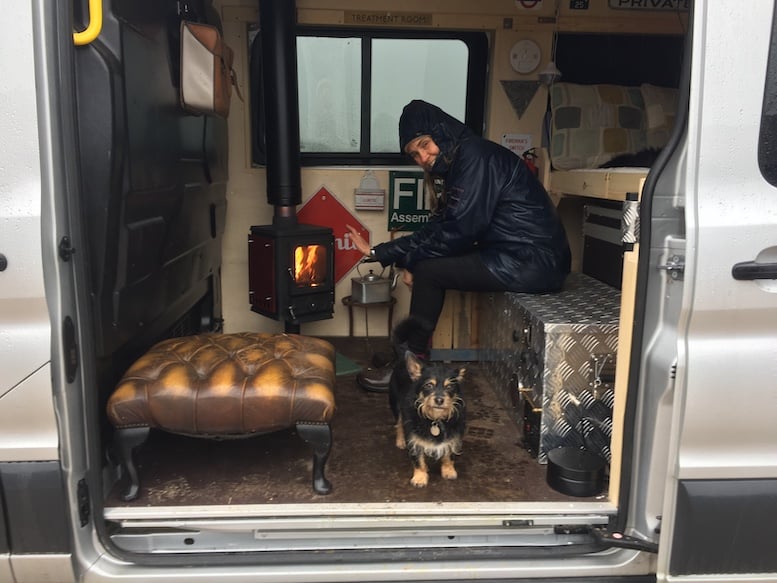
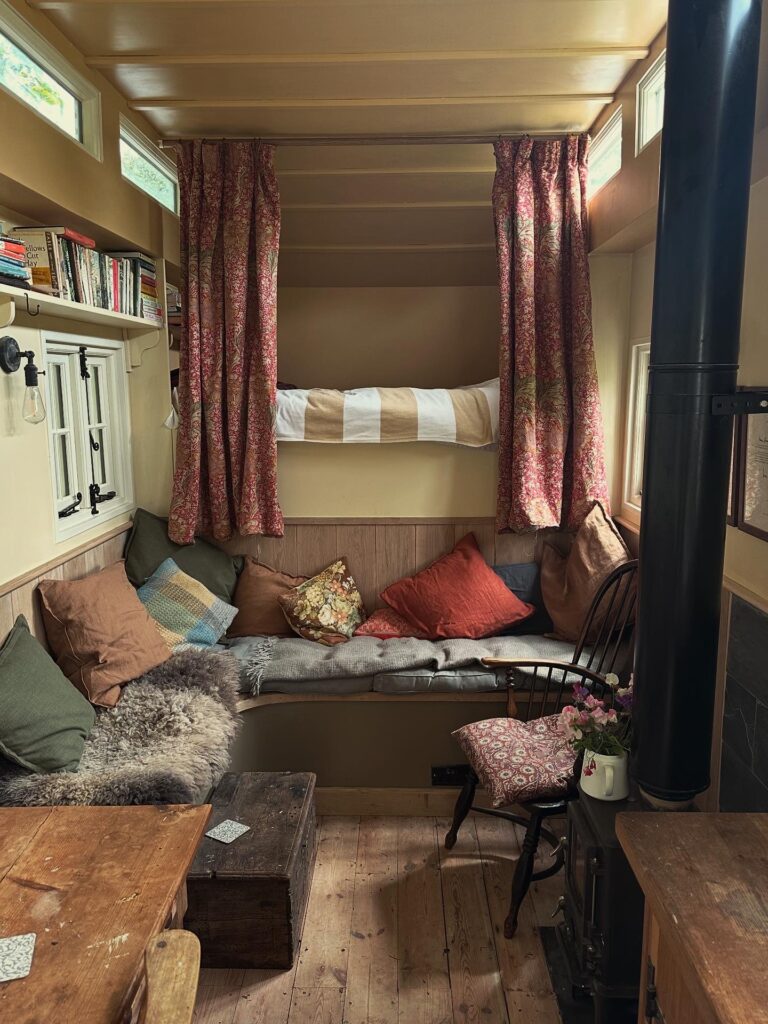
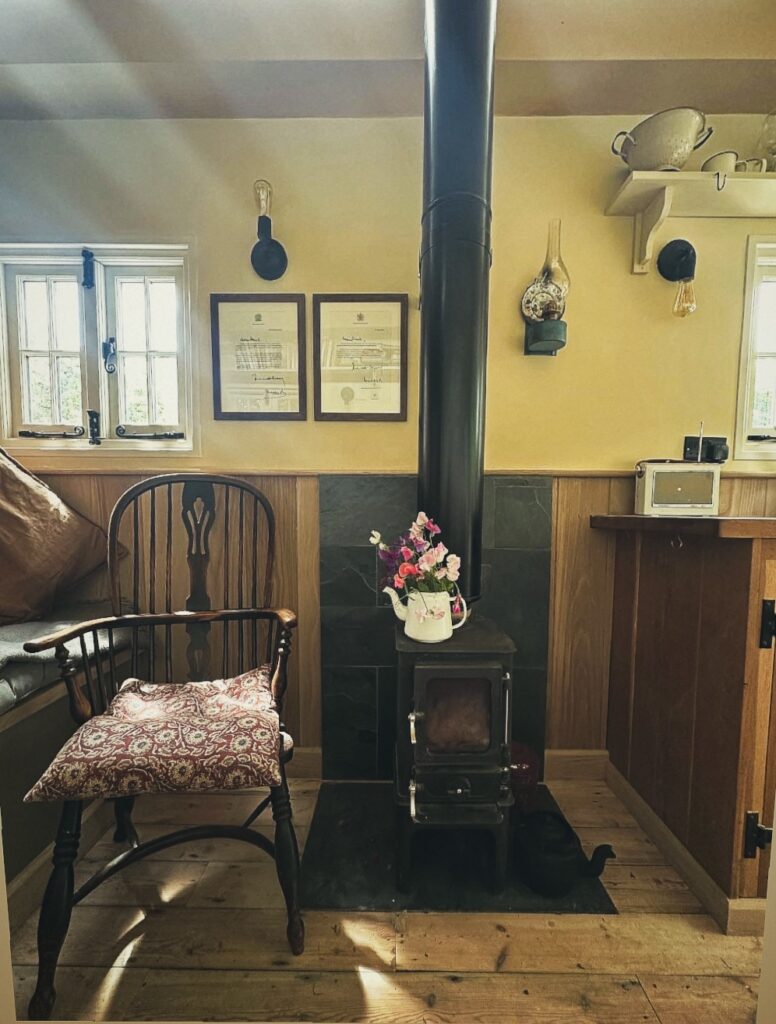
Converting a vehicle into a campervan has become a popular choice, and installing a small wood stove into your vehicle will give it a much more homely feel! Whether you’re living in your van full-time or if you just use it for trips to the beach, either way, installing a tiny wood stove in your van will enable you to stay warm and cosy all year round.
We’ve designed two different flue kits for installing your stove into a van, and our flue systems include a closure cap, which you can use instead of the standard rain cap when your stove is not in use or you are on the move. This seals off your flue system and reduces its height, making it much less likely to get damaged when you’re in transit.
Installation Essentials for your Campervan Stove
Stove Placement
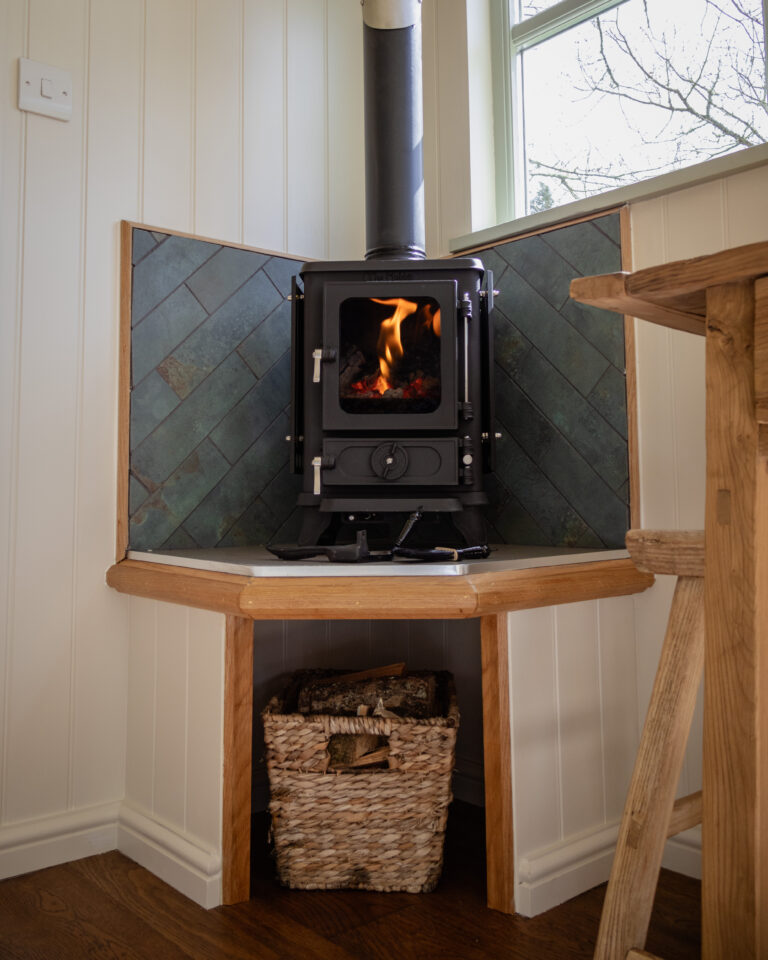
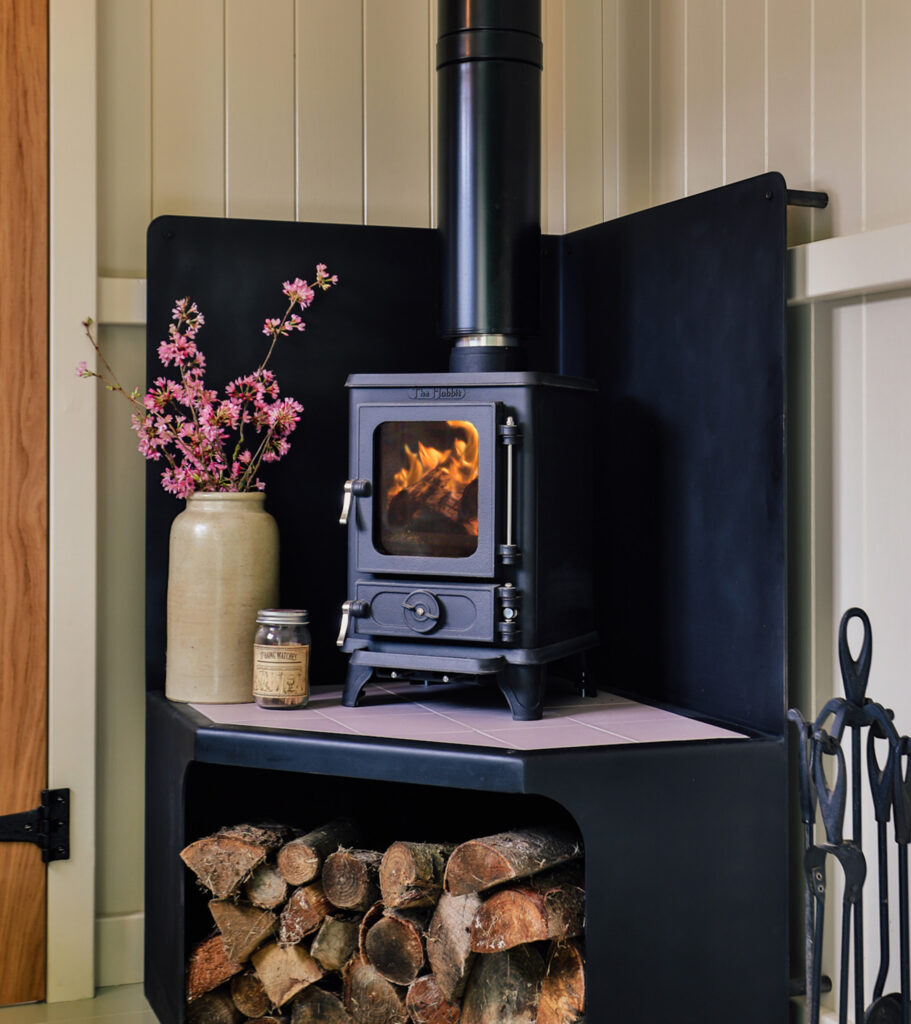
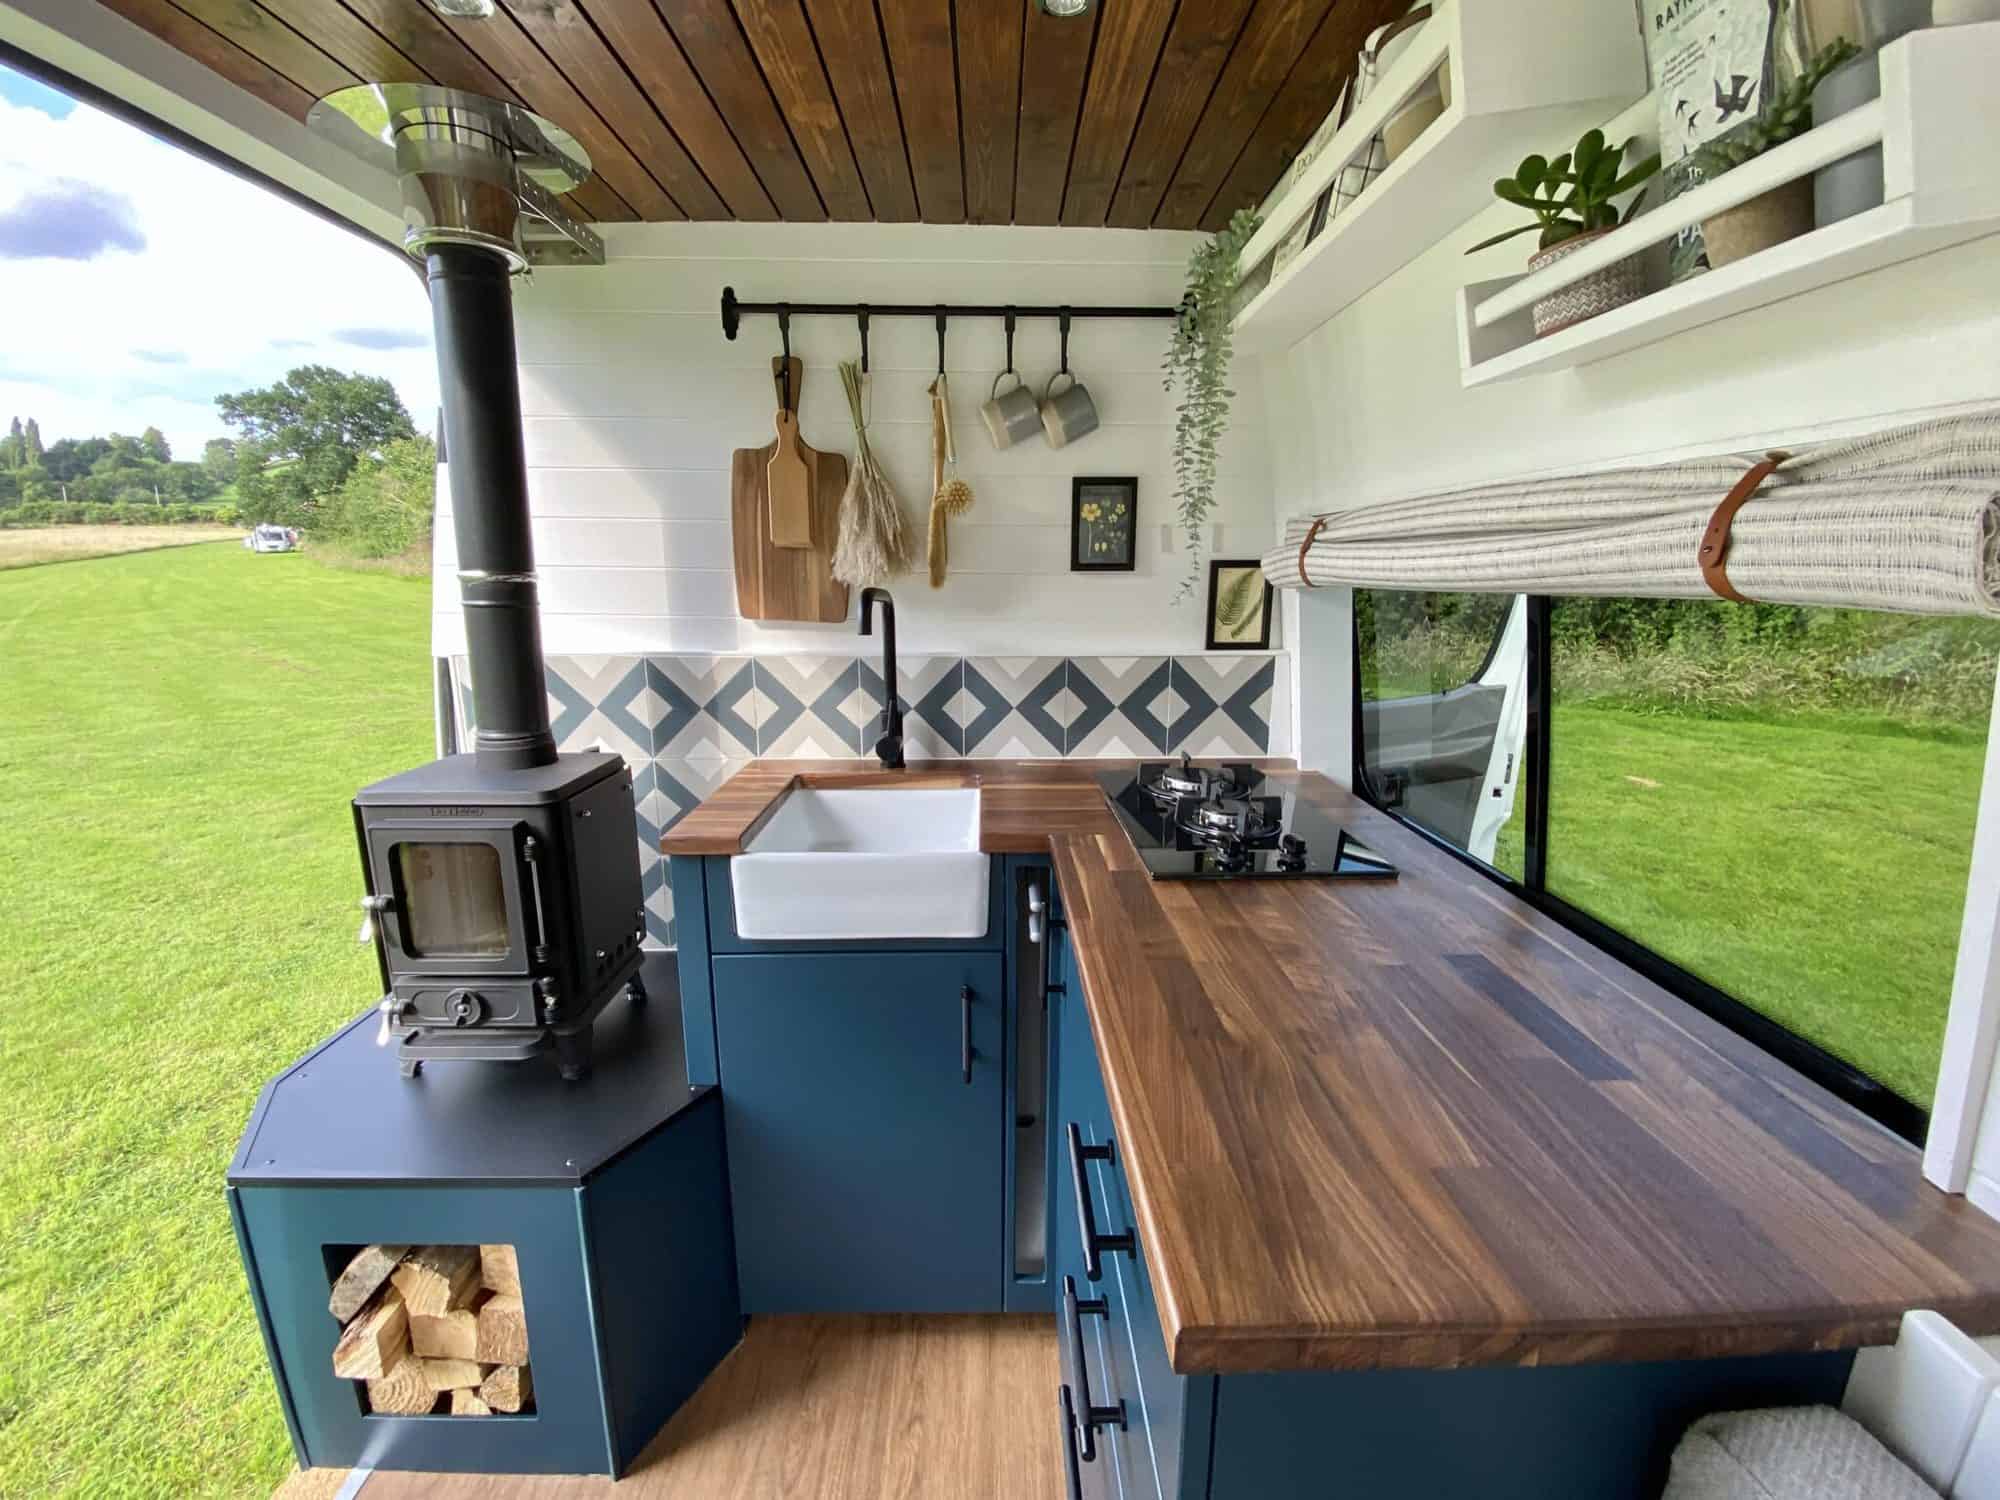
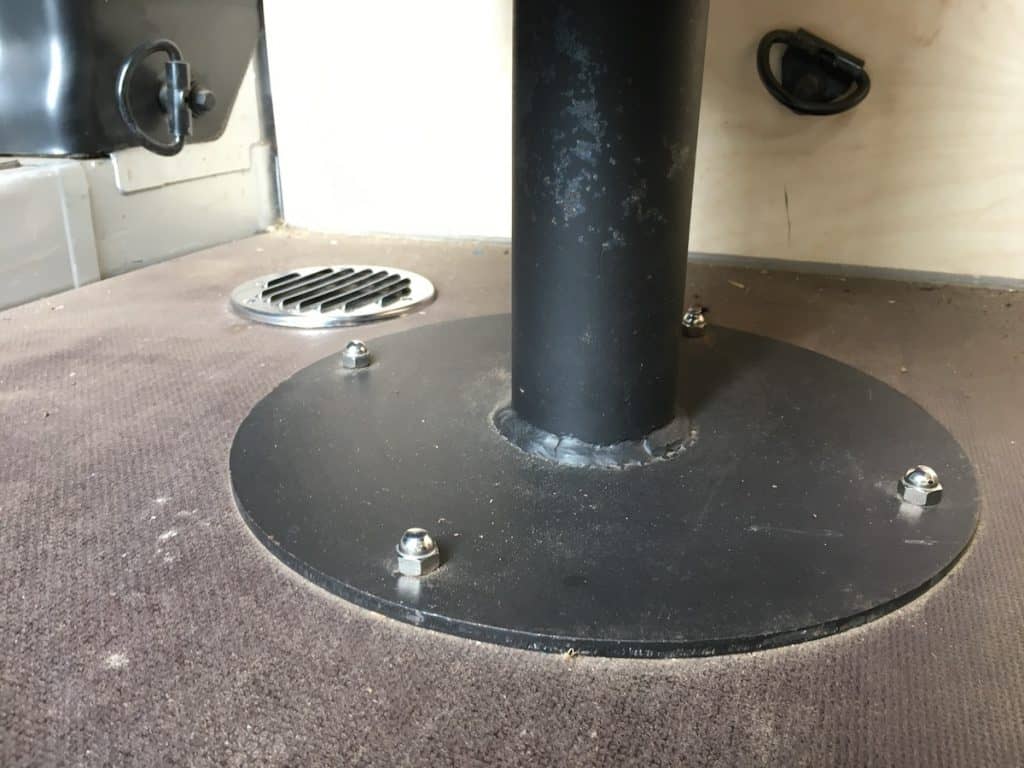
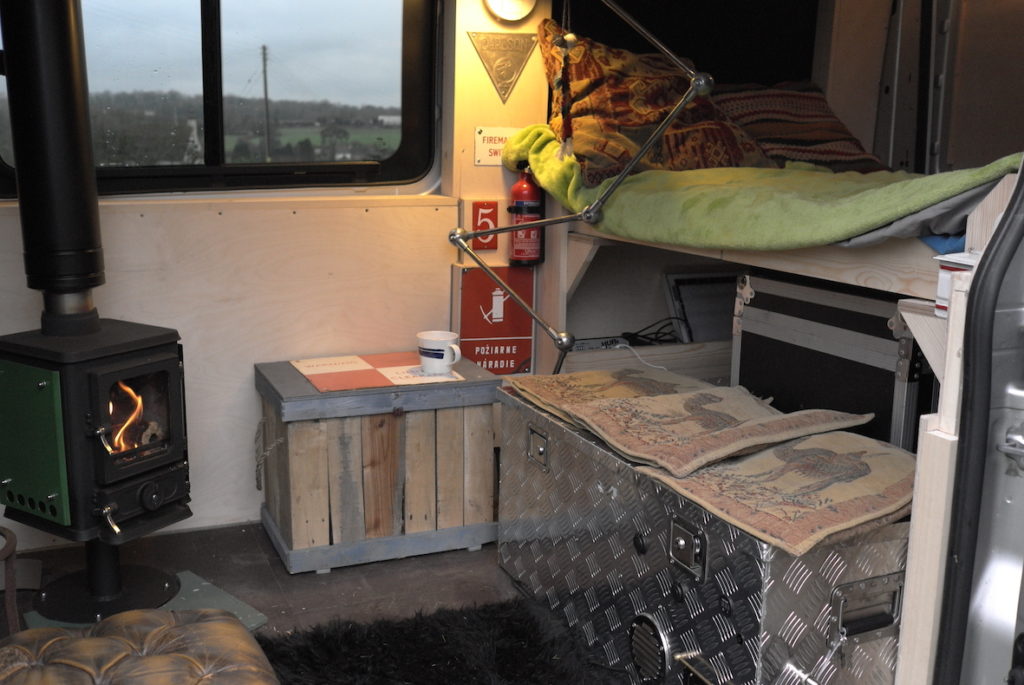
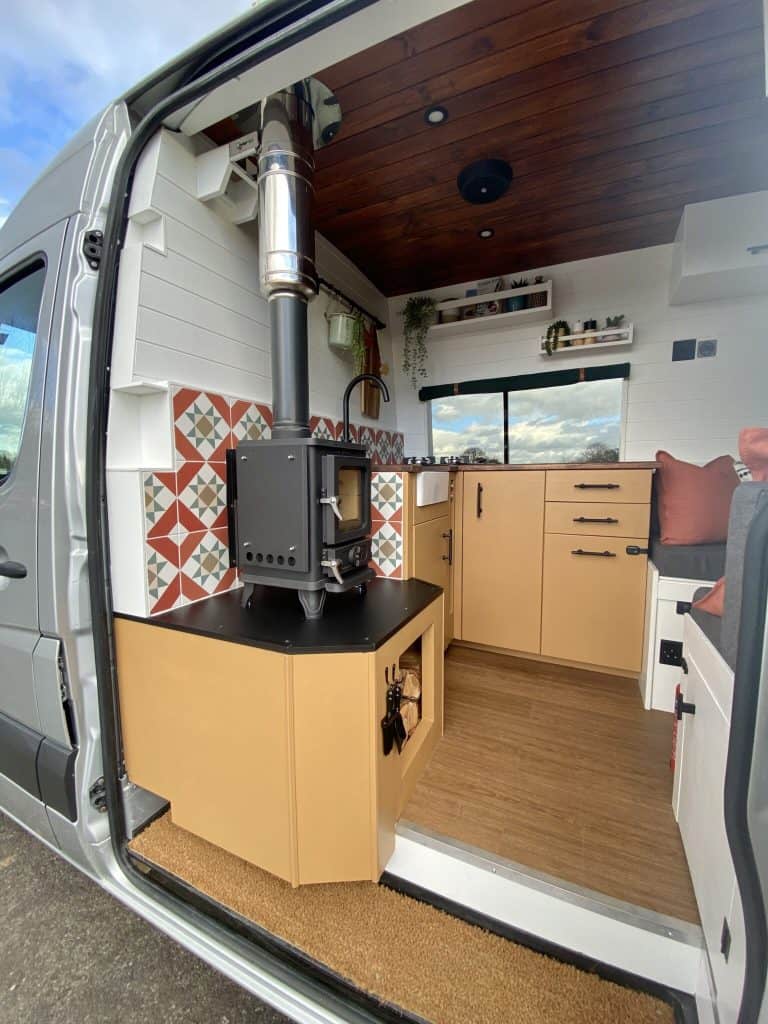
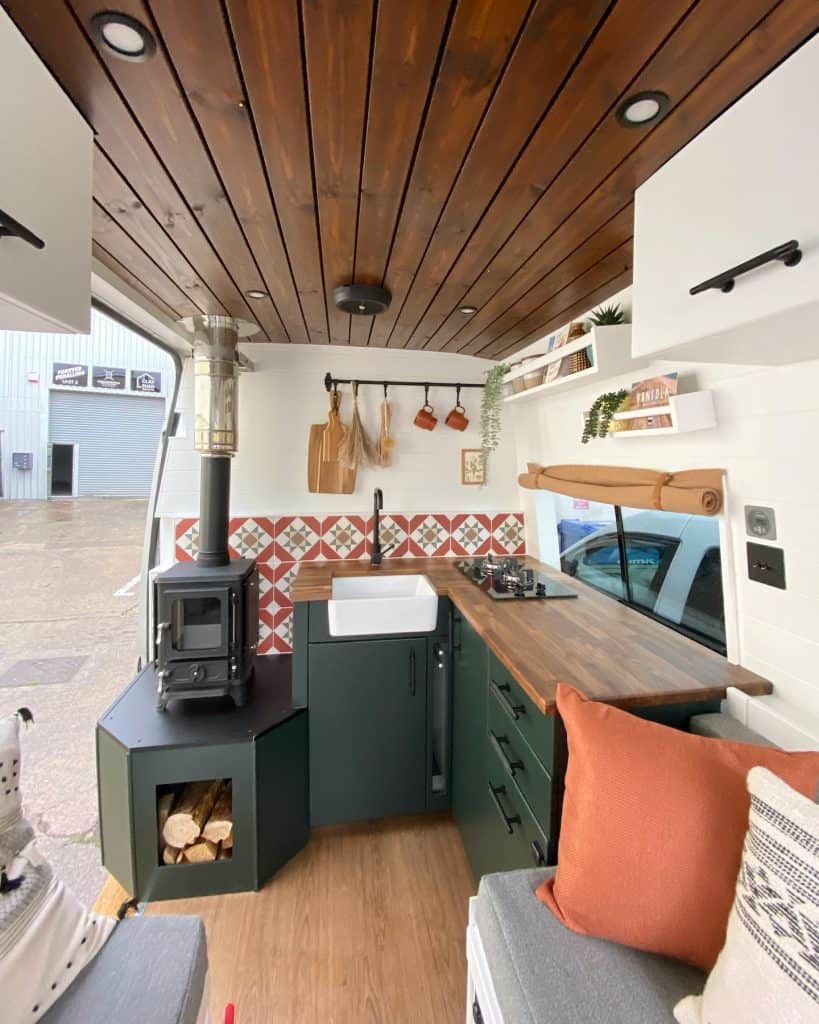
Wherever you decide to have your stove in your van, ensure it’s securely bolted to the van’s floor, avoiding interference with wiring, exhaust systems, or the fuel tank. The Hobbit Stove has 4 little feet with holes, making bolting down easy. It’s a great idea to position your stove at an angle in a corner, as this means that your stove can be seen from both the bed and the doorway. We’ve created a document which will show you how to bolt down your Hobbit Stove.
Flue System
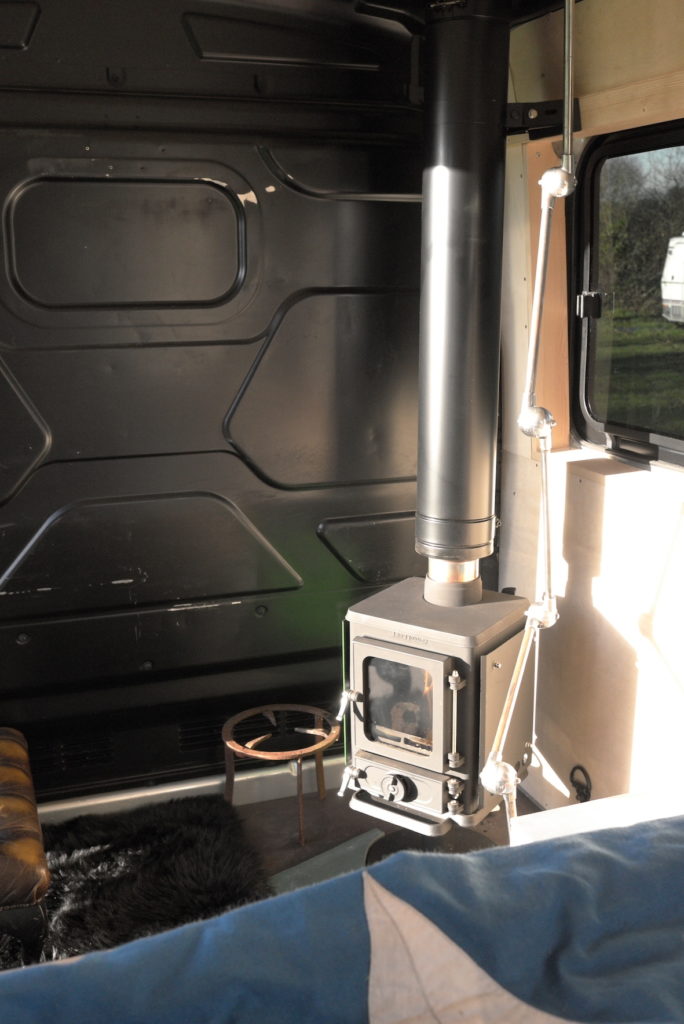
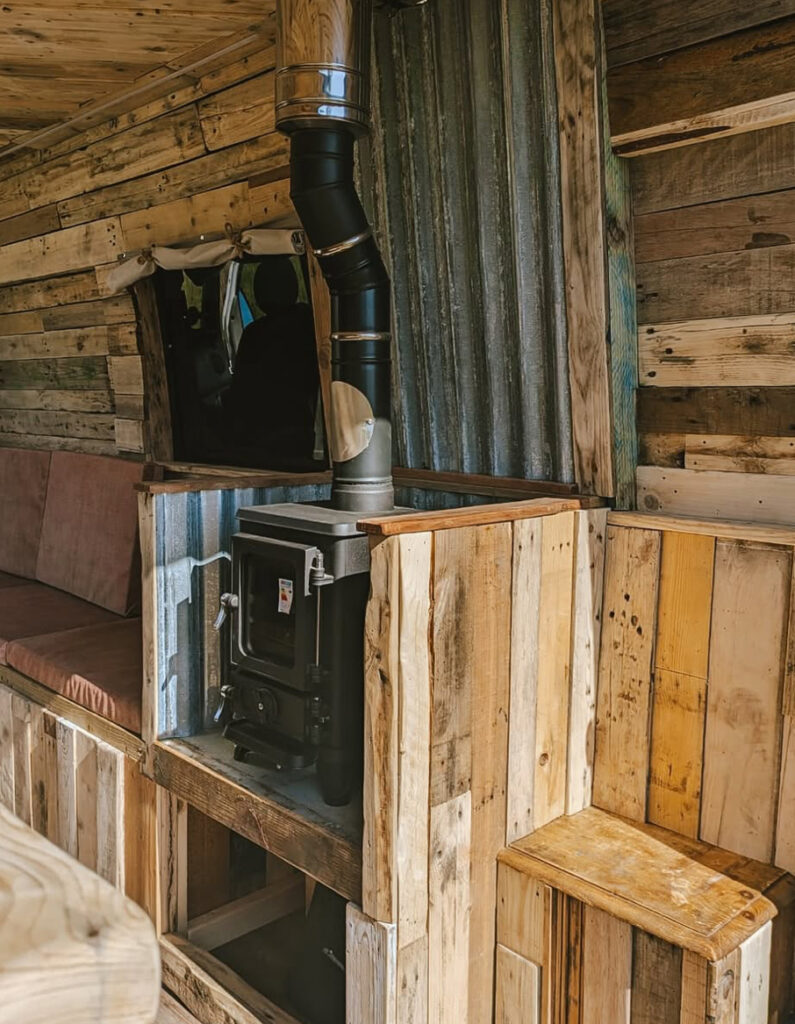
You’ll need a flue system to run your stove. We’ve designed a wide range of installation kits that are each suited to a variety of different applications. We have designed two different flue kits for vans and two different flue kits for horsebox conversions. You will need to route the flue pipe through the roof, steering clear of structural cross members. Installing it on the driver’s side minimises the risk of damage from overhanging branches when driving.
Consider the Combustible Clearances:
- Single wall flue pipe requires 3x it’s diameter to combustibles and 1.5x it’s diameter to shielded combustibles
- Twin wall flue pipe requires 50mm/2” clearance to combustibles so the hole to cut through any combustible materials should be 100mm/4” larger overall in diameter than the external diameter of the twin wall pipe. Therefore a 10” hole should be cut through combustibles – the trim plate will then cover this excess hole up
- If you have a non-combustible material that the flue pipe is to pass through then this can be the same diameter as the pipe (6”), but we would recommend making it very slightly larger so you do not scratch the flue pipe when installing it
- Wall Shielding can be done in 2 ways: Vermiculite shielding 25mm thick board with a 12mm airgap on spacers or 1.5mm metal shield on a 25mm airgap on spacers
- If you add shielding to the wall the we would recommend extending this to at least 200mm above the height of the stove to protect the wall from the heat coming from the top of the stove. You may need to increase further if using single wall – see clearances above
- The hearth should be 12mm thick and protrude 225mm in front of the stove, and 150mm each side
- Maintain at least 400mm clearance from the rear and 450mm from the side to combustible materials and 200mm from non-combustibles
- Using heatshields can reduce clearances to 150mm from the side and 100mm from the rear. Distances are measured from the body of the stove to the combustible material
- You can view this document to see the clearances for The Hobbit Stove.
Ventilation
Vans are very air tight spaces, so it’s crucial that you install a 100mm air vent near the stove to ensure adequate airflow. For example, cut a hole in the floor of the van just behind the stove. Before cutting a hole, you will need to inspect the undercarriage of your vehicle to make sure you’re not going to damage any wiring, the exhaust system, or the fuel tank.
Alternatively, you could connect this air vent directly into your stove if you purchase a Hobbit Stove with our direct air option.
Safety Measures
Equip your van with a carbon monoxide alarm, smoke detector, and fire extinguisher.
A Brief Overview on how to Install a Small Wood Burning Stove Into a Van
You will need:
- Either a jigsaw, 4.5″ angle grinder or steel nibbler
- Spirit level
- Tape measure
- Marker pen
- Plumb line
Cutting The Hole
Once you have the stove in position and bolted down, you can cut the hole for the flue. The best tool we would advise for cutting the hole is a steel nibbler attachment for a drill. This also comes with a pivoting arm, and in combination with a right angle drill, this cuts a perfect 150mm hole. We spent £25.00 on a nibbler drill attachment, which produced a neat and accurate hole, and we used a 100mm diameter hole saw for cutting the hole for the air vent
Using some flue pipe, a tape measure, and a plumb line, you will need to transpose the centre of the flue outlet of the stove to a point on the van roof. Next, drill a pilot hole, then go outside and mark the circle on the roof.
The hole in the metal roof of the van needs to be as close-fitting to the twin wall flue pipe as possible, so that it can be sealed with heat resistant silicone to provide an additional barrier beneath the flashing itself.
When using 100mm twin wall flue you will need to cut a 150mm hole. Any combustible materials such as a plywood headlining and insulation needs to be cut back 50mm away from the flue pipe. The internal hole through the lining would therefore be 250mm. This larger hole is covered by the trim plate.
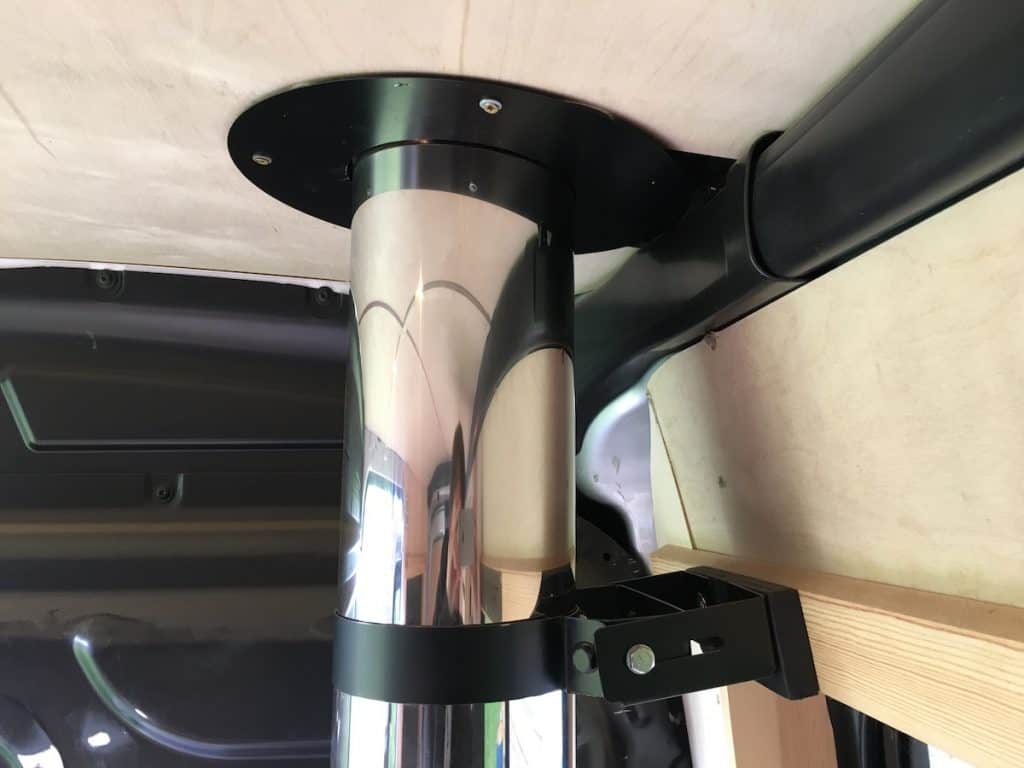
Assembling The Flue
With the stove in place and the hole cut, the first length of flue that attaches to the stove can be positioned to allow for the fixing of the support bracket. Leave the bolts loosely fitting until the top section of flue is in place and when the flashing has been fitted.
The flashing can be positioned with the top section of flue coming through it. A bead of silicone can then be laid 2cm from the edge of the flashing base and the flashing positioned. A socket attachment on a battery driver can then be used to drive in the self drilling & tapping fixing screws that also come with plastic caps. These need to be placed around 50mm apart. We’ve also added a storm collar above the silicone flashing for added weather protection, and to help protect the flashing from UV degradation.
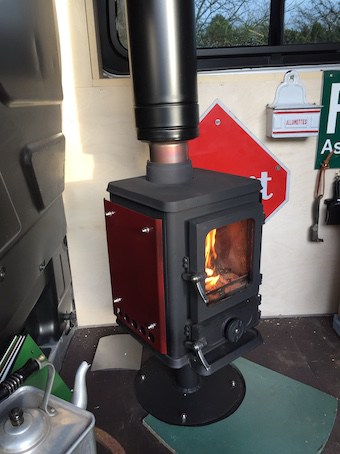
After you’ve tightened the support bracket bolts, you’re ready for your first fire! This will cure the painted finish on the stove, so it should be done with the van fully ventilated. To prevent the paint from bubbling, it’s best to have a series of small fires to begin with. You can start by burning some firelighters and a few bits of kindling, being sure to let each fire go out and allowing the stove to cool down before you light another, slightly larger fire.
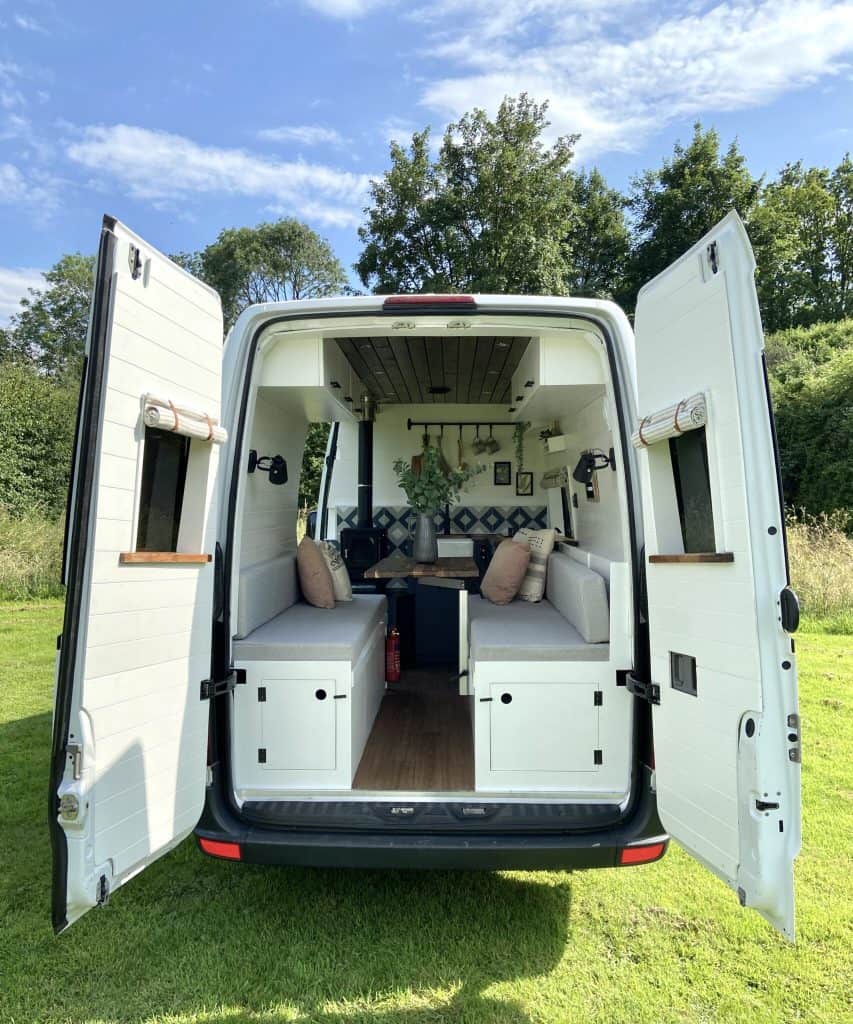
Make sure you also checkout our case studies section to see our small wood stove installed in a range of other people’s vans!
FAQ’s
Can you have a wood burning stove in a van?
Installing a small wood stove into a van will take up space, and if your van is well-insulated, then a stove will heat the space very quickly. Not all vans are suitable for a wood stove – in a small van you may never be able to run the stove at its optimum output, and this could lead to a build-up of unwanted deposits in the flue and the stove itself. We would say that only a medium wheel base van or larger are suited to a small wood burning stove.
How much space will a stove take up?
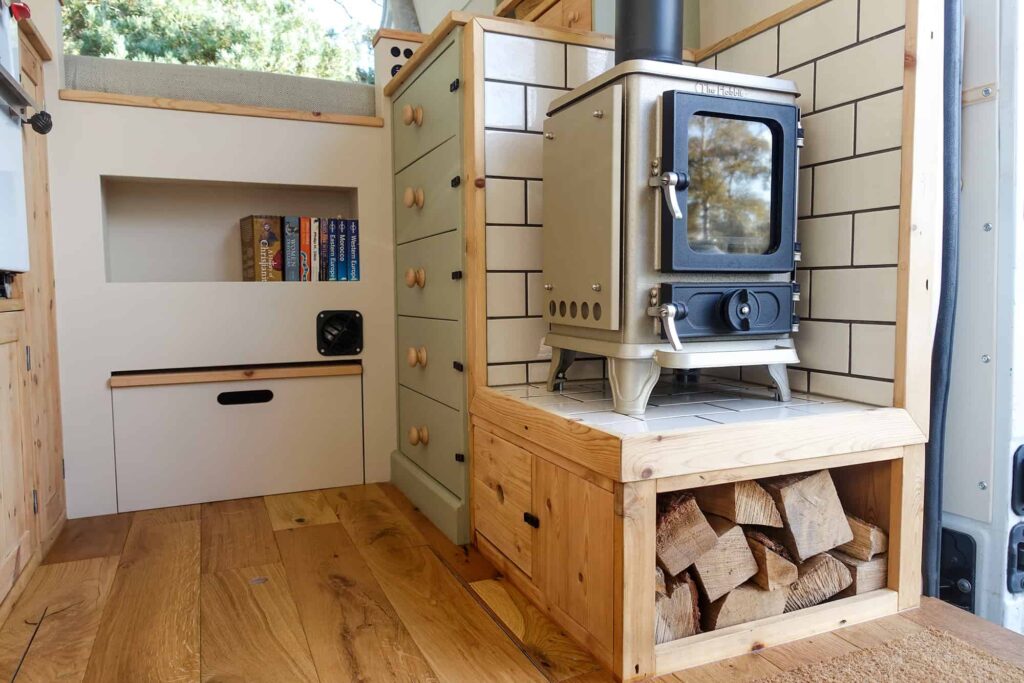
The stove will take up a fair amount of space in your van, so combustible surfaces adjacent to the stove can be shielded to reduce the safe distances. You can also install the stove in a corner like we’ve done, which reduces the footprint. An area of approximately 600mm square should be sufficient..
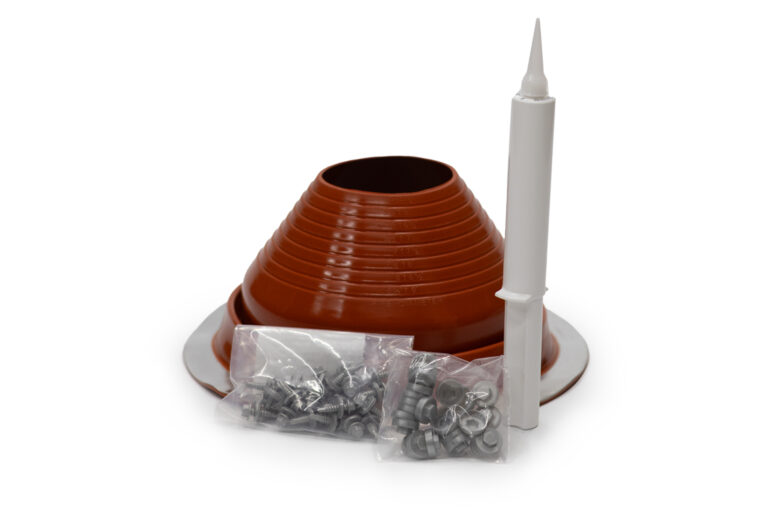
What type of flashing do I need for installing a small wood stove in a van?
The best type of flashing for this sort of installation is a silicone boot flashing. It has a malleable aluminium edge to adapt to the profile of the metal roof, and it comes with some self-tapping screws. The flashing can be easily cut to size, so it grips the pipe securely, maintaining a water tight seal around the pipe, whilst still having a bit of flexibility to absorb any bumps in the road. We’ve written this article which will take you through each step of fitting a silicone roof flashing.
What is the best small wood stove for a van?
There are a few out there, but we think that our little Hobbit Stove is the best small wood stove for a van considering its small structure and heat shielding options. As long as you can bolt your stove down and vent it properly, then there are a few to choose from. The smaller the van, the smaller the stove. It’s best not to go for a bigger stove than what you need, else you will never be able to run it properly.
However, really tiny stoves can have a limited burn time, or do not have a view of the fire. We would recommend choosing a cast iron stove over a steel stove, as it will remain much warmer for much longer, even after the fire has burned down, therefore saving you money on wood/coal. In general, cast iron is a much better material for radiating and retaining the heat from your fuel.
Do I need a certificated small wood stove for my van?
Strictly speaking, no, but we think it’s definitely worth getting a certificated appliance for peace of mind and your safety. With an uncertified stove, you will not know the safe distances to combustibles as the stove will have never been officially tested, and being in such a small space like a van you don’t want to run any risks.
Let’s chat!
Are you planning on getting a small stove for your van, but you are not sure where to start? We would love to help. Drop us an email: office@salamanderstoves.com or give the office a call on 01626 363507. We also offer a free bespoke flue consultancy as we understand that not every van is the same, and you may need the flue kits we have designed adjusting.