Caravan Log Burner – Small Stoves for Caravans
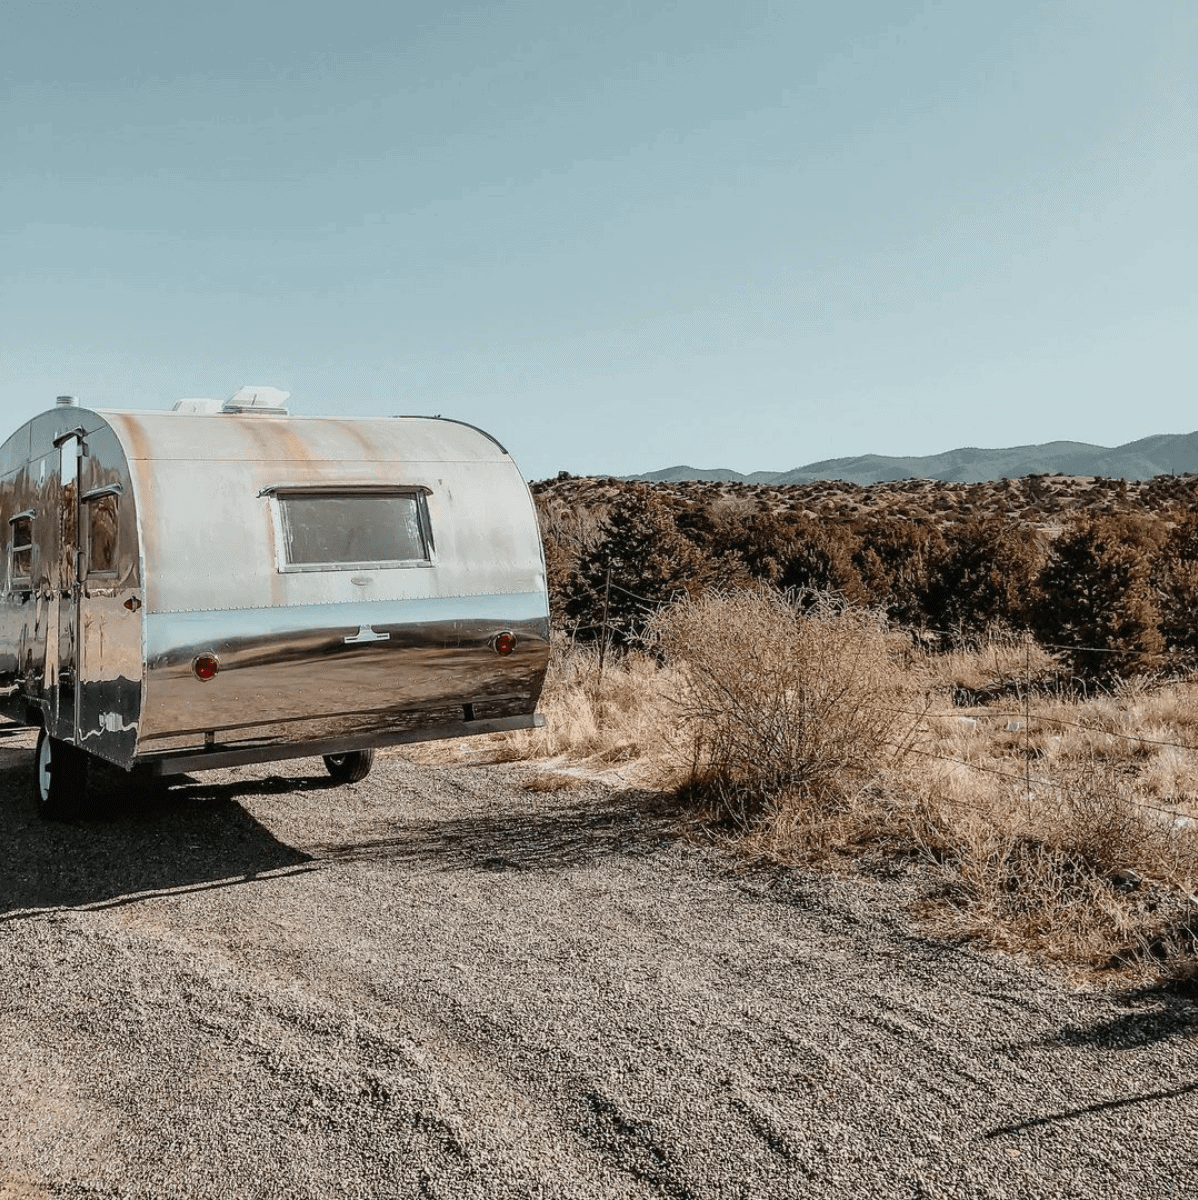
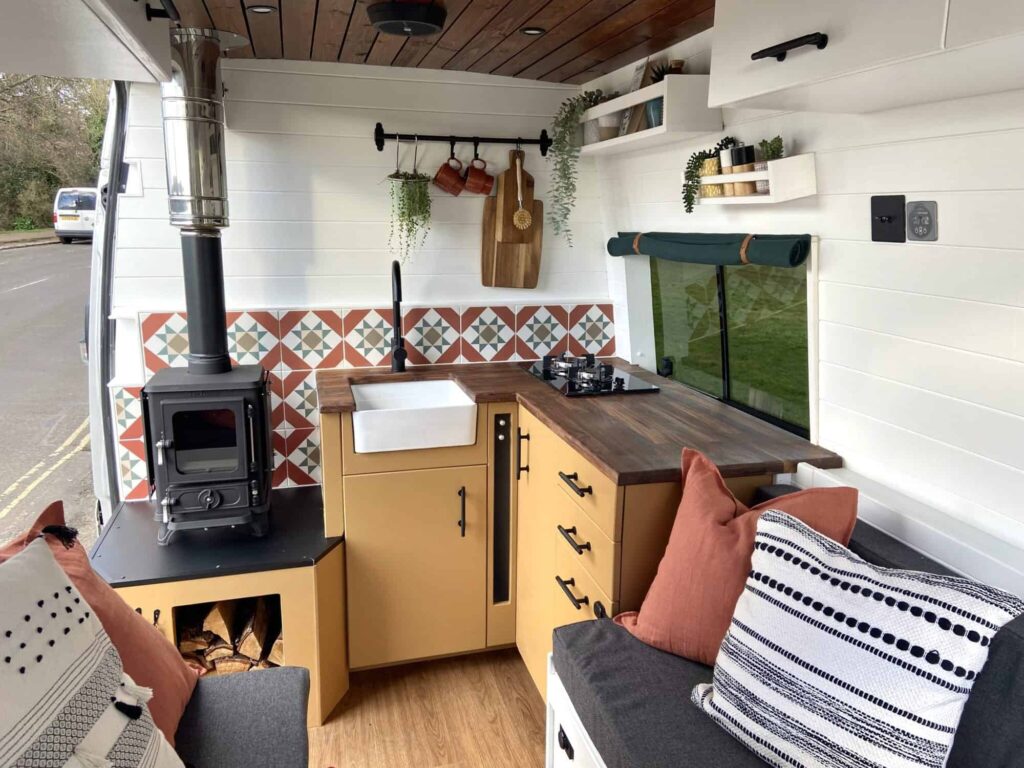
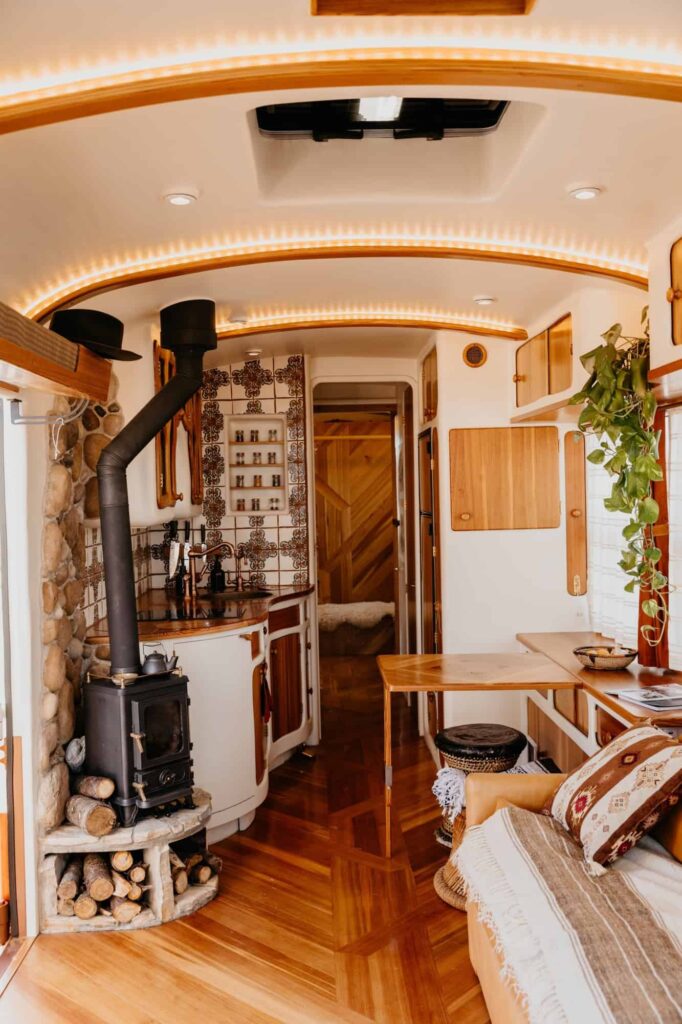
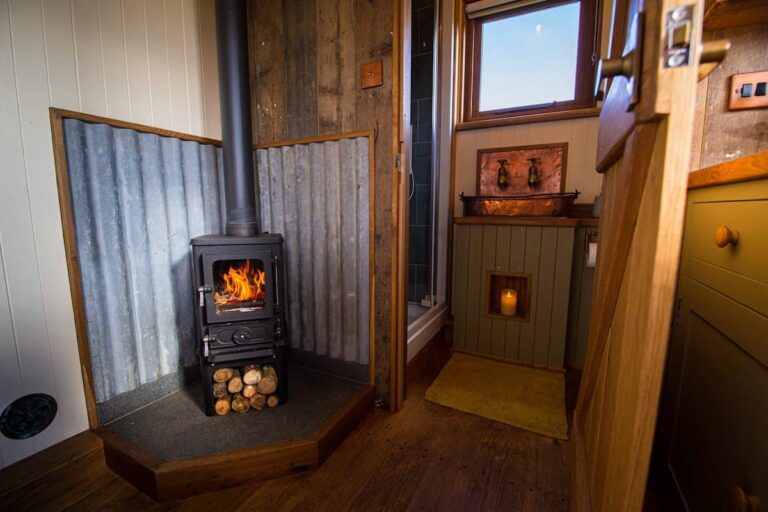
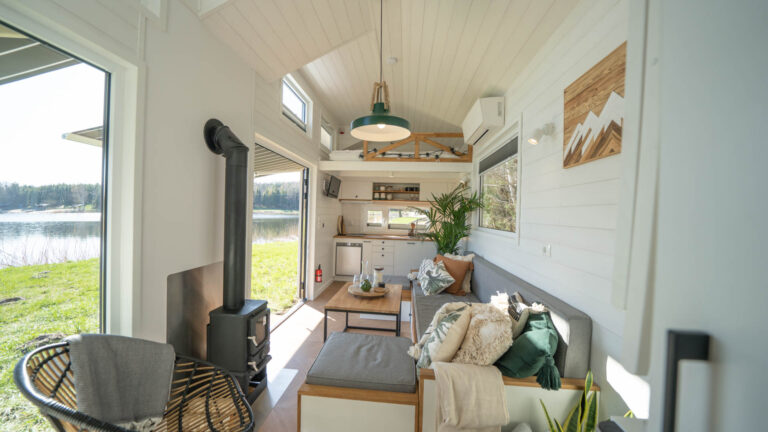
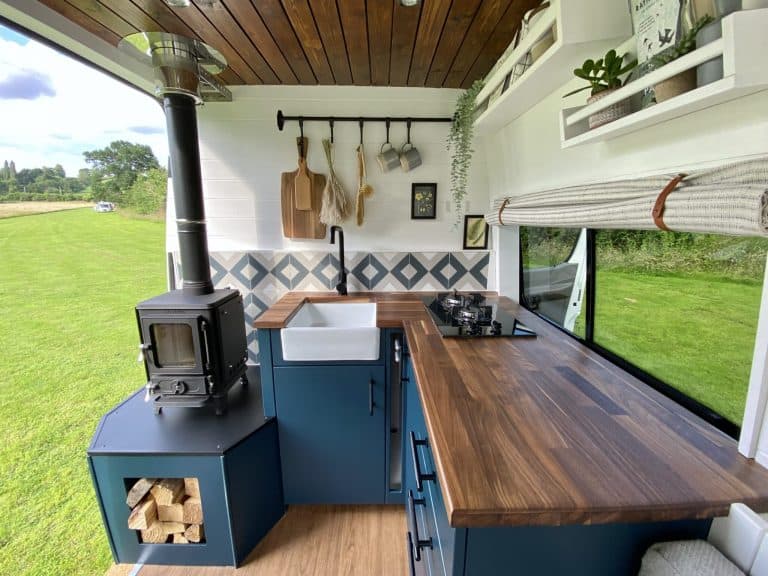
We’ve created three compact caravan log burner stoves. Whether you’re using your caravan for holidays, festivals, camping trips, or simply as a cozy retreat in your garden, they’re incredibly versatile spaces. Maybe you rent your caravan out on Airbnb, or perhaps you run a holiday park with multiple caravan accommodations for guests. Or it may be your permanent home, no matter how your caravan is used, fitting one of our small stoves is a smart upgrade. Not only do they add a charming focal point to your space, but they also deliver reliable warmth and comfort—making your caravan a welcoming hideaway all year long.
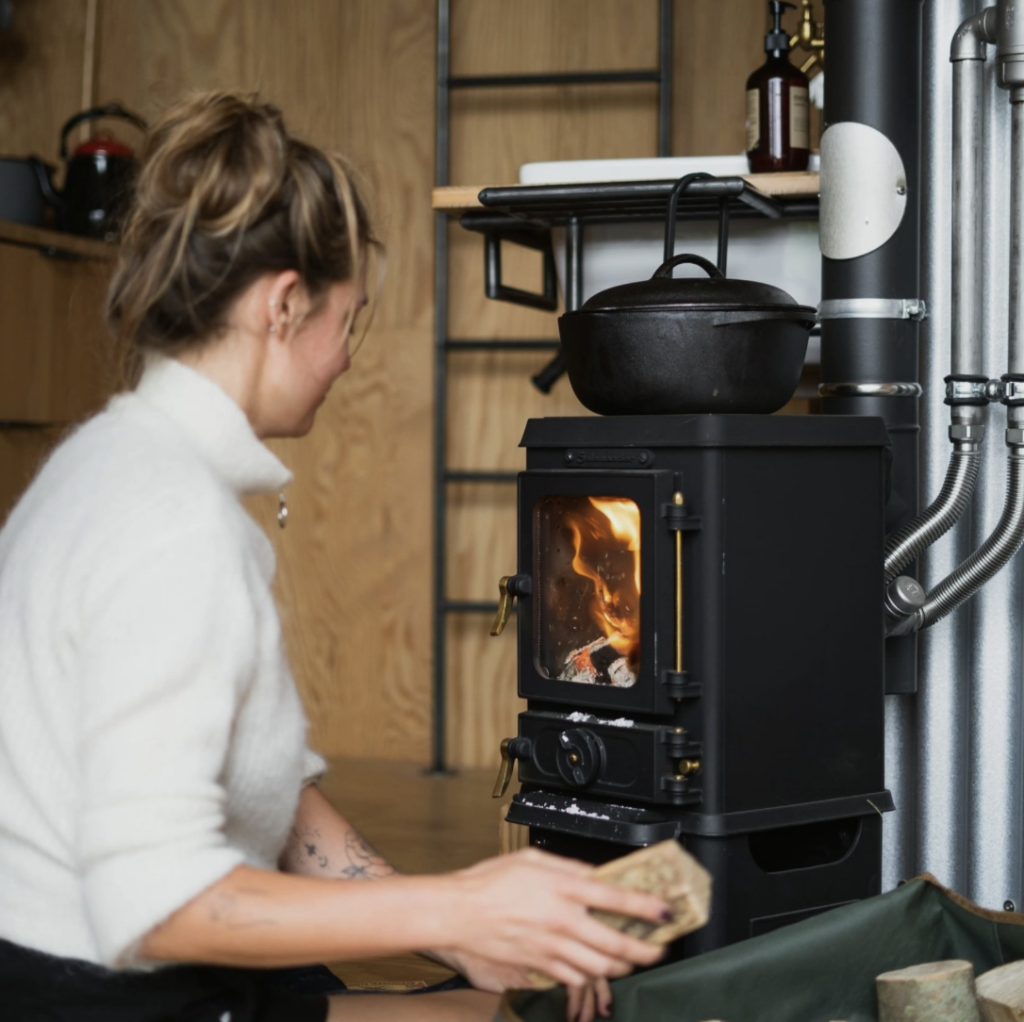
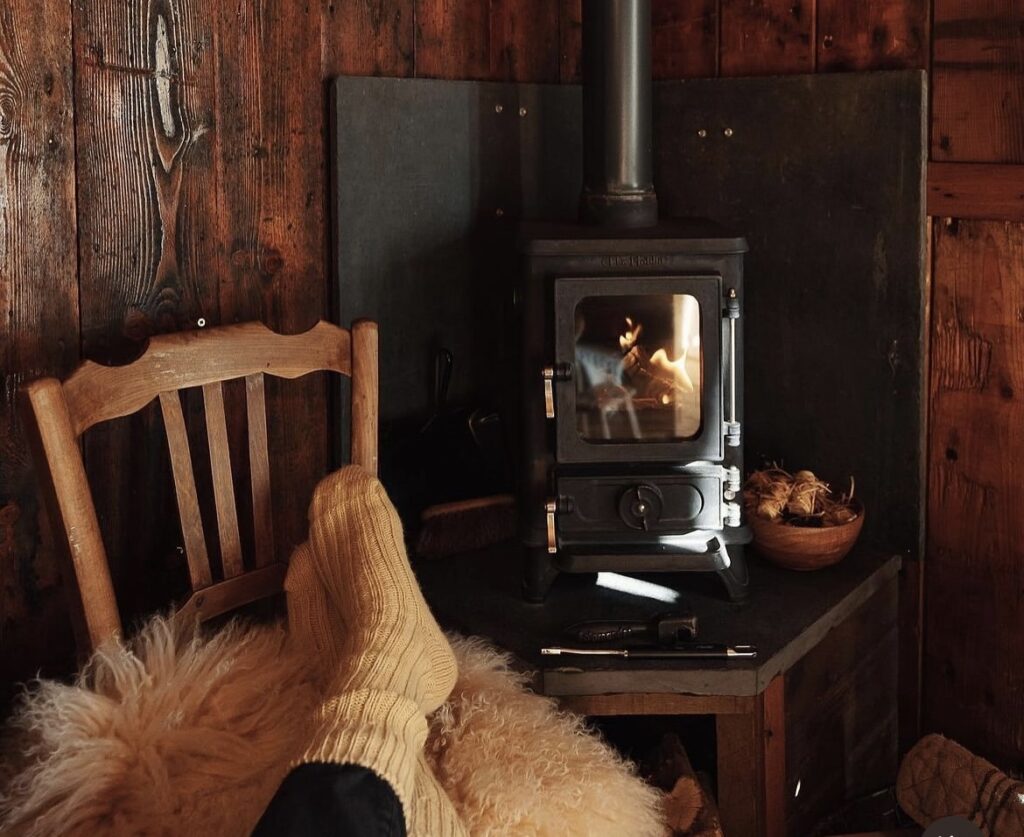
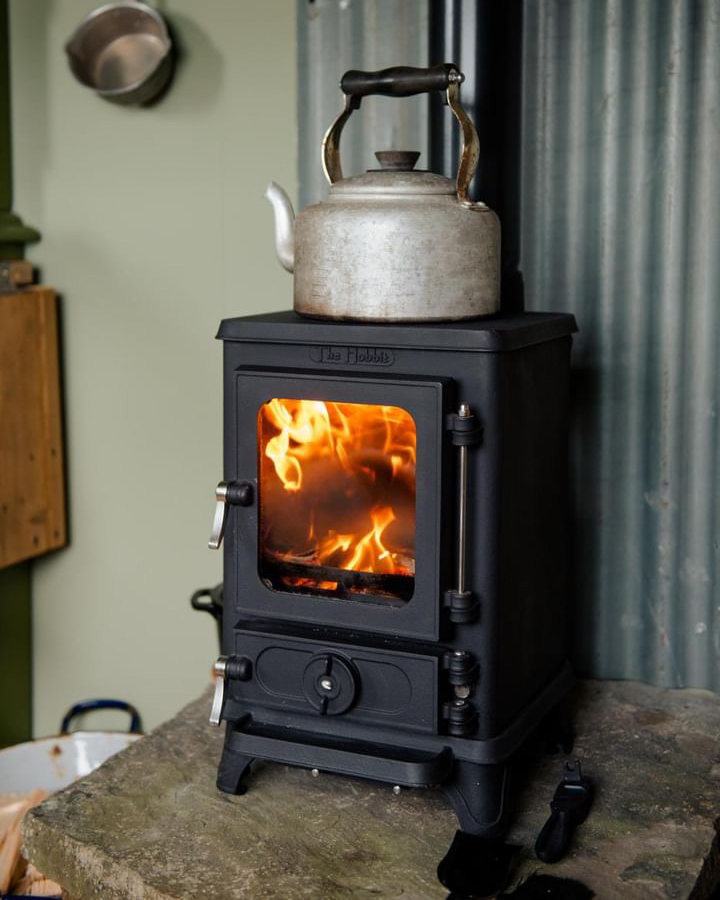
Installing a caravan log burner like our compact Hobbit Stove allows you to travel further and stay out longer, even during colder seasons when most would pack up and head home. Or if your caravan is your home all year round, with a caravan log burner on board, your space stays warm, inviting, and functional even during the colder months. Whether you’re winding down after a hike or just enjoying a quiet evening, there’s nothing like the glow of real flames, a kettle gently boiling, or a meal sizzling on the stovetop to make your caravan feel like home.
Why choose The Hobbit as your caravan log burner?
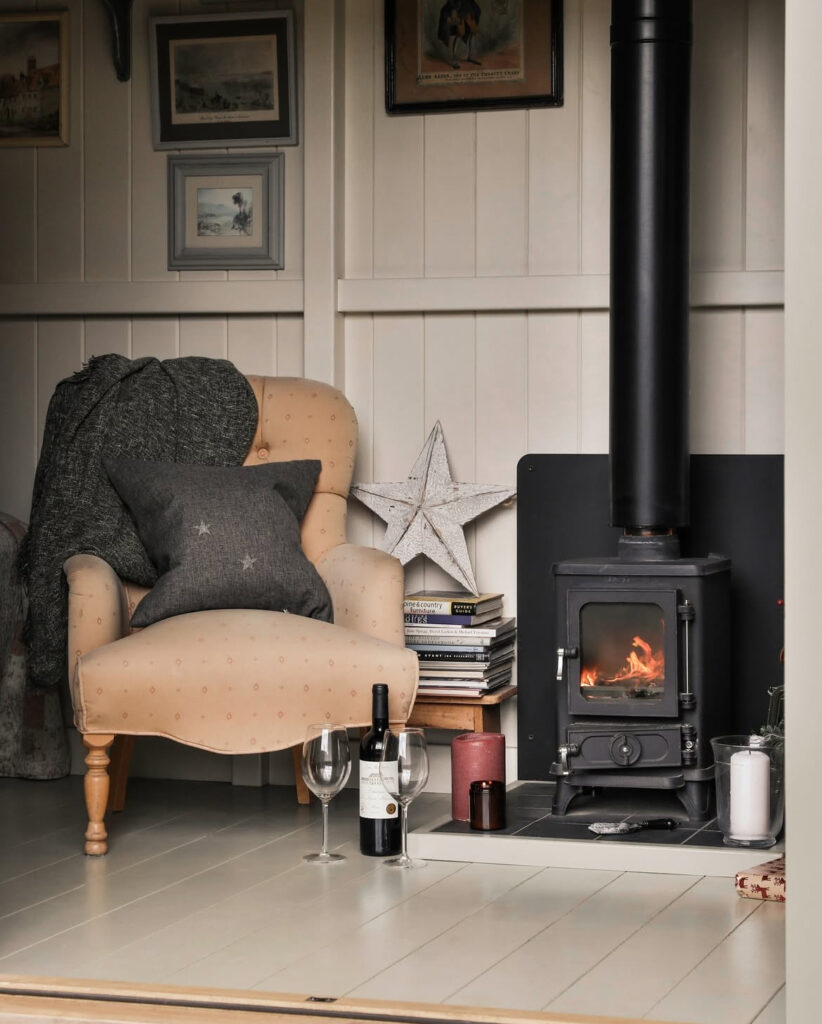
Here at Salamander Stoves we are passionate about maximising the potential of small spaces, without overwhelming the space. Our small Hobbit Stove is the perfect example of this, and has found its place in countless small spaces, one being caravans.
Main features:
- Multi-fuel stove, compatible with wood, coal or eco logs
- High-quality cast iron construction
- New improved efficiency of 81.4%
- Reduced particulate and gas emissions
- Provides 4.1kW of efficient, clean burning heat
- New pre-heated tertiary air intake and enhanced pre-heated secondary combustion technology
- Air controls at the front of the stove, for improved usability
- Complimentary 5-year warranty when you register your Hobbit stove with us
- Every stove is hand-finished, fettled and inspected at our Devon workshop
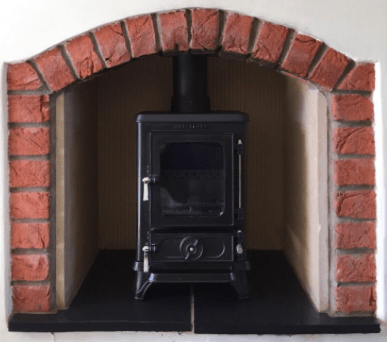
- Measures only 302mm wide, 272mm deep and 465mm high
- Glass window with greatly improved Airwash technology
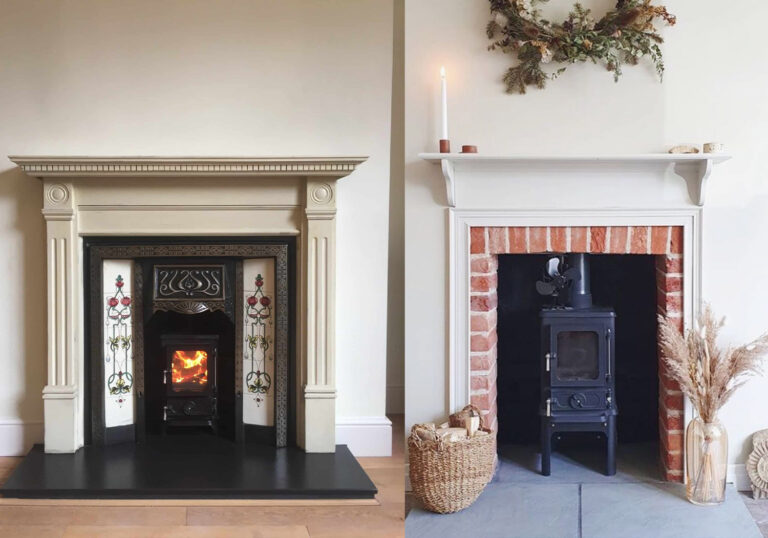
- Fits small household fireplaces, shepherds’ huts, canal boats, garden rooms and tiny homes – any situation where space is at a premium
- Improved main grate, for better multi-fuel capability
- Dust-free riddling and new ash direction plates for cleaner, more controlled de-ashing
- Riddling grate, ashpan and multi-tool included
- Independently tested, certified and approved to the new, more stringent, Eco Design standards which come into effect on the 1stJanuary 2022
Caravan Stove Flue Kits
Our flue design team have created two different mobile home stove kits to make installing your small stove for a caravan as straightforward as possible.
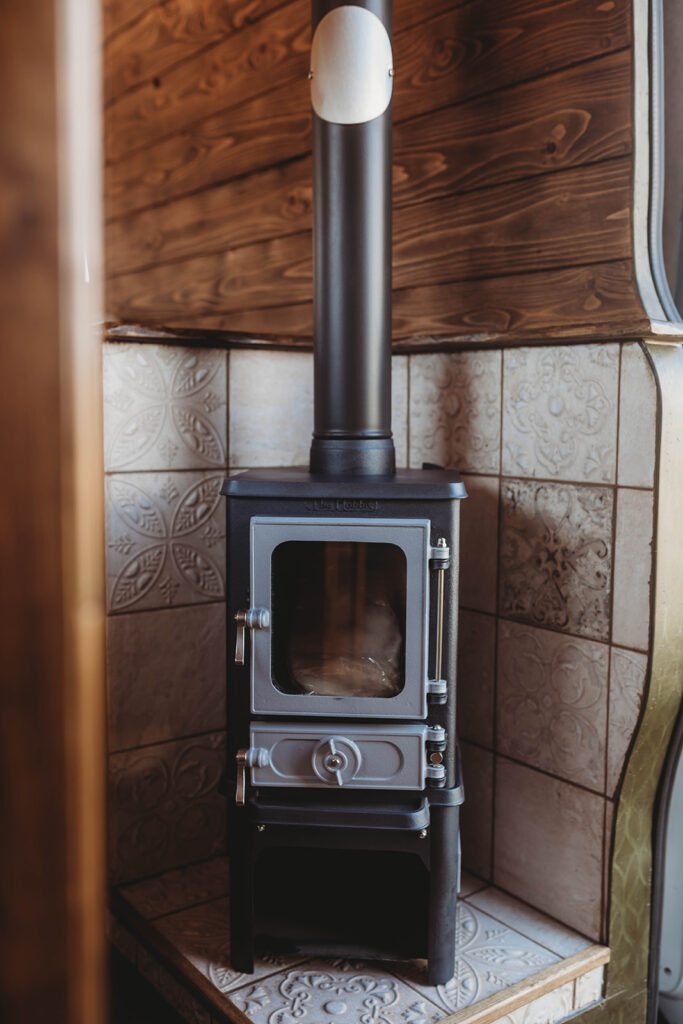
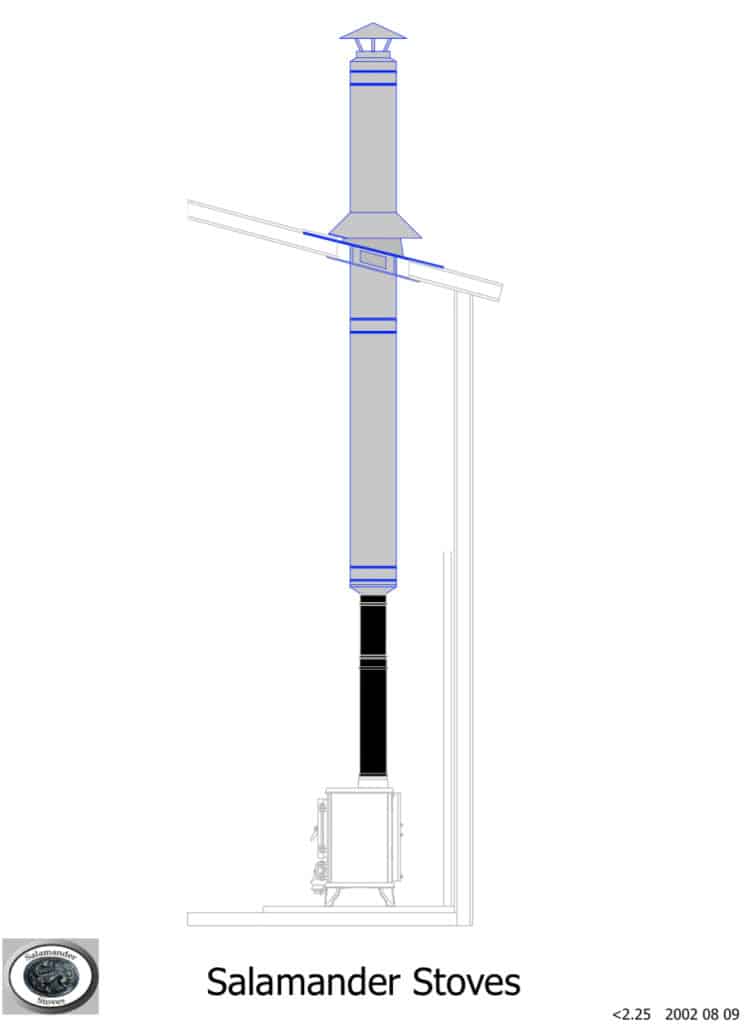
Mobile Home Flue Kit 1 is designed for a roof exit installation—the simplest and most budget-friendly method for fitting your stove. It uses single-wall flue inside the mobile home, which radiates additional heat into the space as flue gases travel upward and out through the roof.
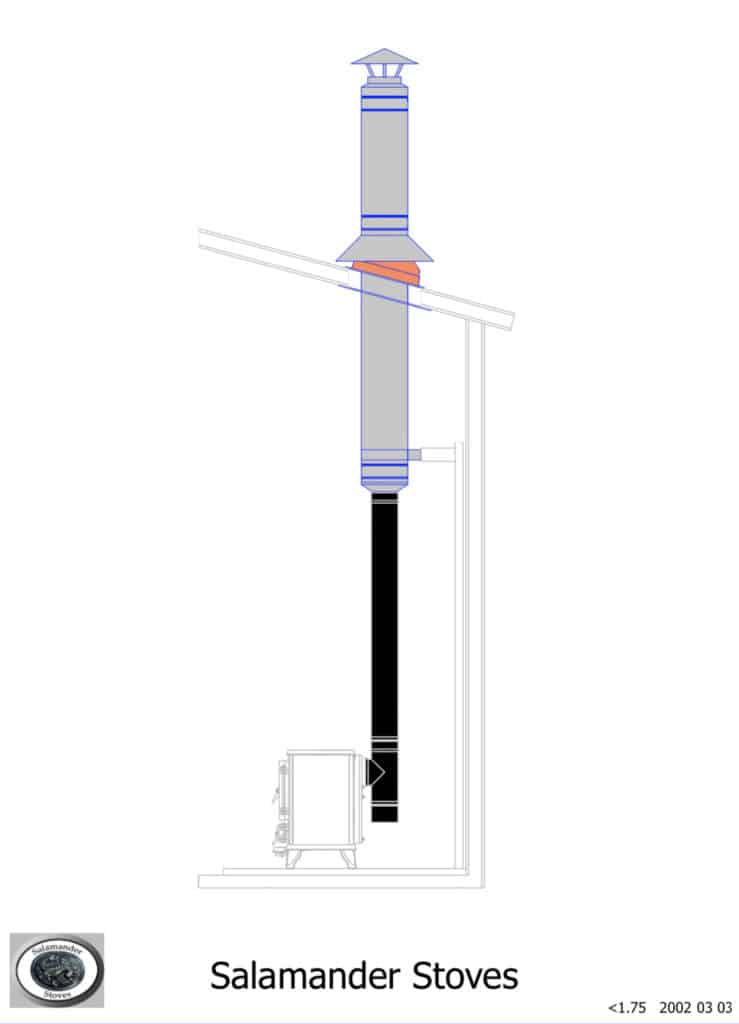
Alternatively, Mobile Home Flue Kit 2 allows for a rear exit setup using our rear exit kit. This frees up the top of your stove, giving you more space to boil a kettle or cook a meal on the stove top. However you choose to install your stove, both of our mobile home flue kits include everything you need, making the process of fitting your small wood burner for a caravan as easy and efficient as possible.
Optional Extras for your Caravan Stove
Explore our range of optional extras to transform The Hobbit Stove to best suit your needs and space:
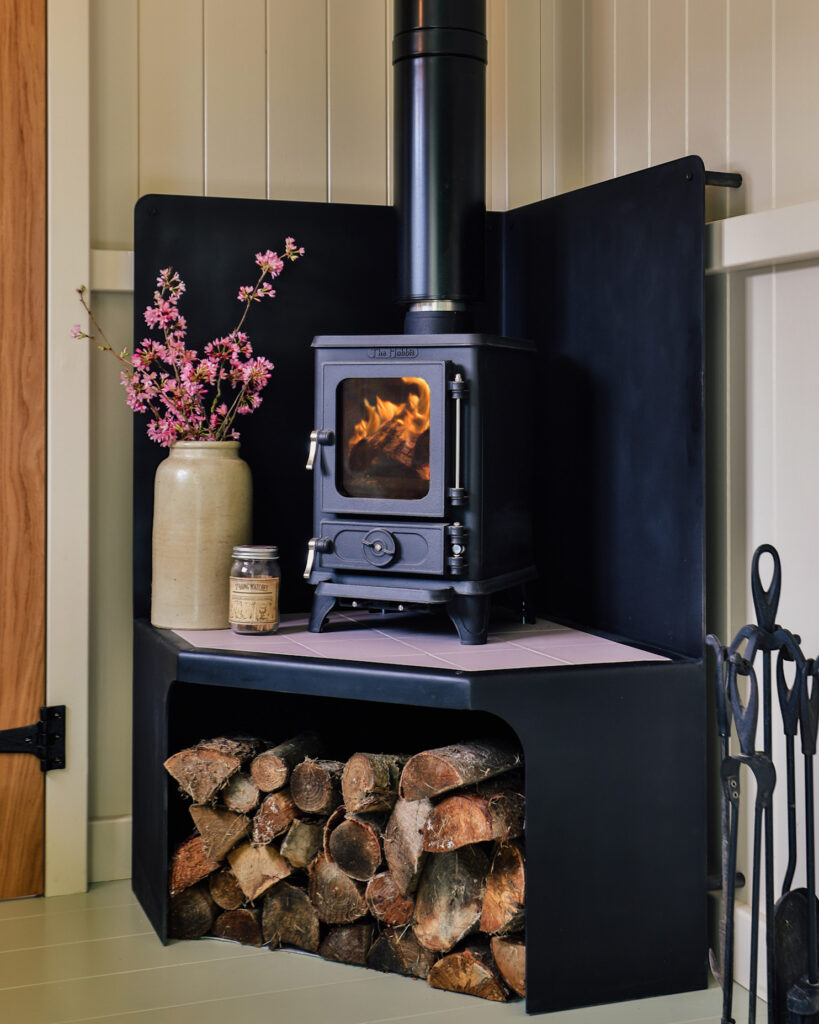
- Stand/Log Store: add an additional 158mm in height to your stove and use to store fuel
- Rear Flue Wedge: enables the flue to exit out the back of the stove to liberate the stove top space
- Extended Hotplate: expand the stove top space by double with the removable cast iron hotplate
- Heatshields: greatly reduce the distances that your stove can be placed next to combustible or non-combustible surfaces
- Stainless Steel Cooktop: if you are planning on doing lots of stove top cooking
- Direct Air: great for small spaces with little airflow
- Side Boiler: thermosiphon heat to your taps and radiators, or a non-pressurised shower system.
Guidance When Installing a Caravan Log Burner
- Single Wall requires 3x it’s diameter to combustibles and 1.5x it’s diameter to shielded combustibles
- Twin Wall requires 50mm/2” clearance to combustibles. The hole to cut through any combustible materials should be 100mm/4” larger overall in diameter than the external diameter of the twin wall pipe. Therefore an 11” hole should be cut through combustibles – the trim plate will then cover this excess hole up
- If you have a non-combustible material that the flue pipe is to pass through this can be the same diameter as the pipe (7”). But we would recommend making it very slightly larger so you do not scratch the flue pipe when installing it
- Wall Shielding can be done in 2 ways: Vermiculite shielding 25mm thick on a 12mm airgap on spacers. Or 1.5mm metal shield on a 25mm airgap on spacers
- If you add shielding to the wall we recommend extending this to at least 200mm above the height of the stove. This protects the wall from the heat coming from the top of the stove. You may need to increase further if using single wall – see clearances above
- The hearth should be 12mm thick and protrude 225mm in front of the stove.
Let’s chat!
Are you planning on getting a small stove for your caravan, but you are not sure where to start? We would love to help. Drop us an email: office@salamanderstoves.com or give the office a call on 01626 362508. We understand that not every caravan is the same, and your may need the flue kits we have designed adjusting. With that in mind we offer a free bespoke flue consultancy with our flue technician Grace, email: grace@salamanderstoves.com.

